41-36 College Point Blvd, Flushing, NY 11355
Classic Kitchen Cabinets

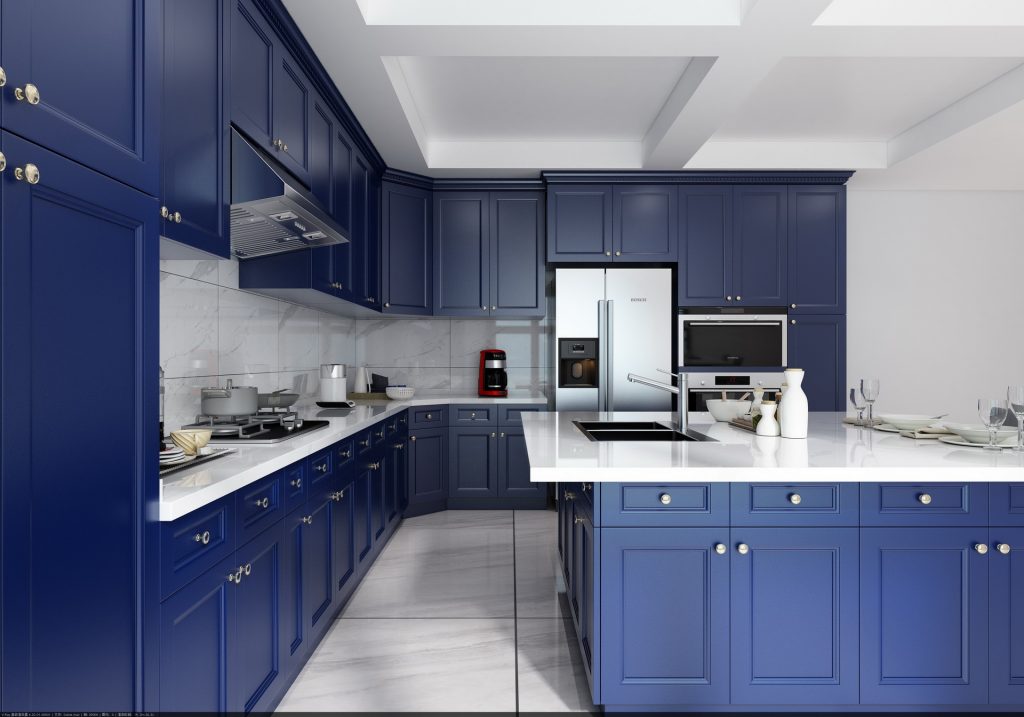
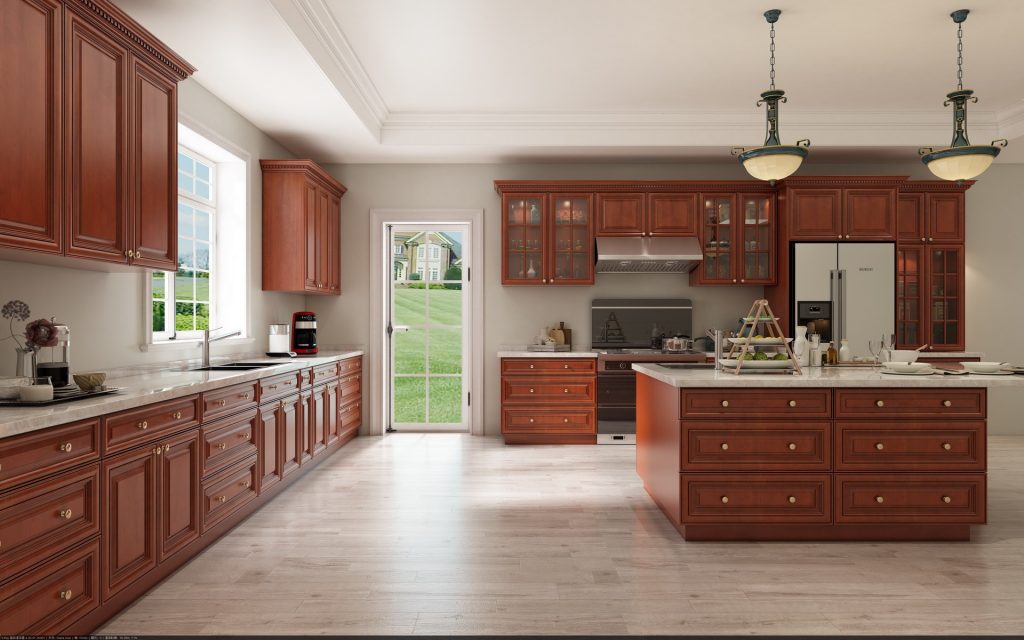
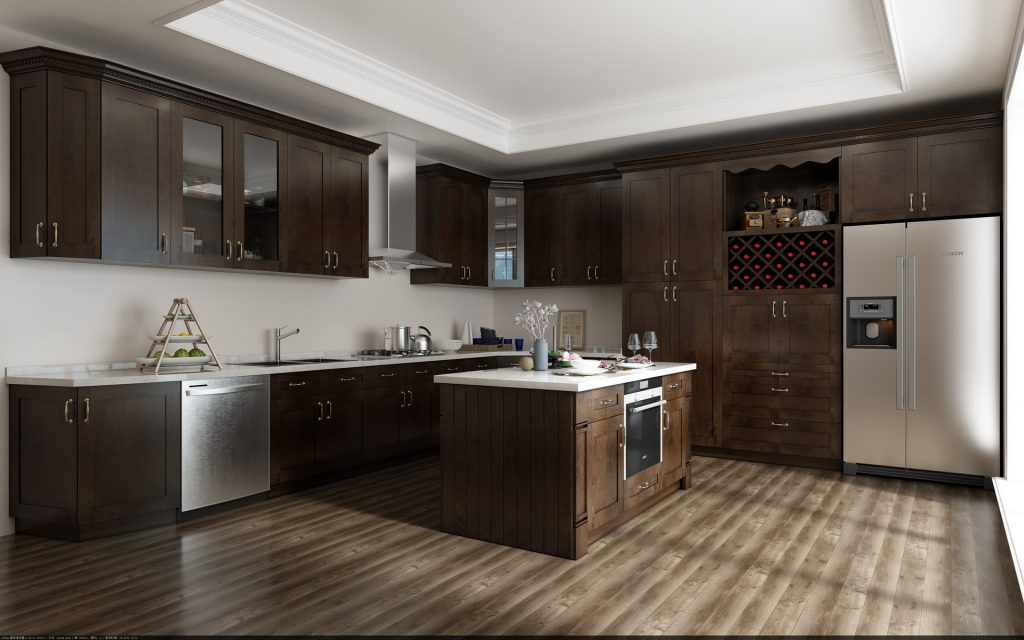
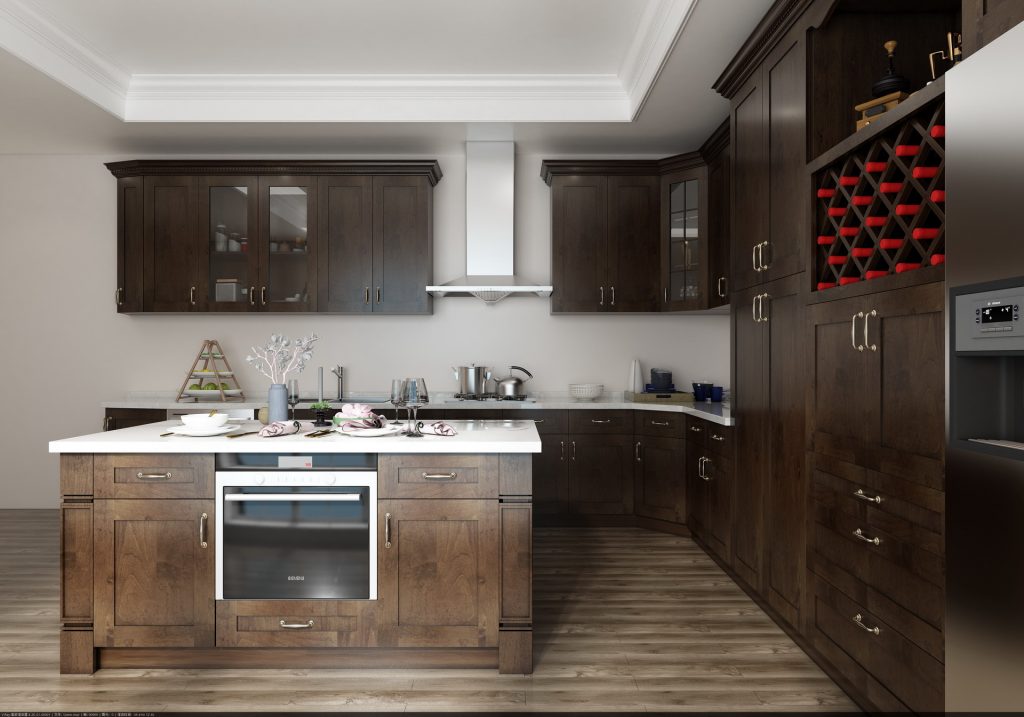
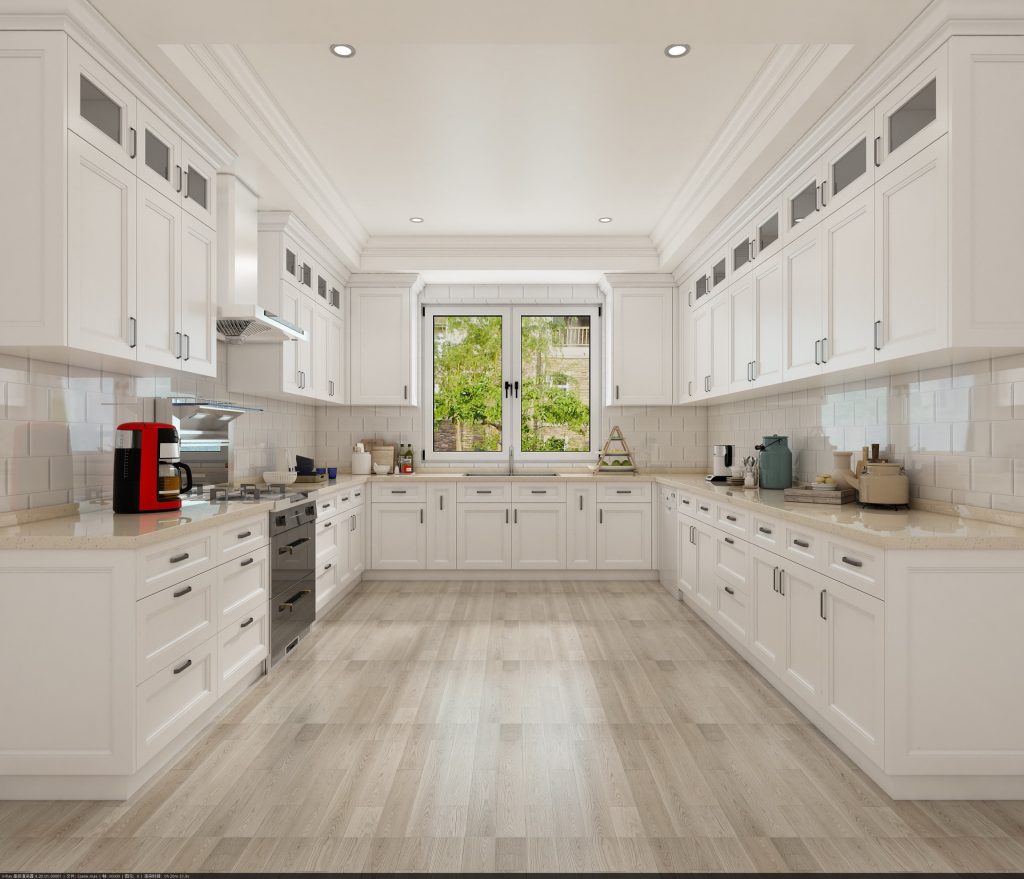
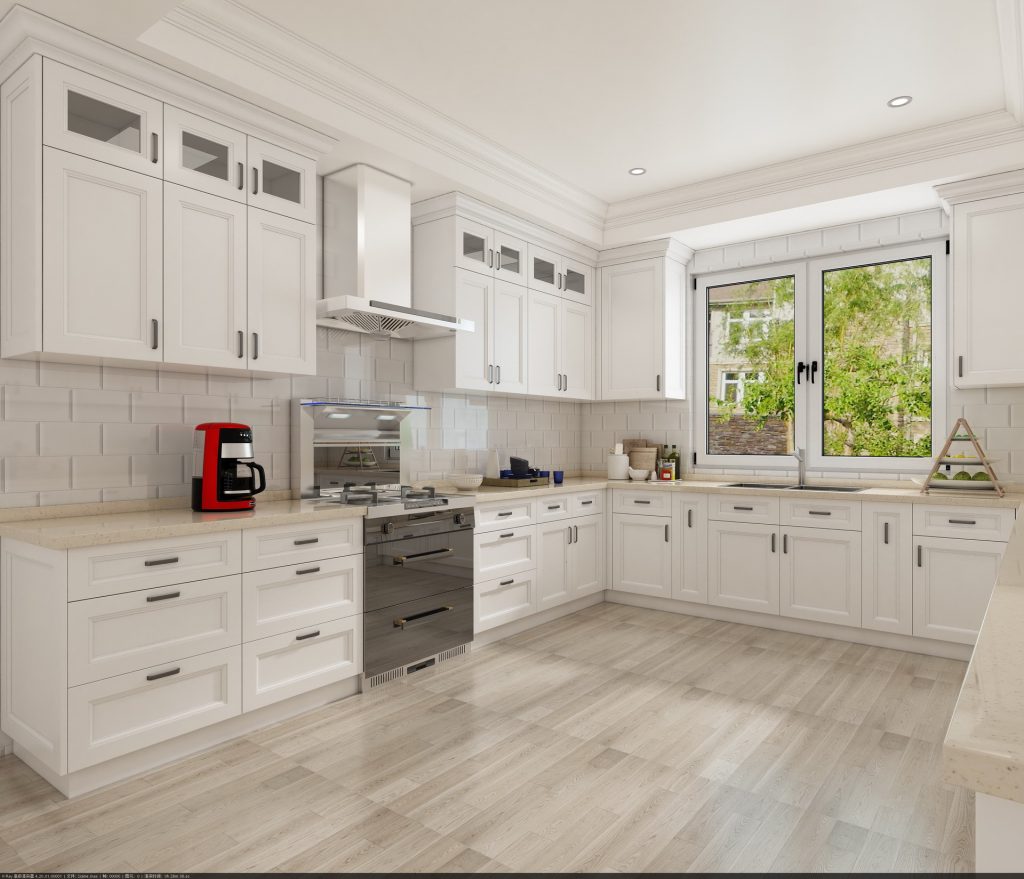
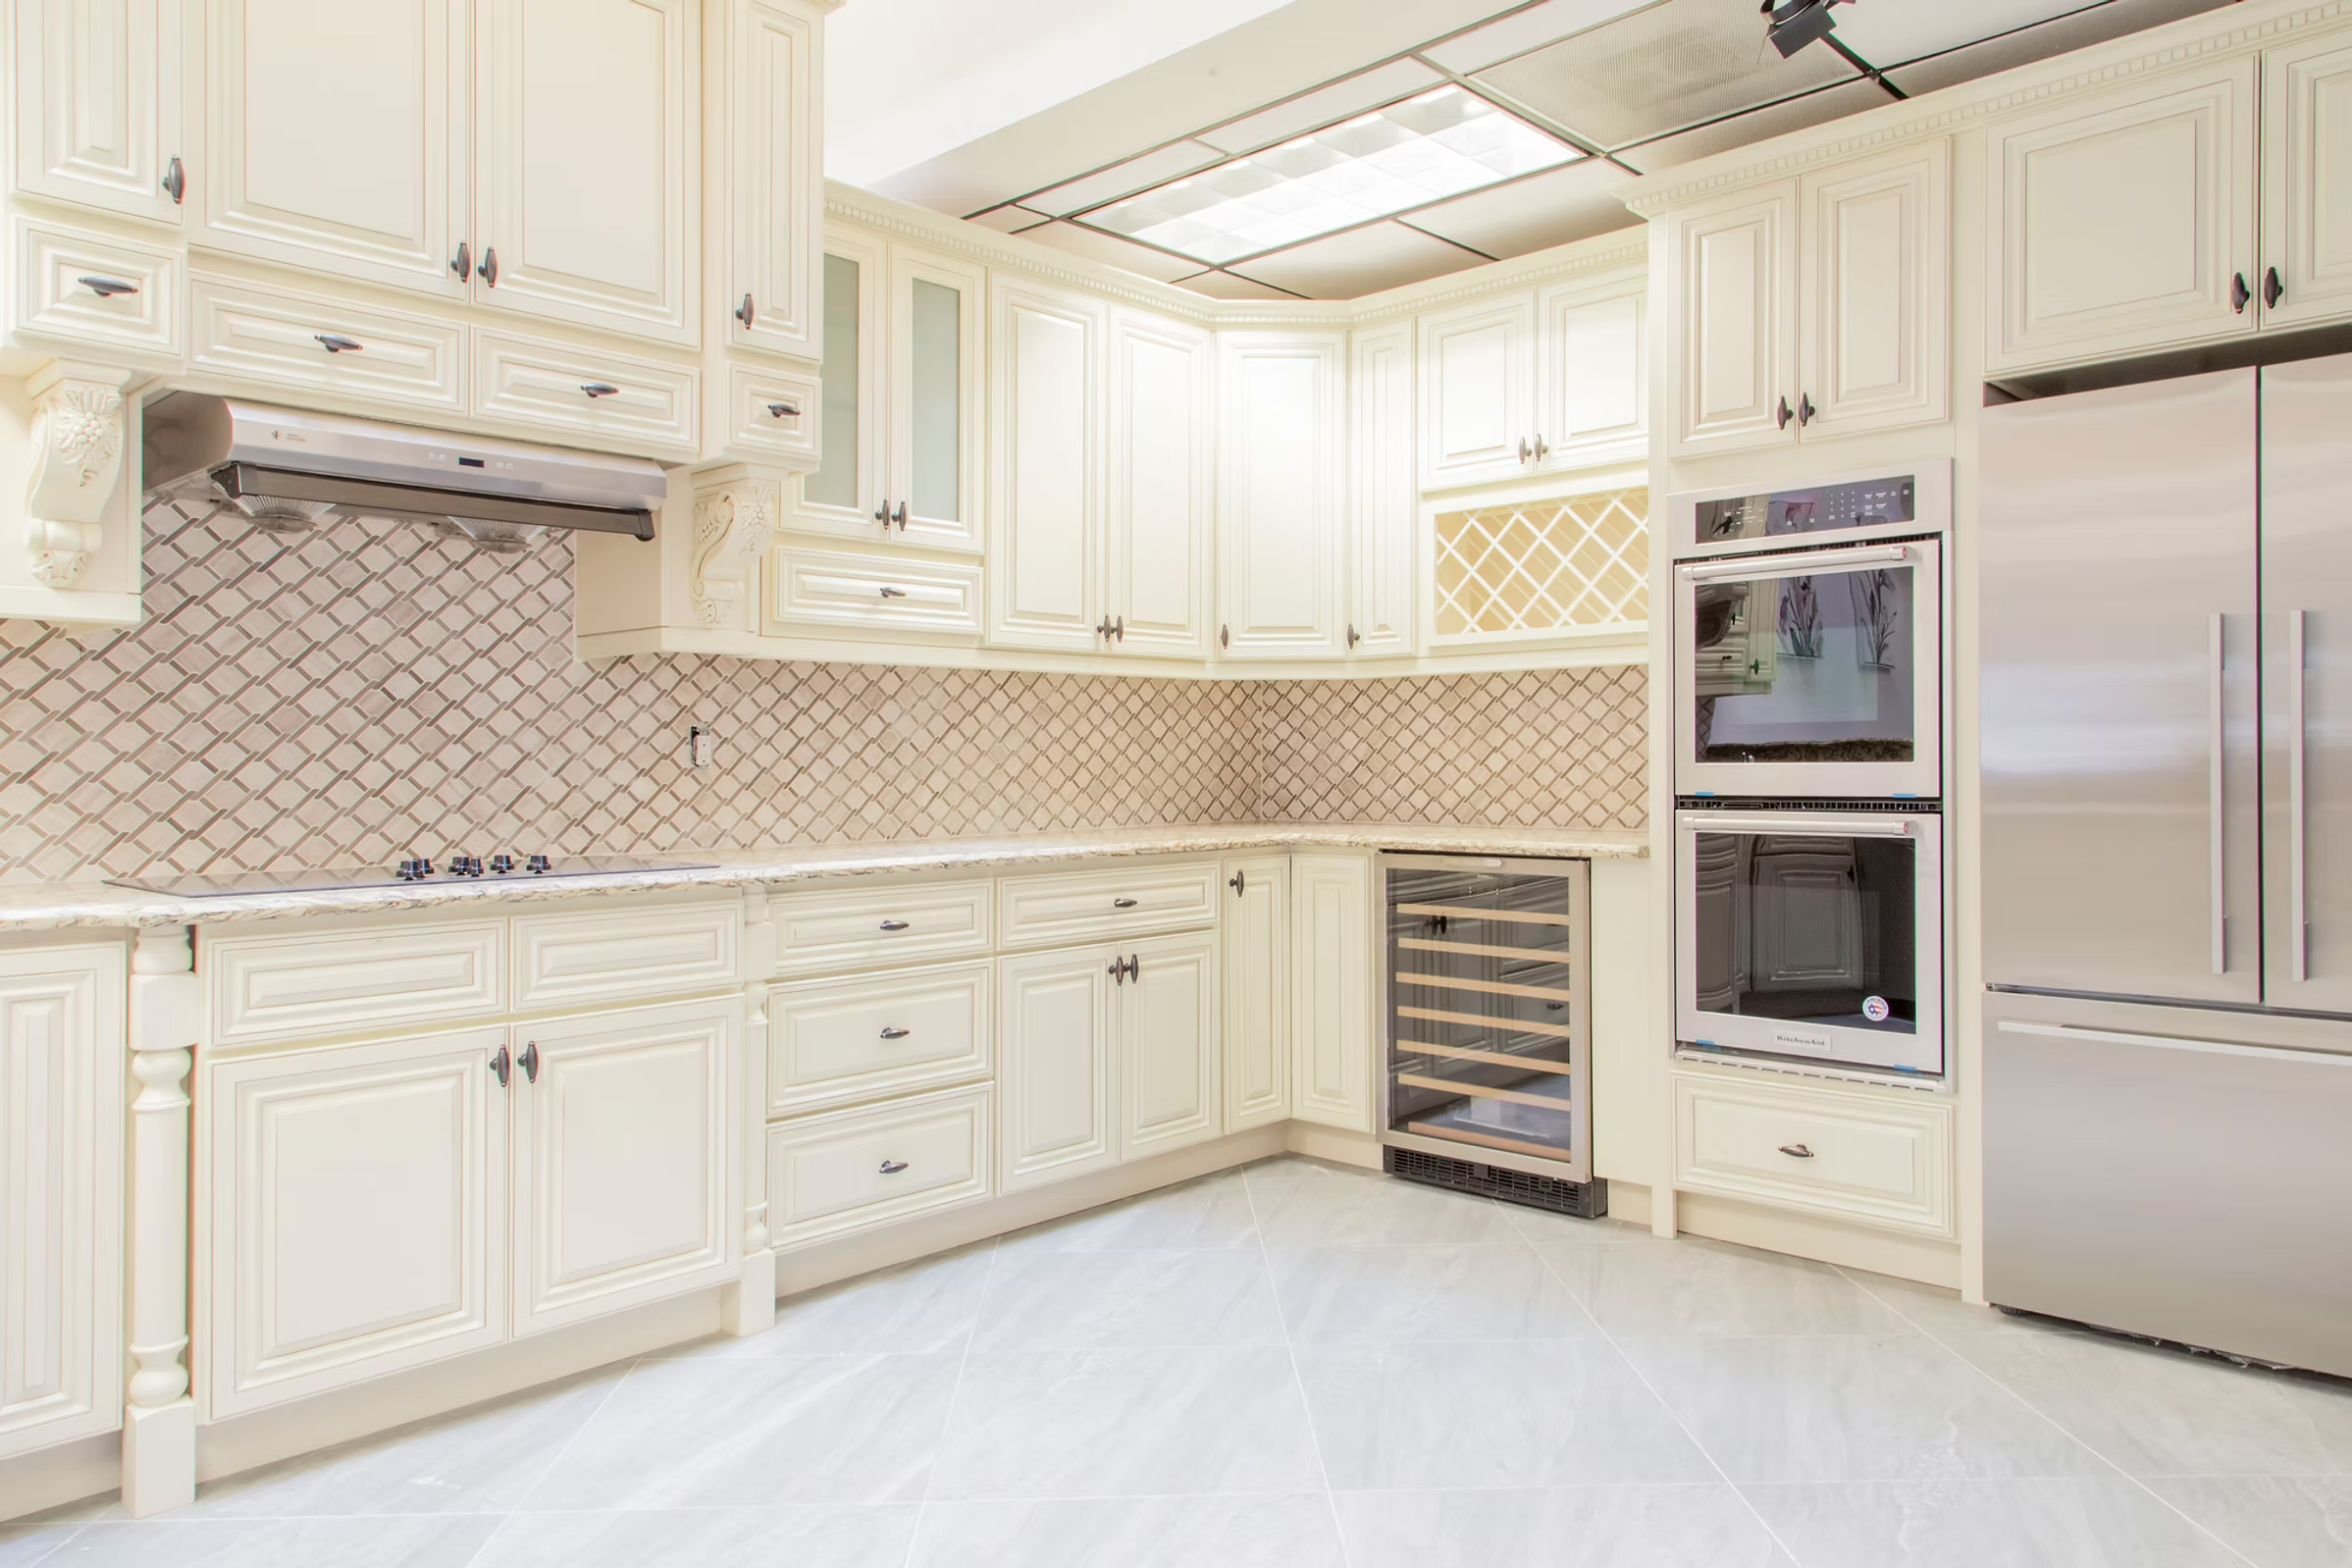
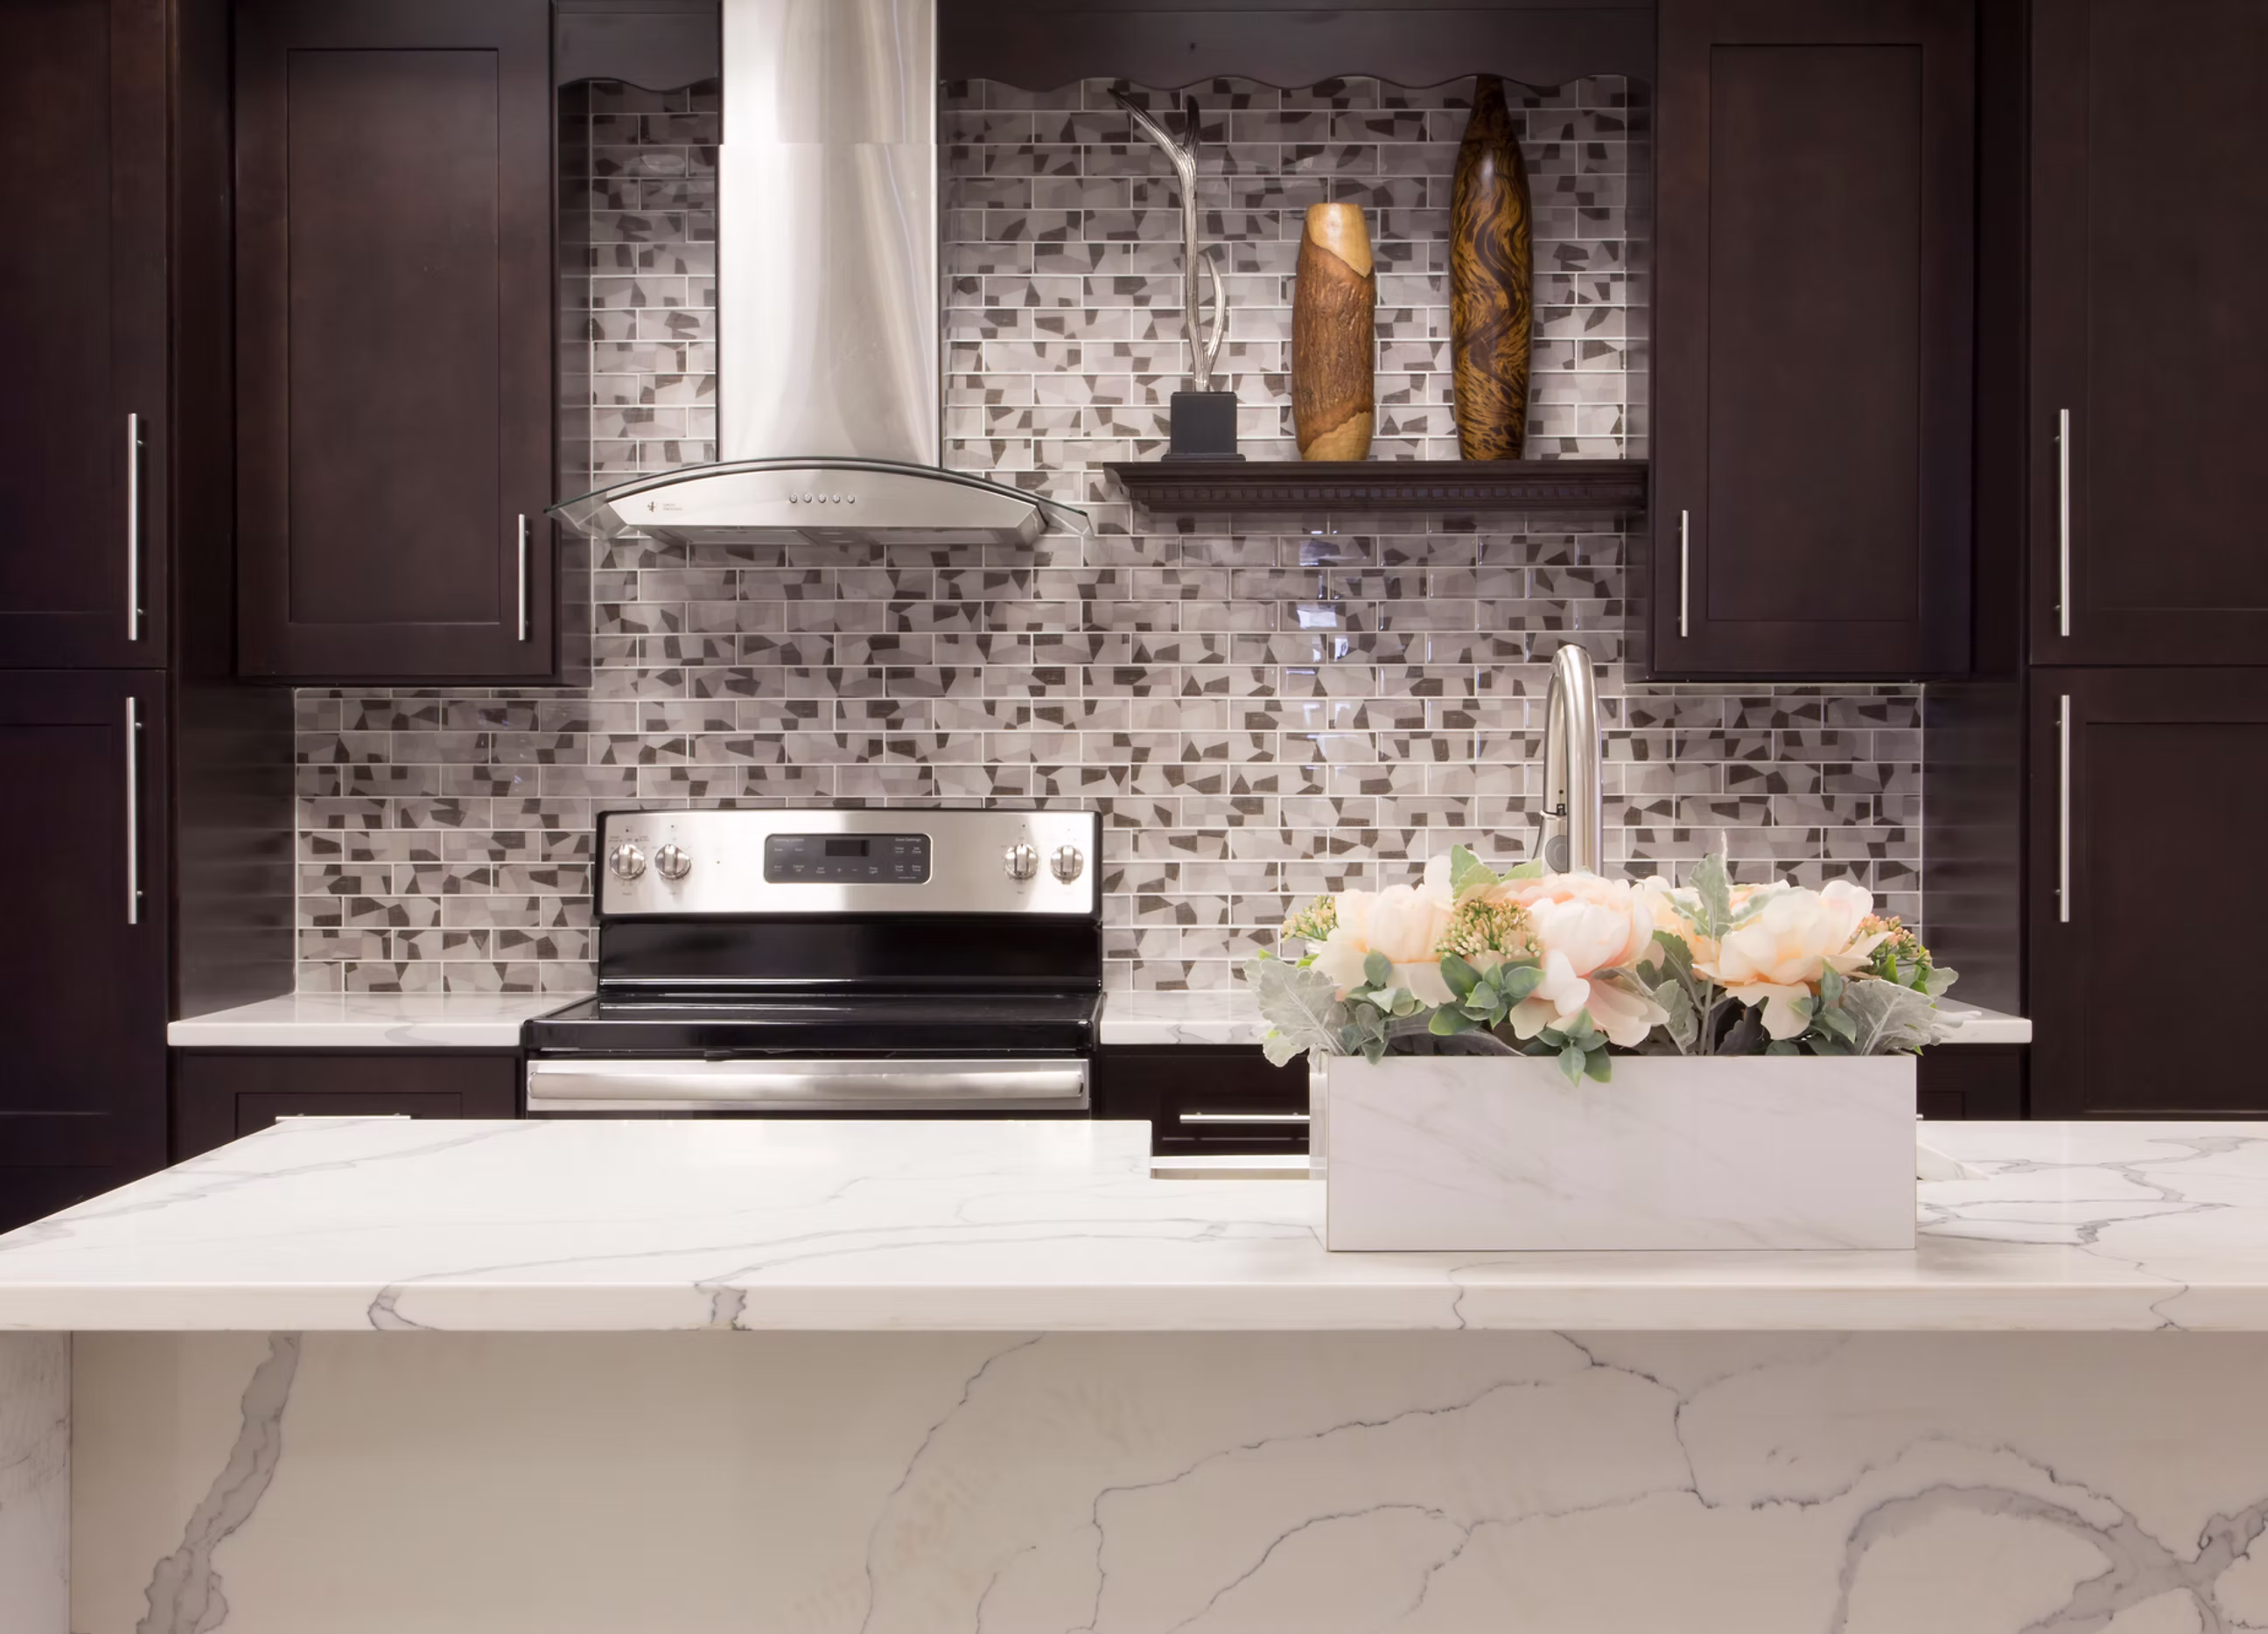
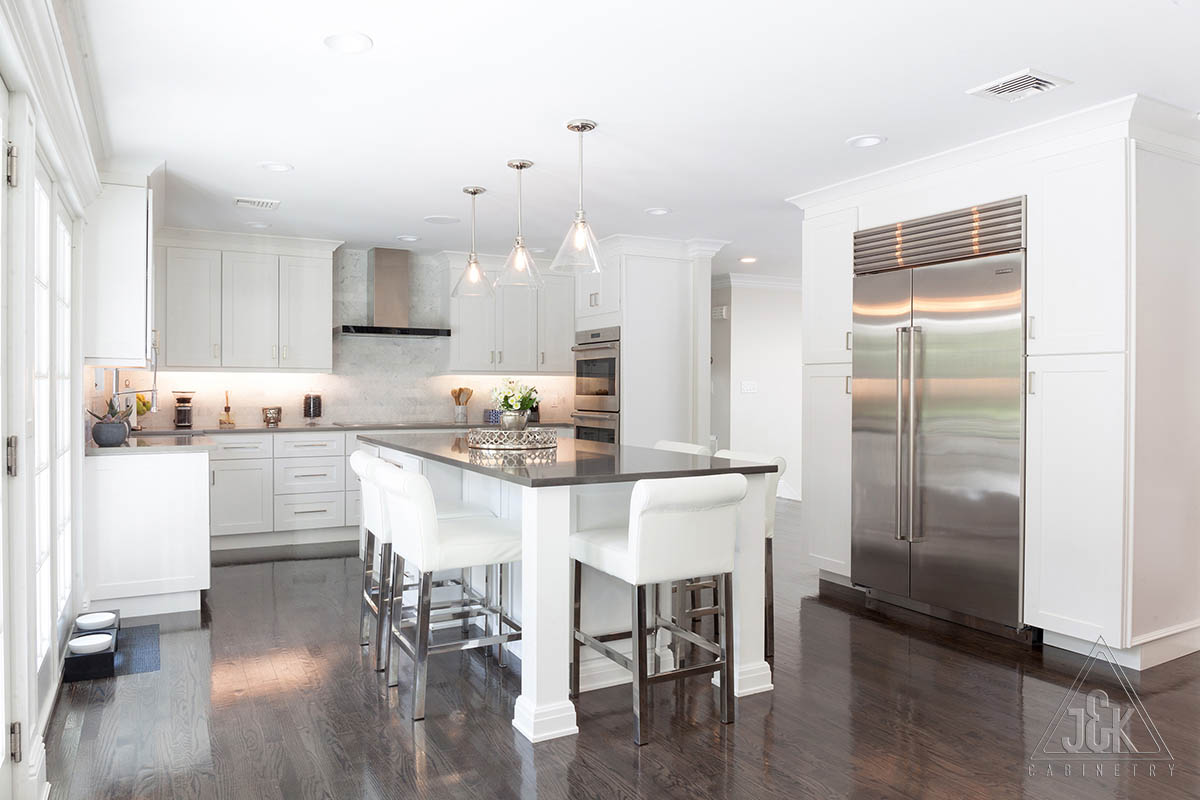
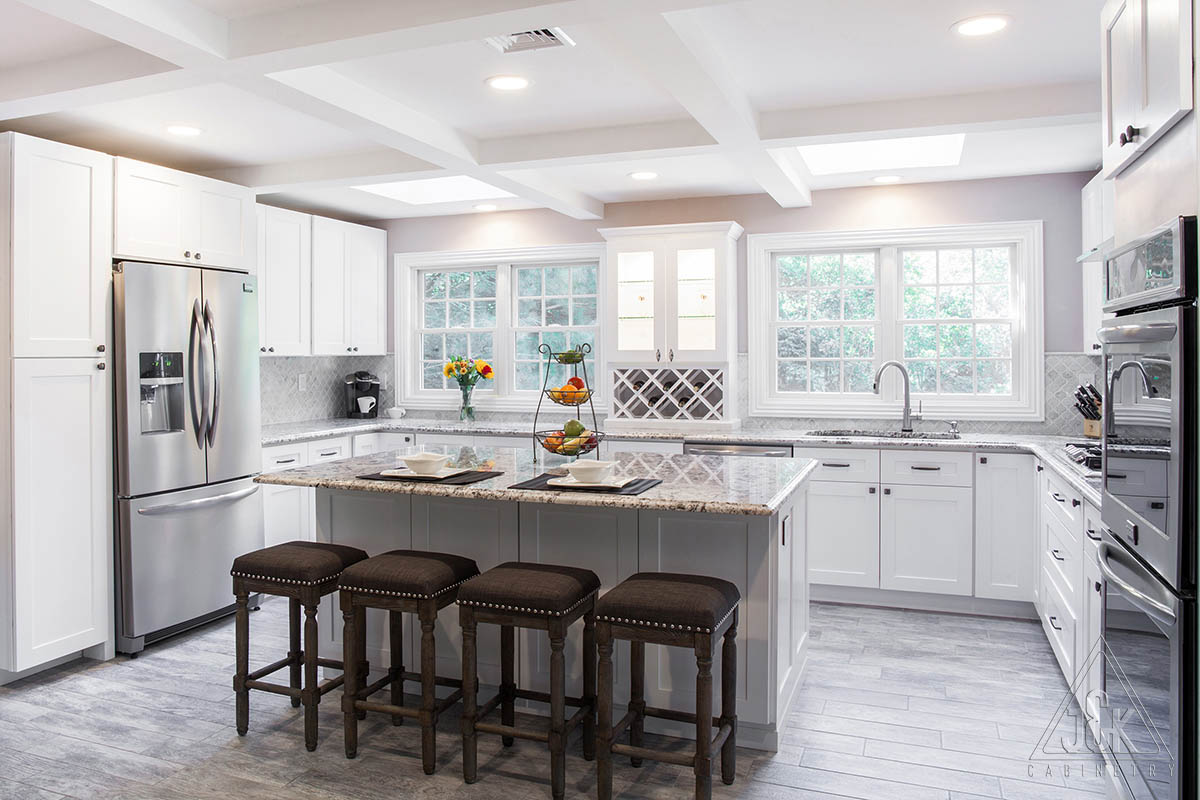
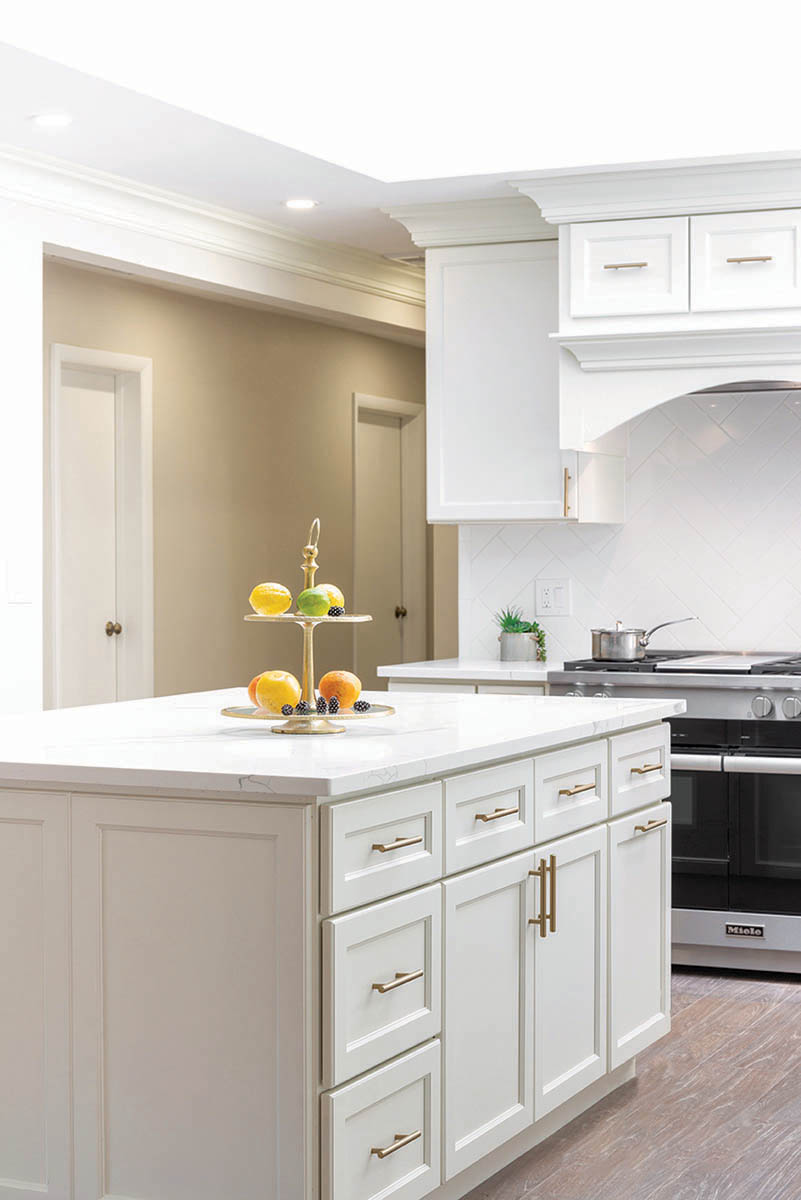
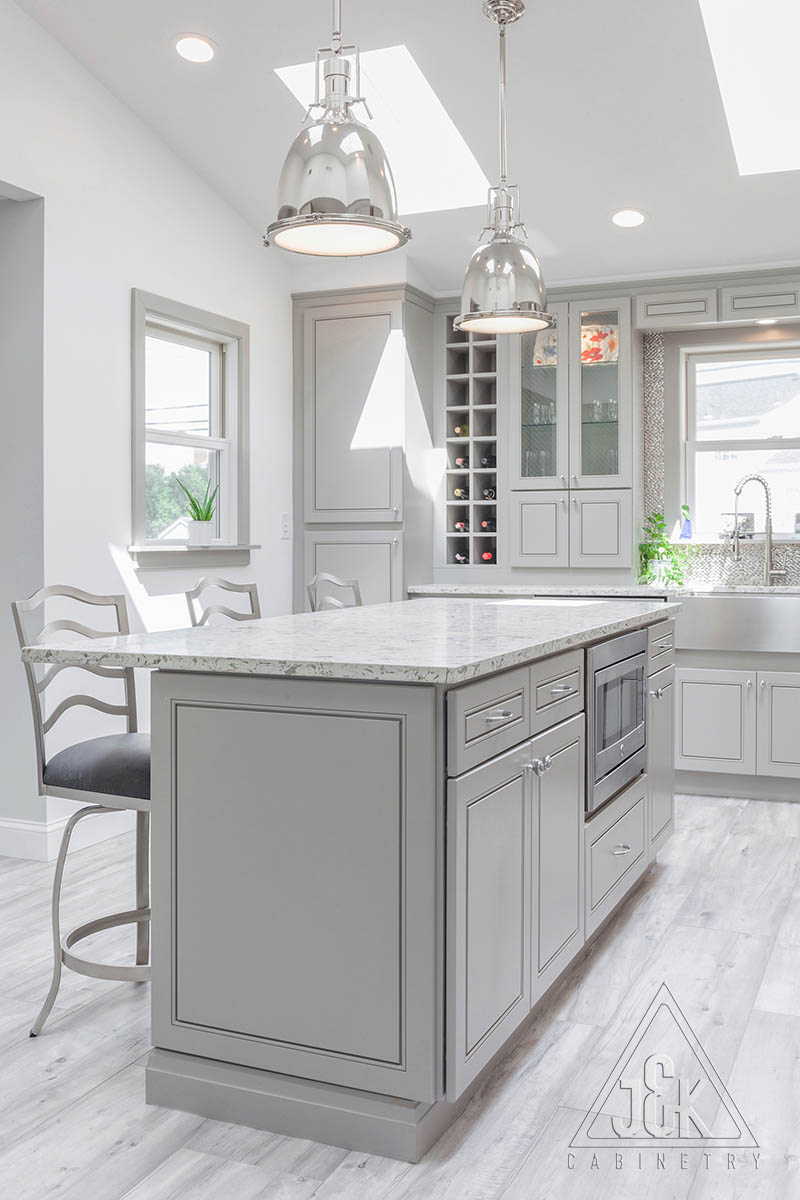
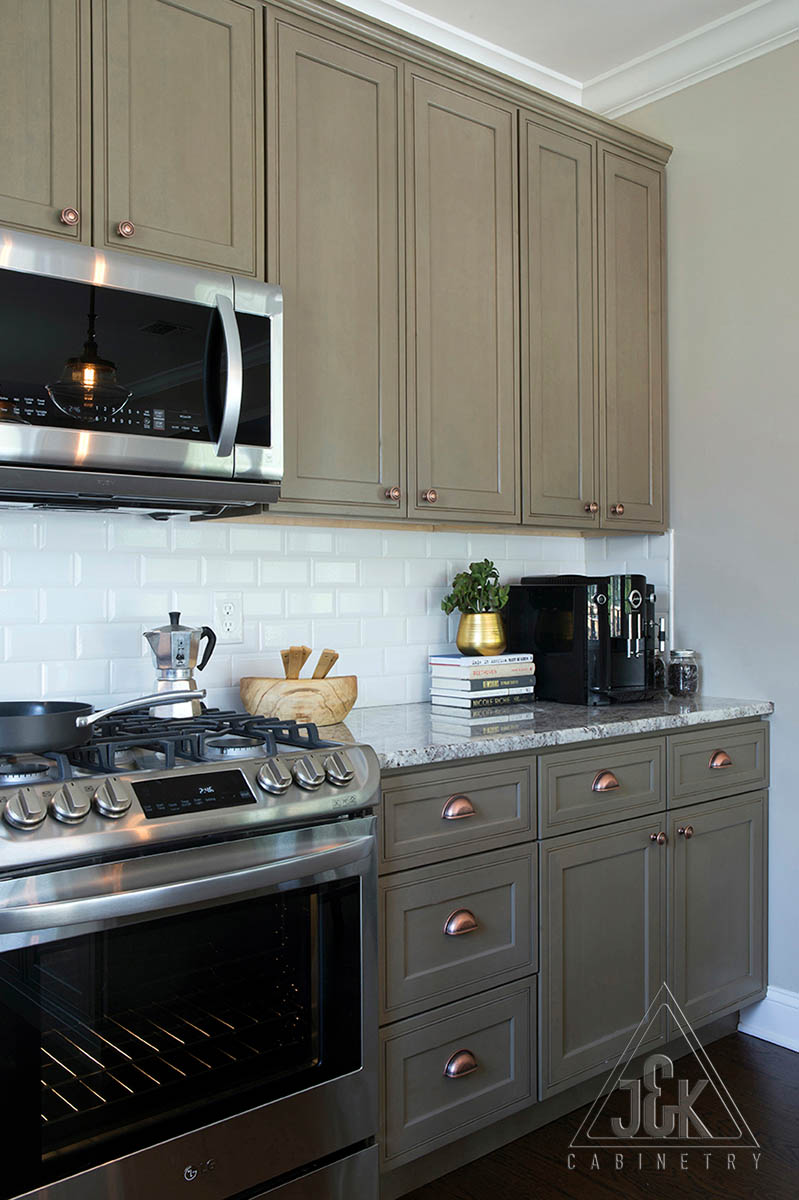
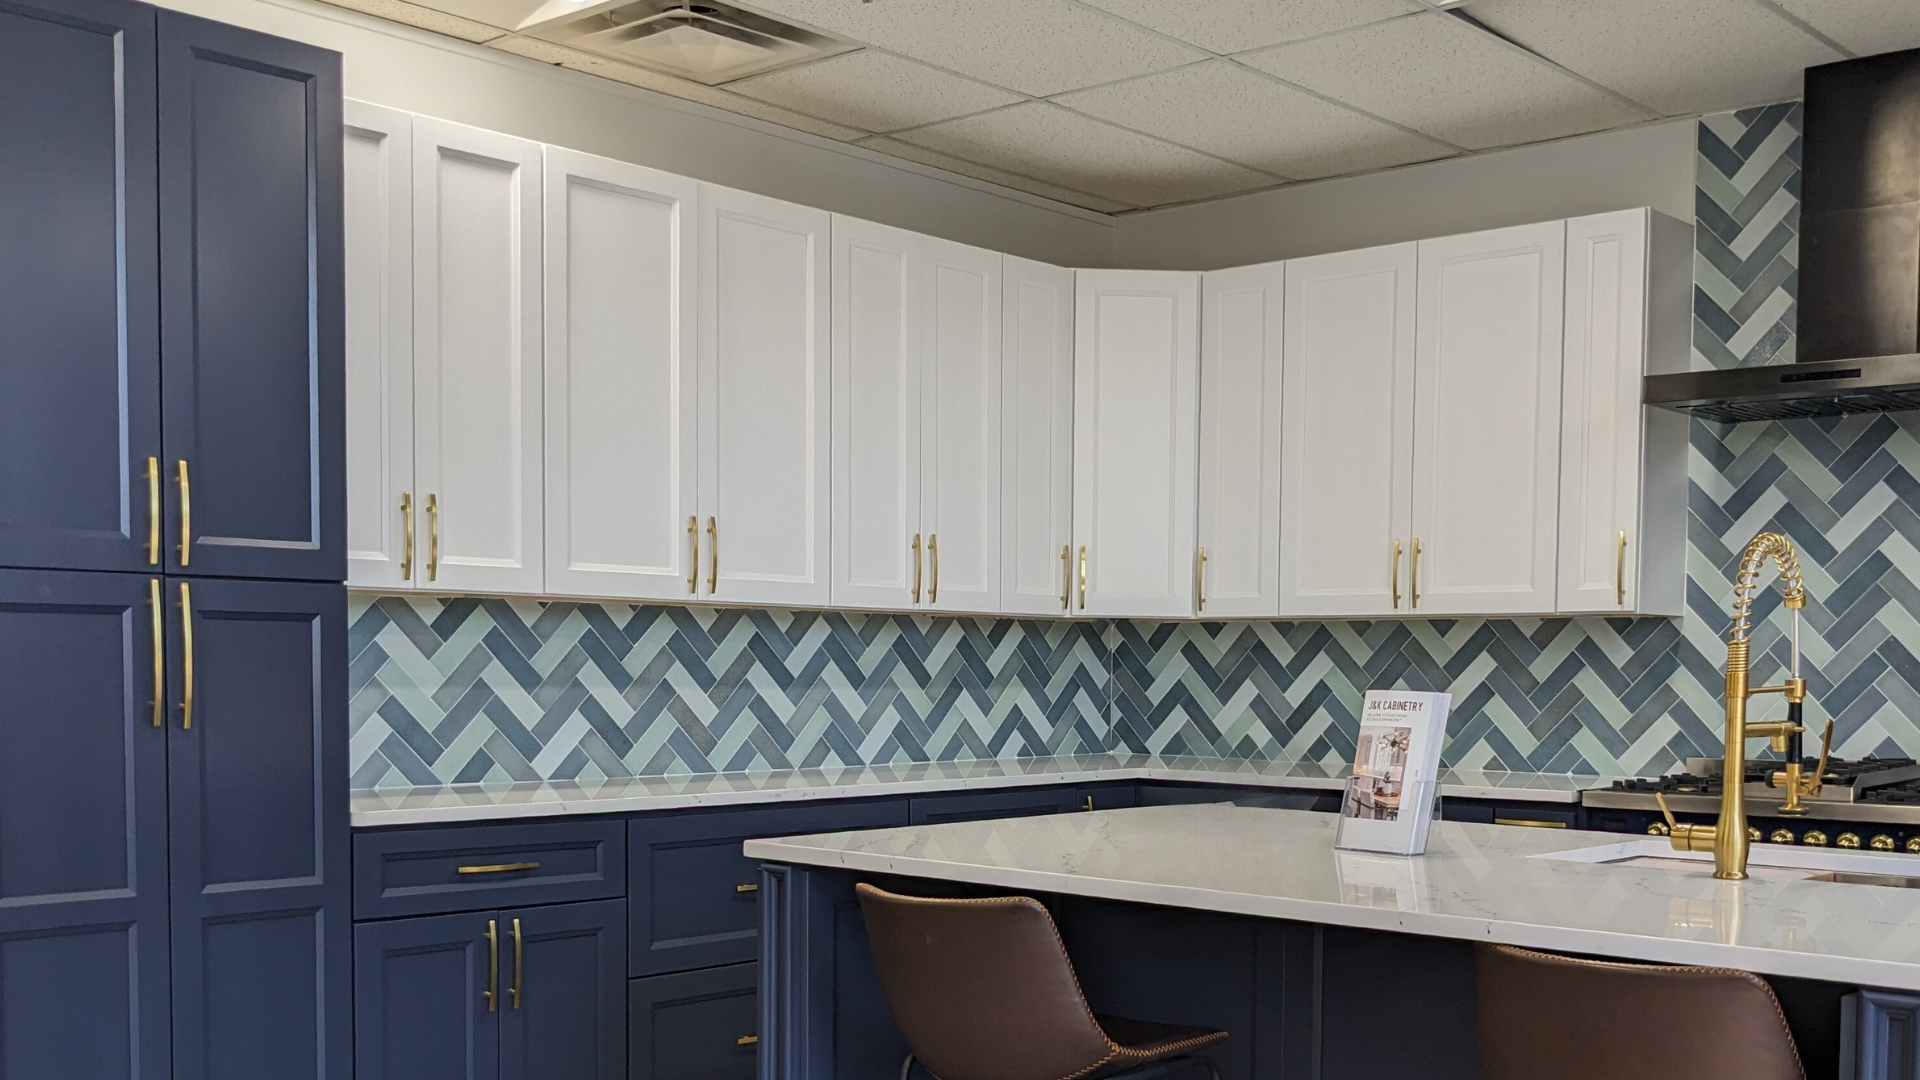
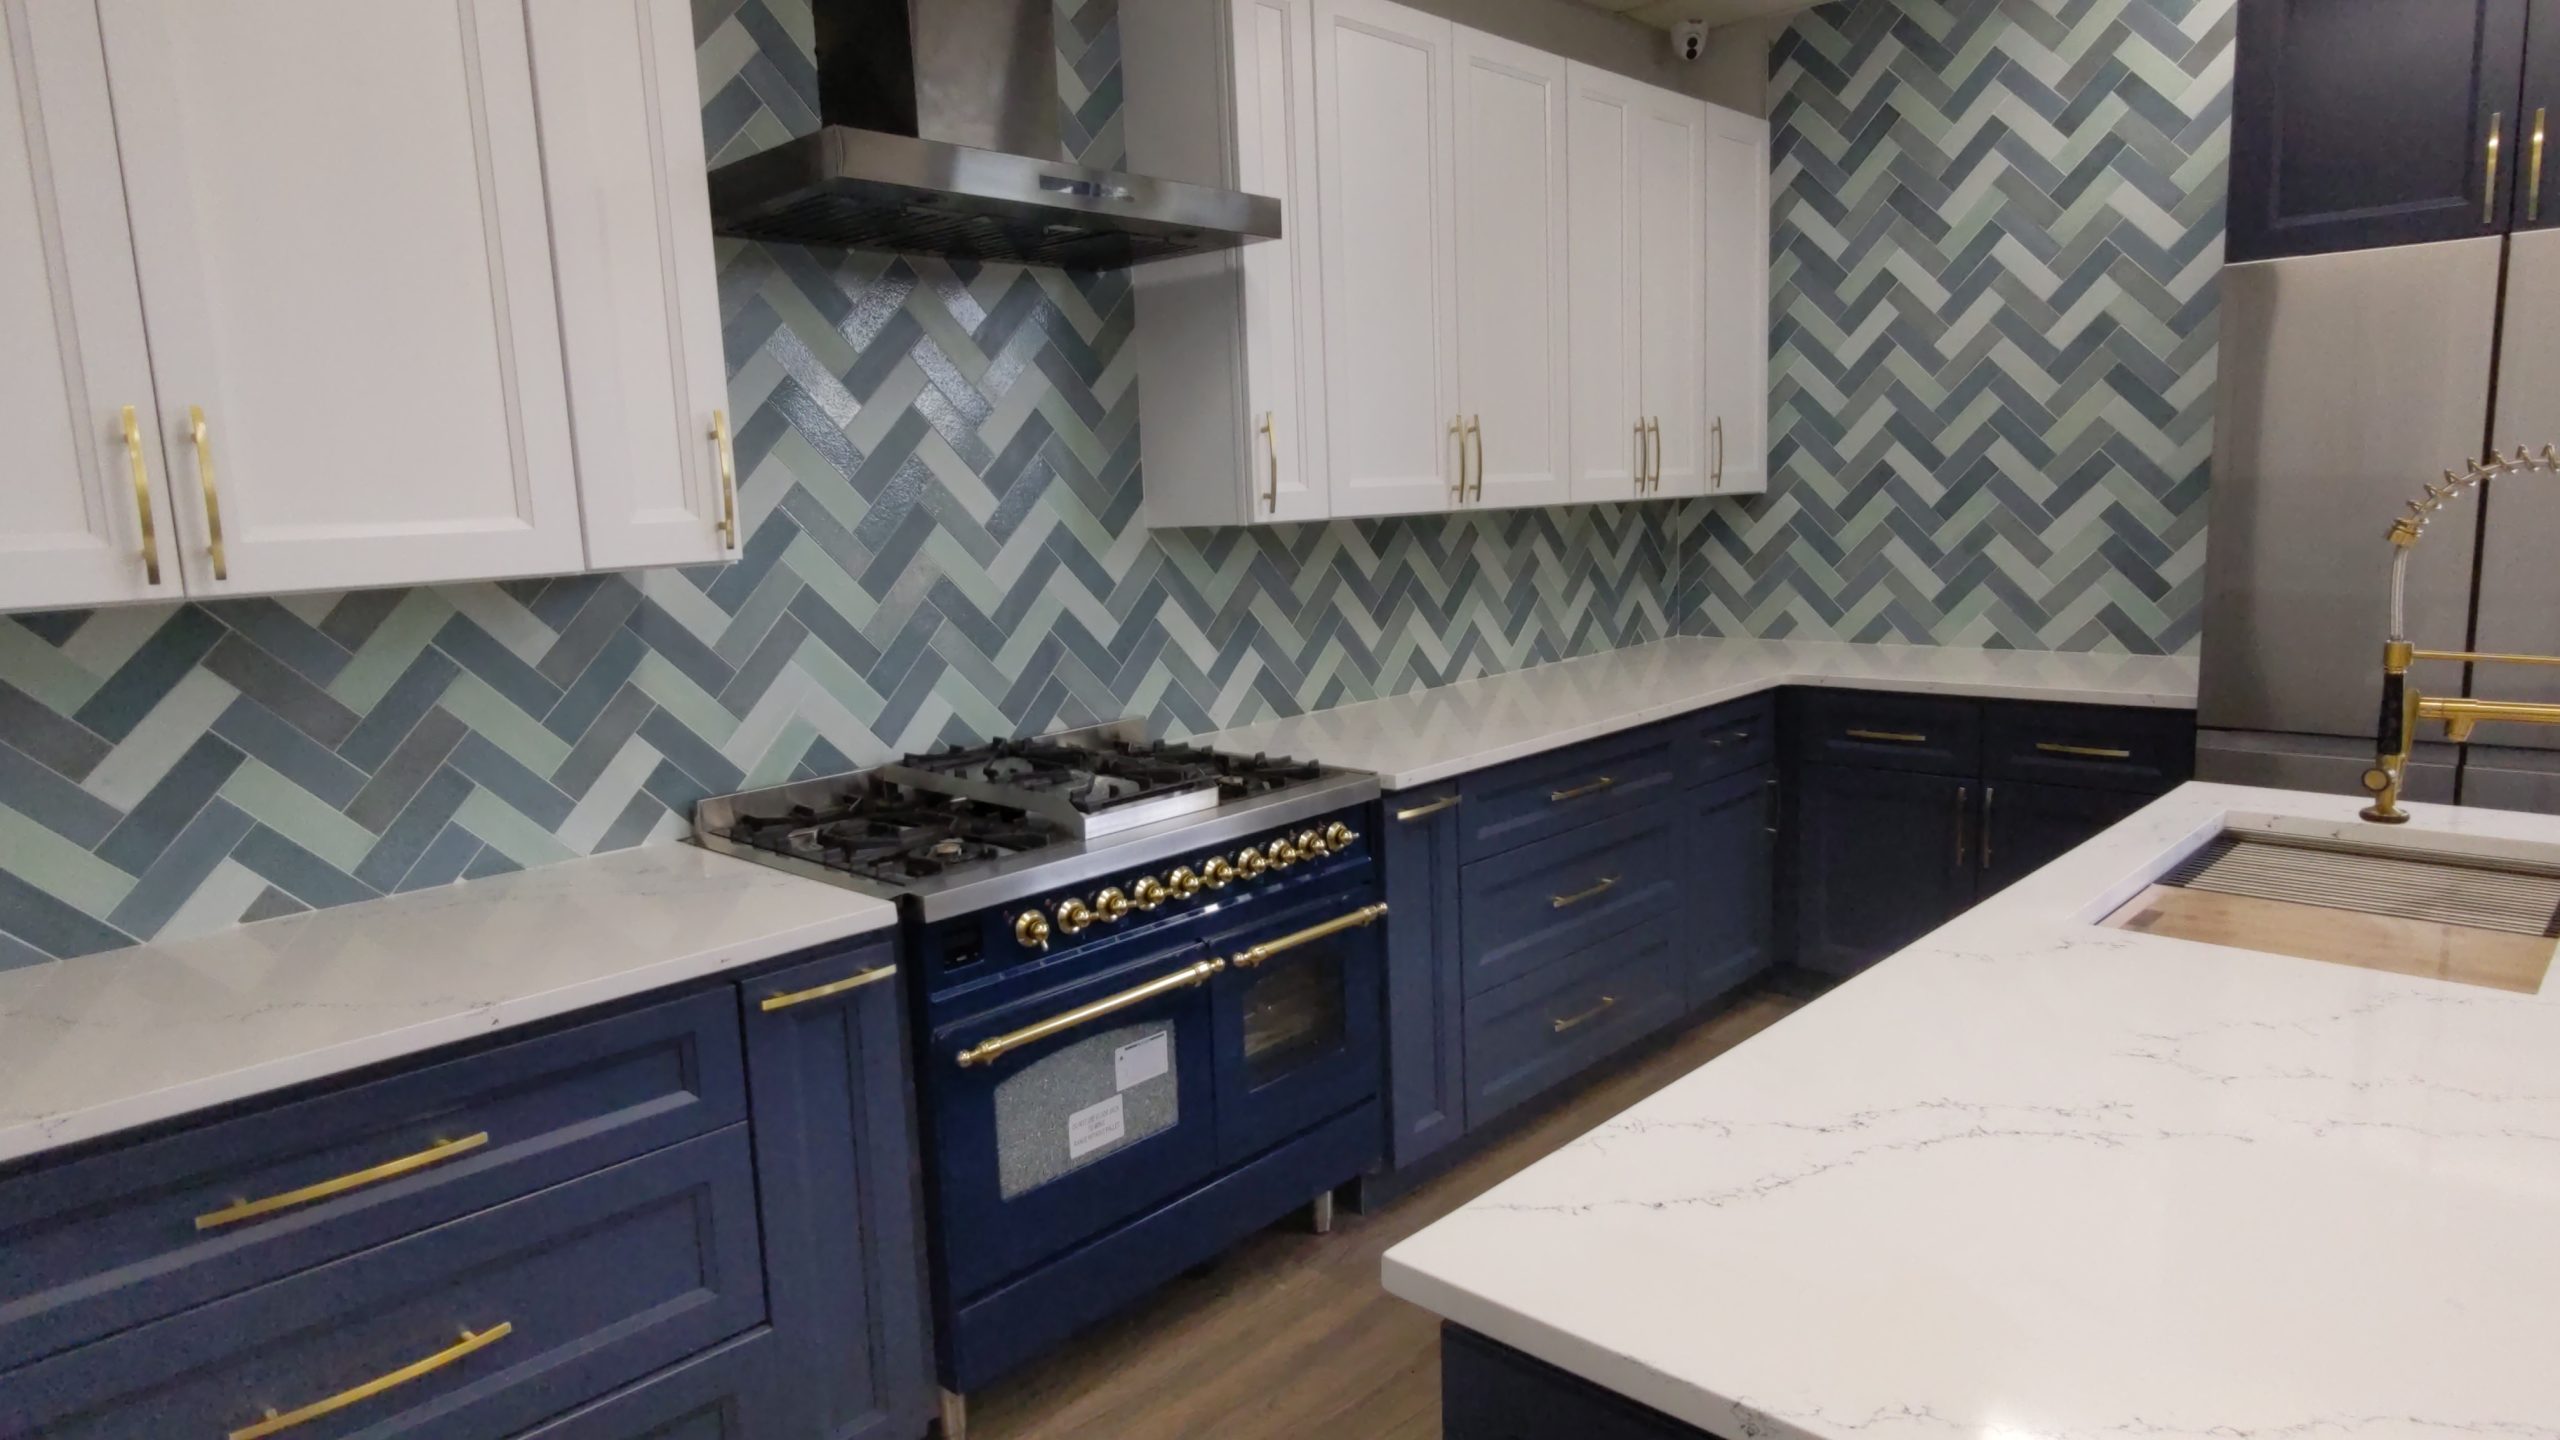
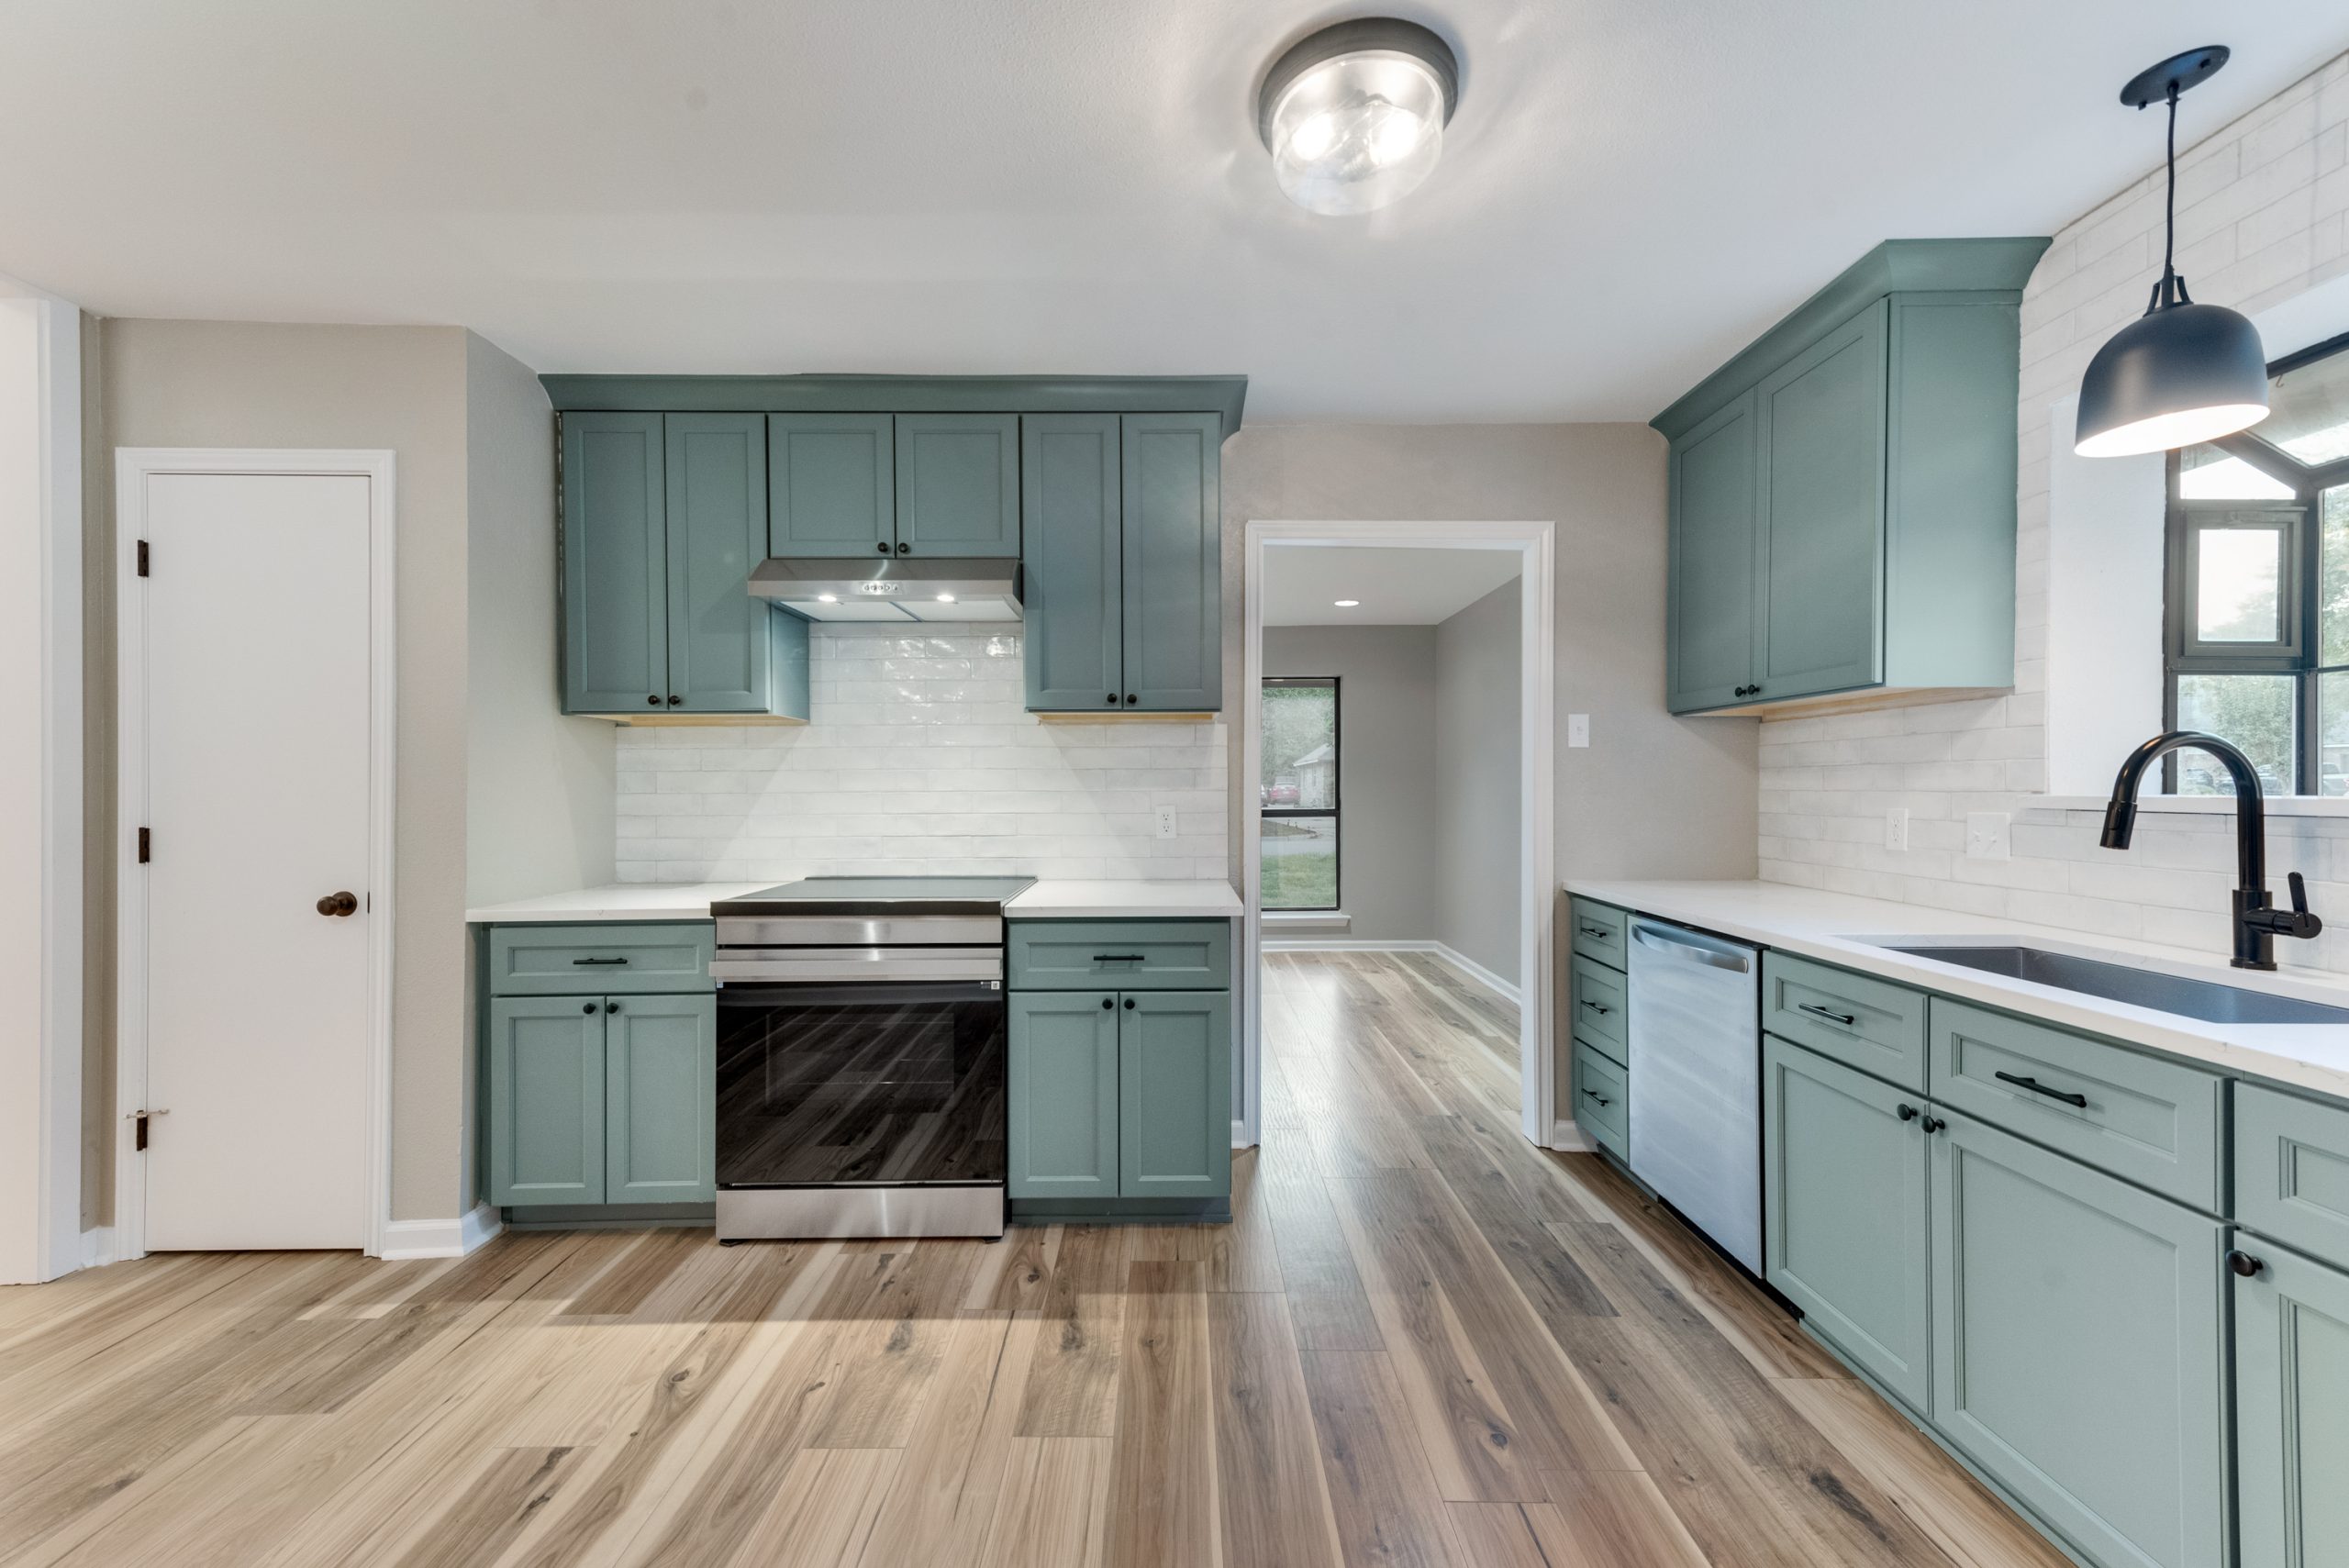
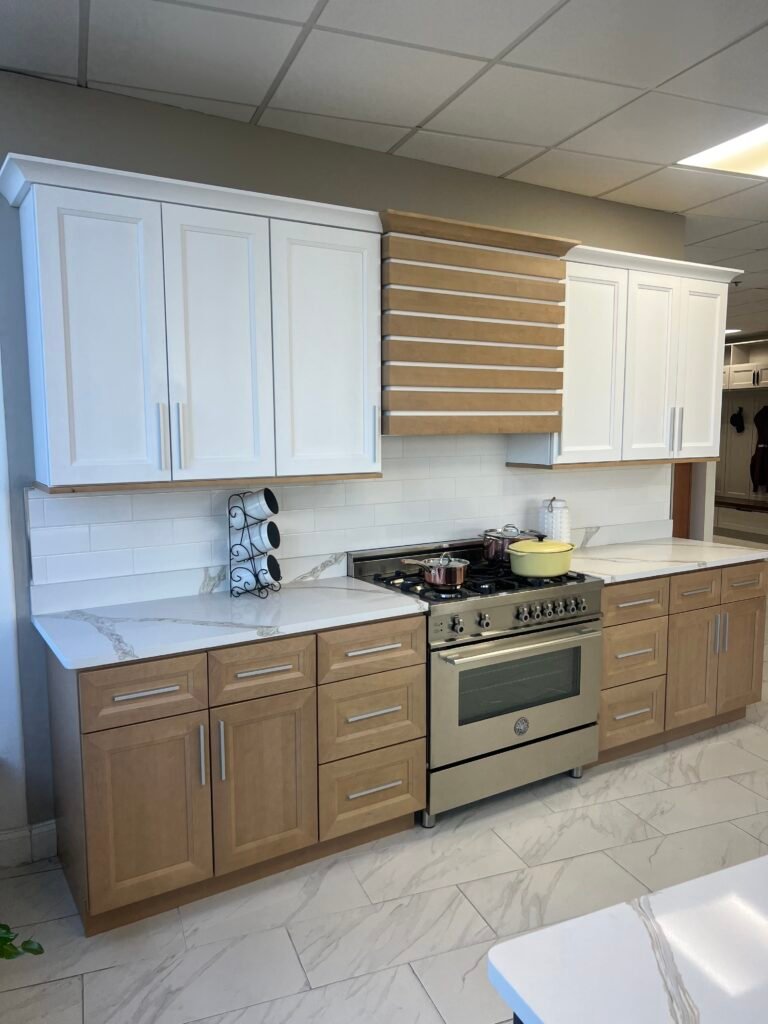
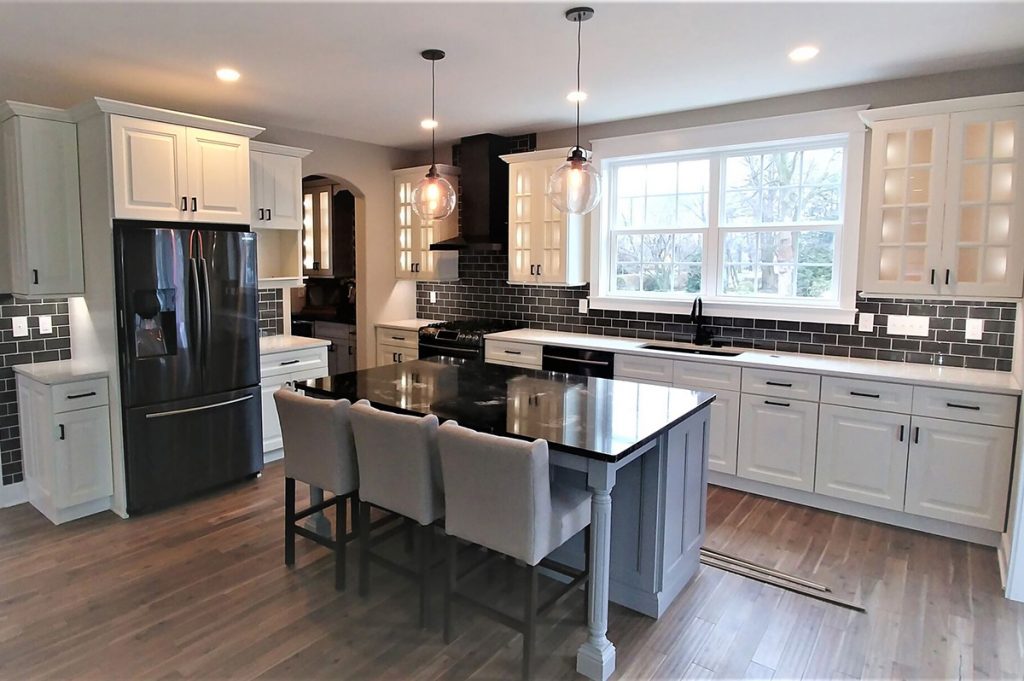
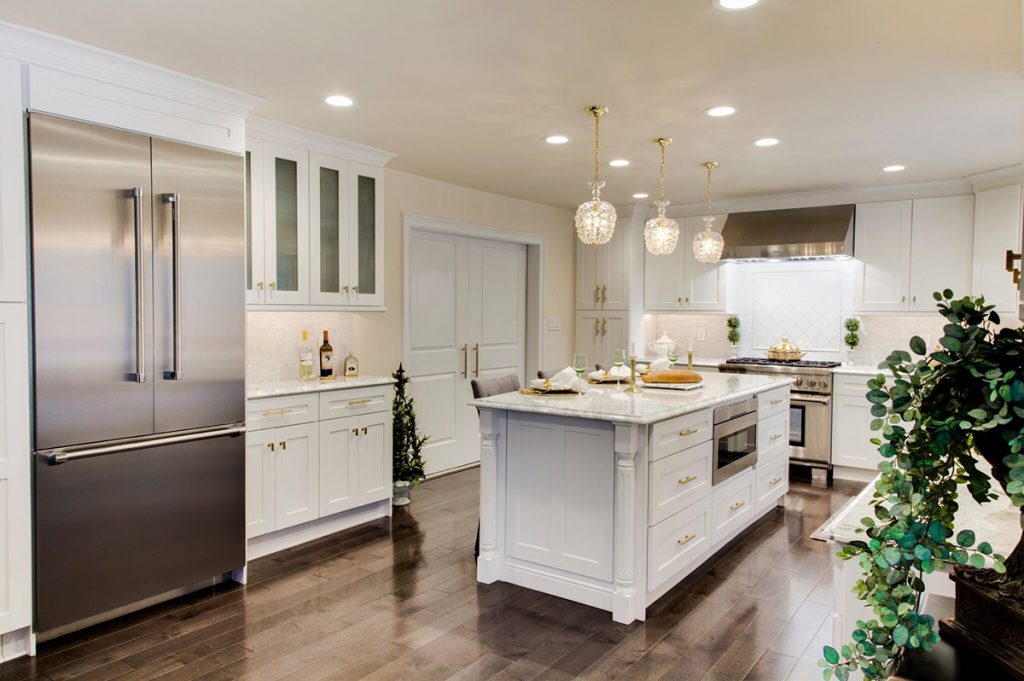
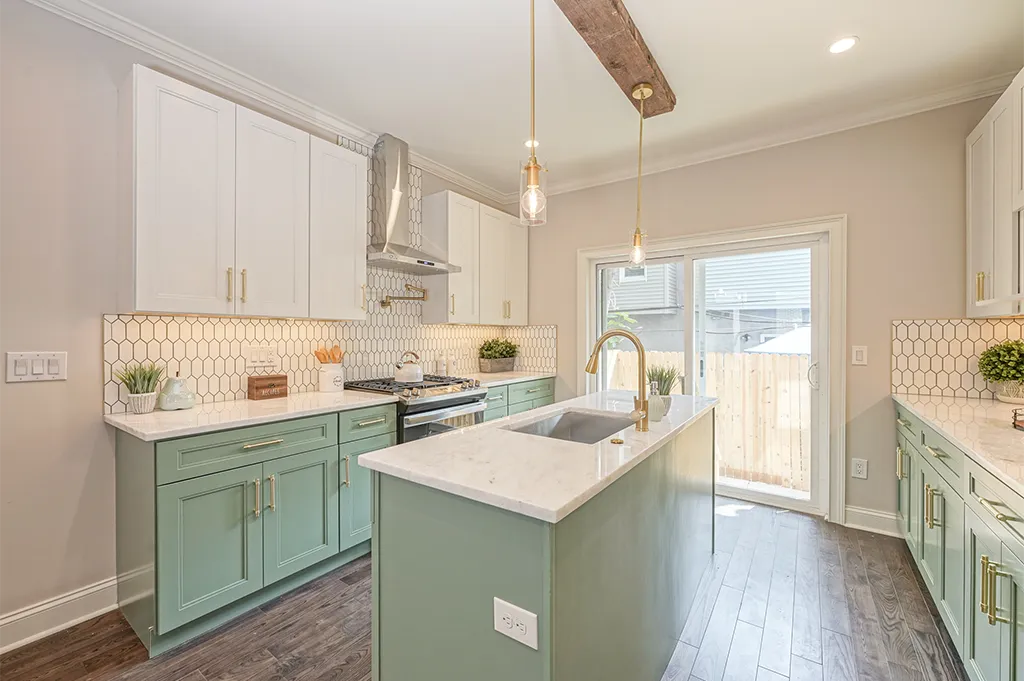
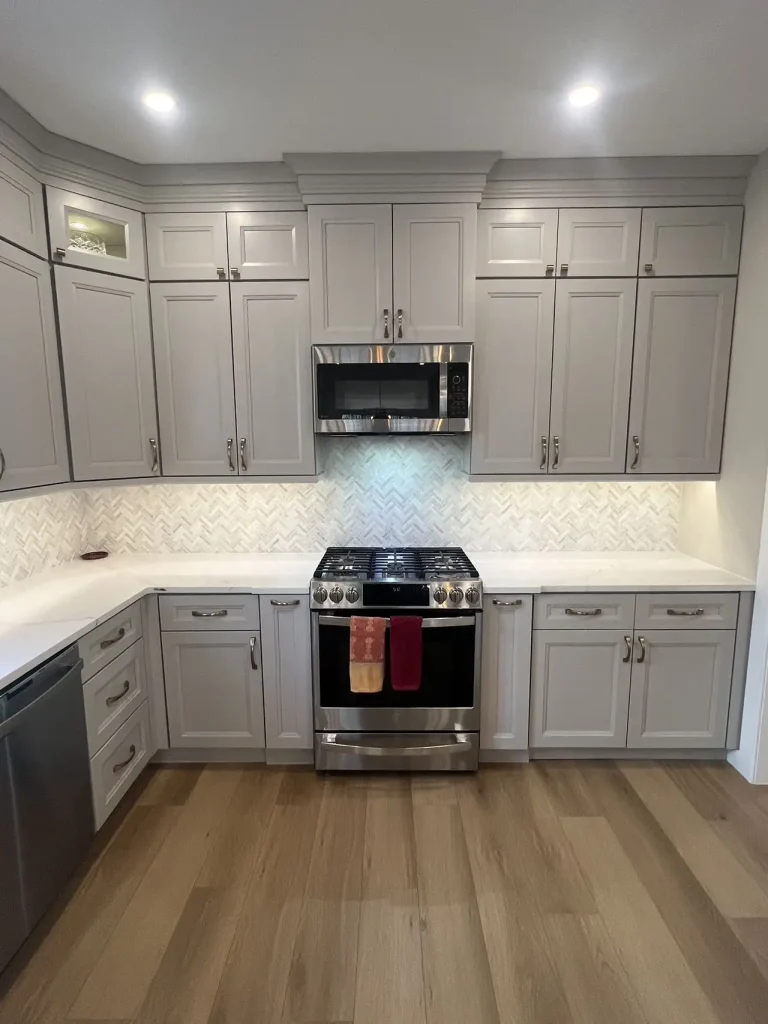
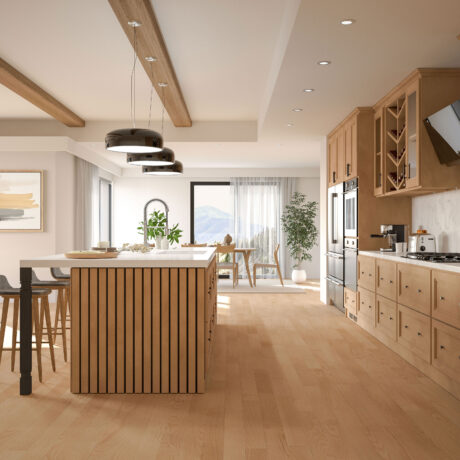
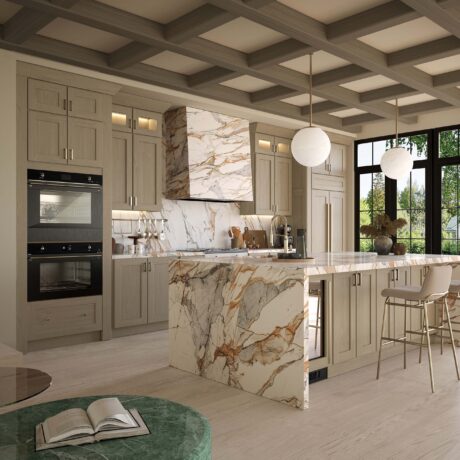
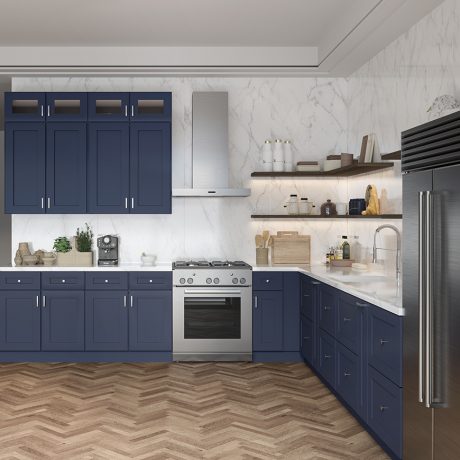
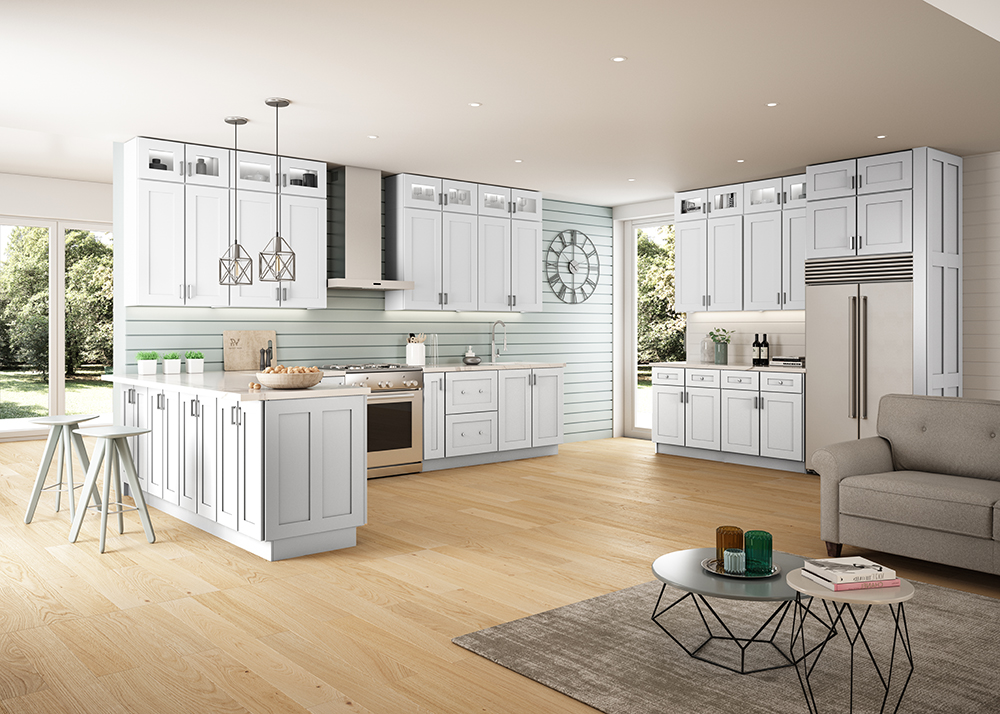
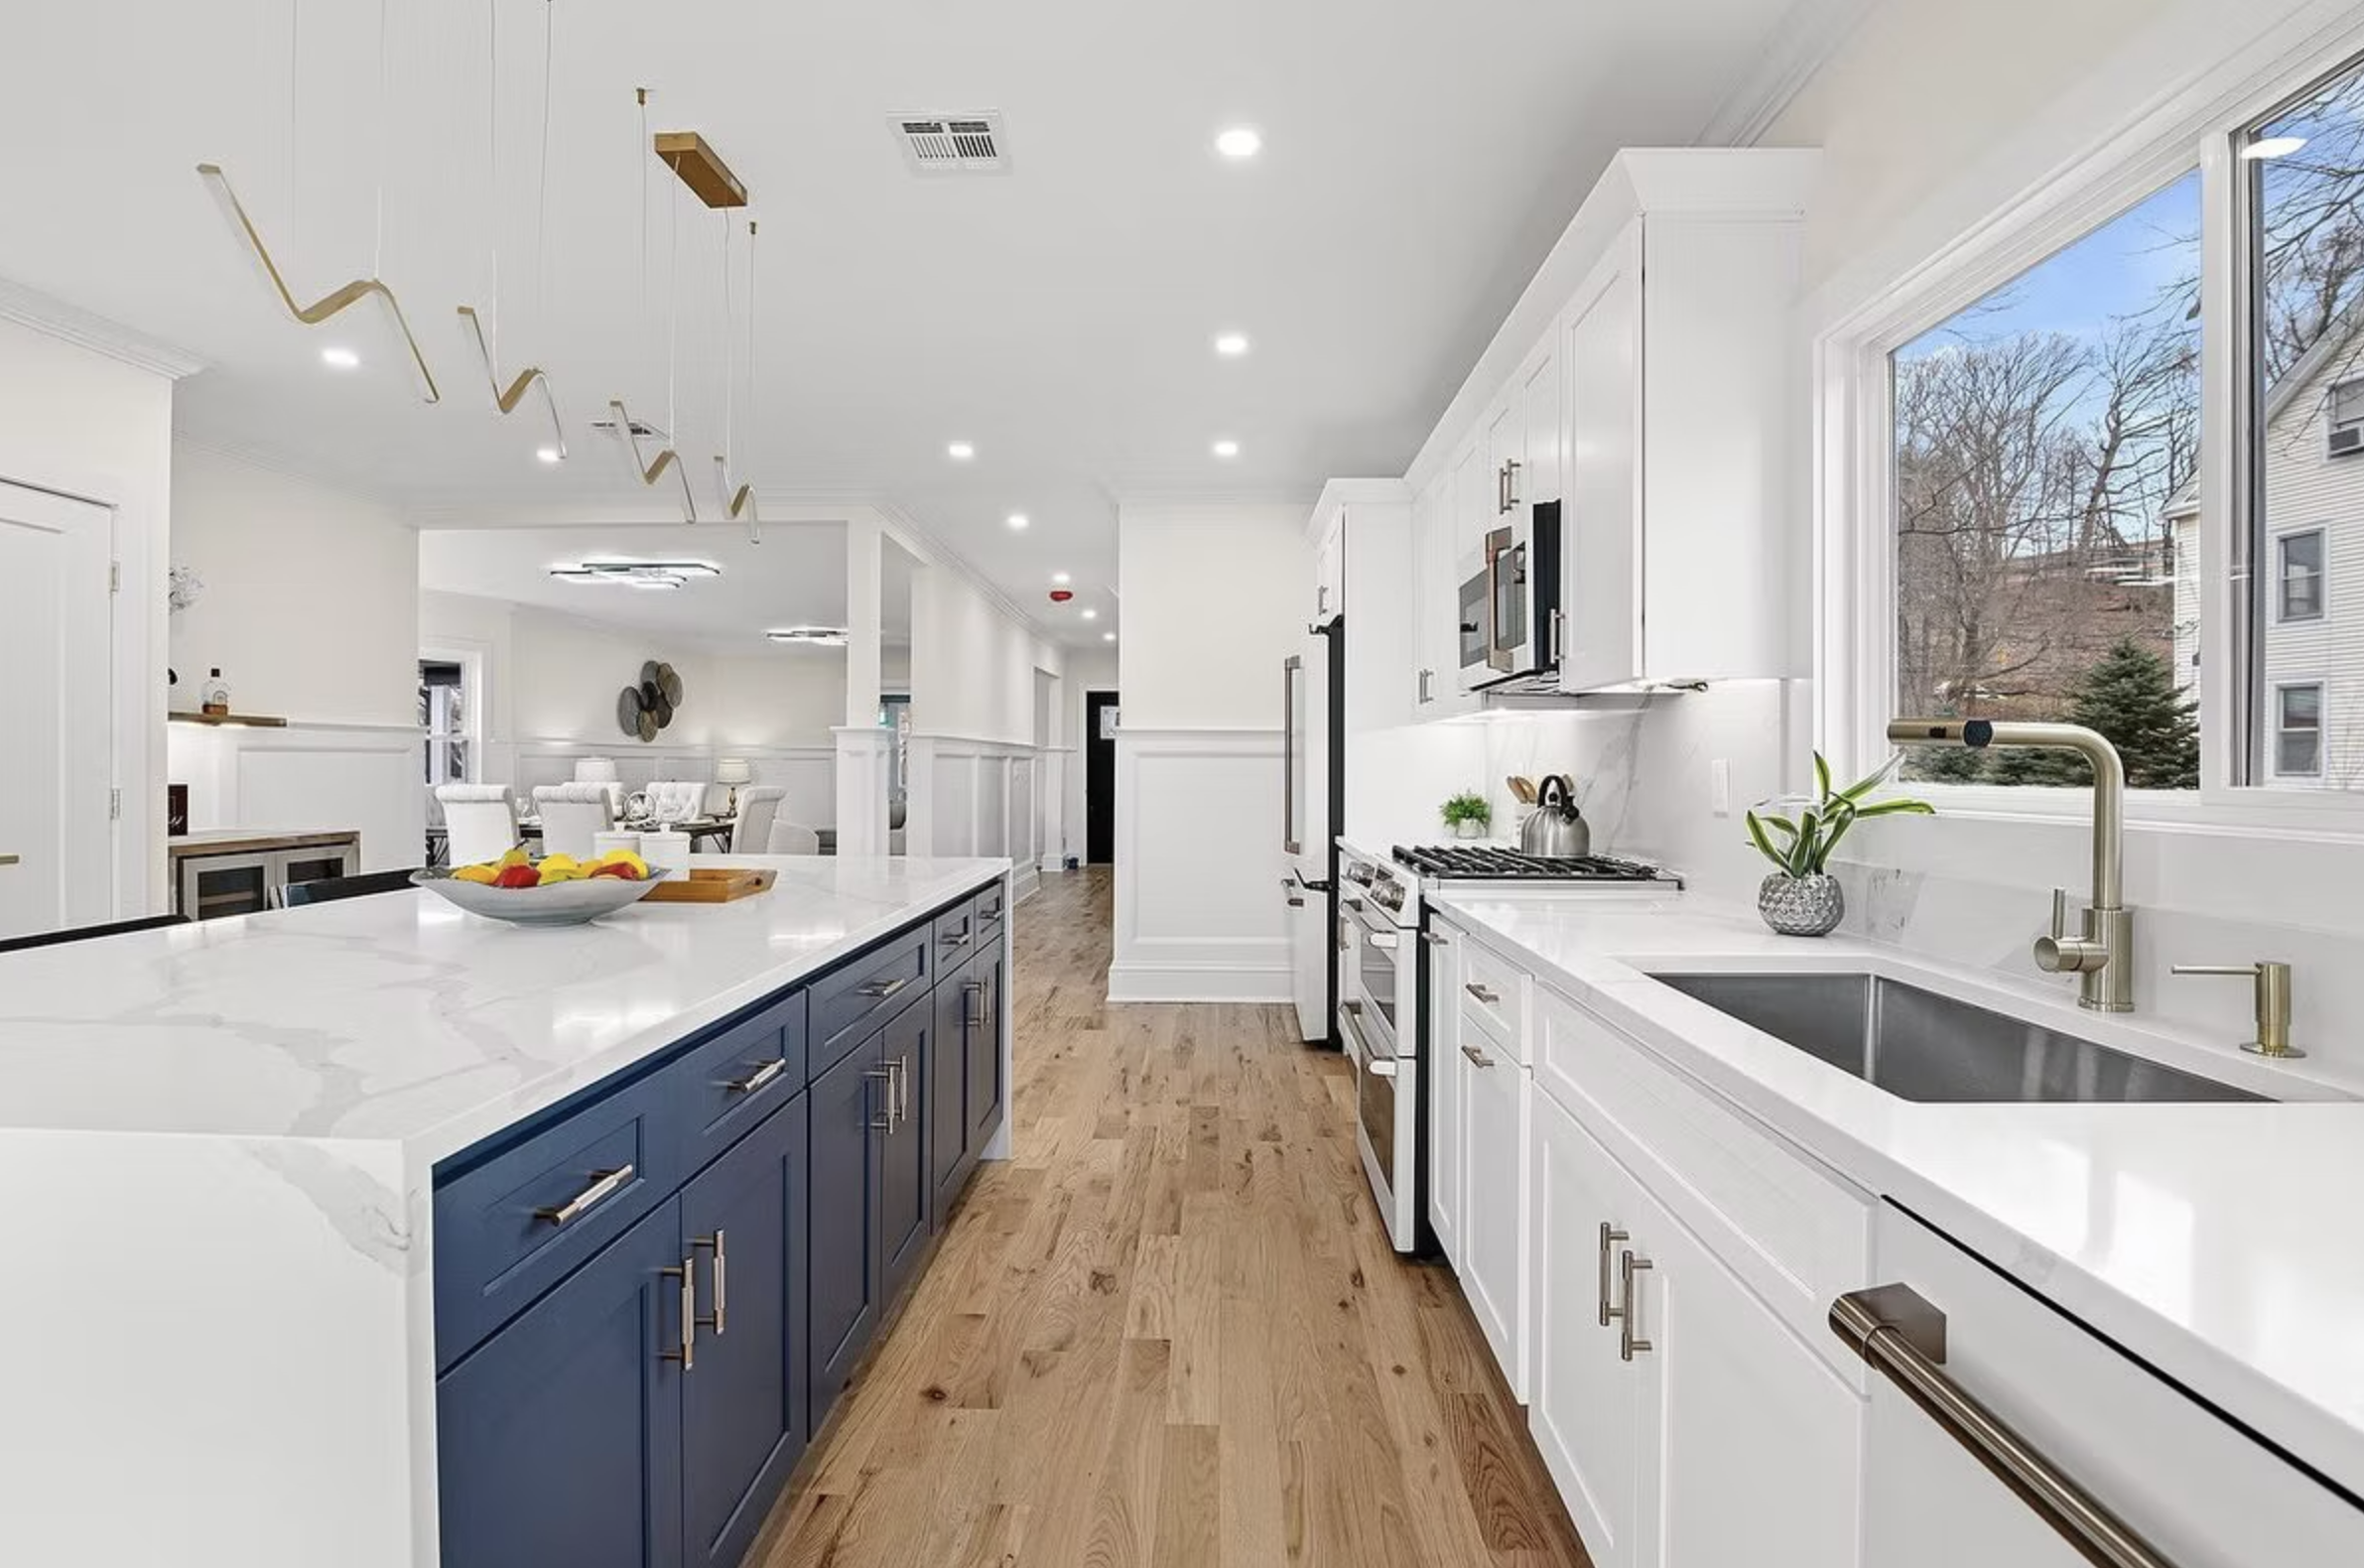
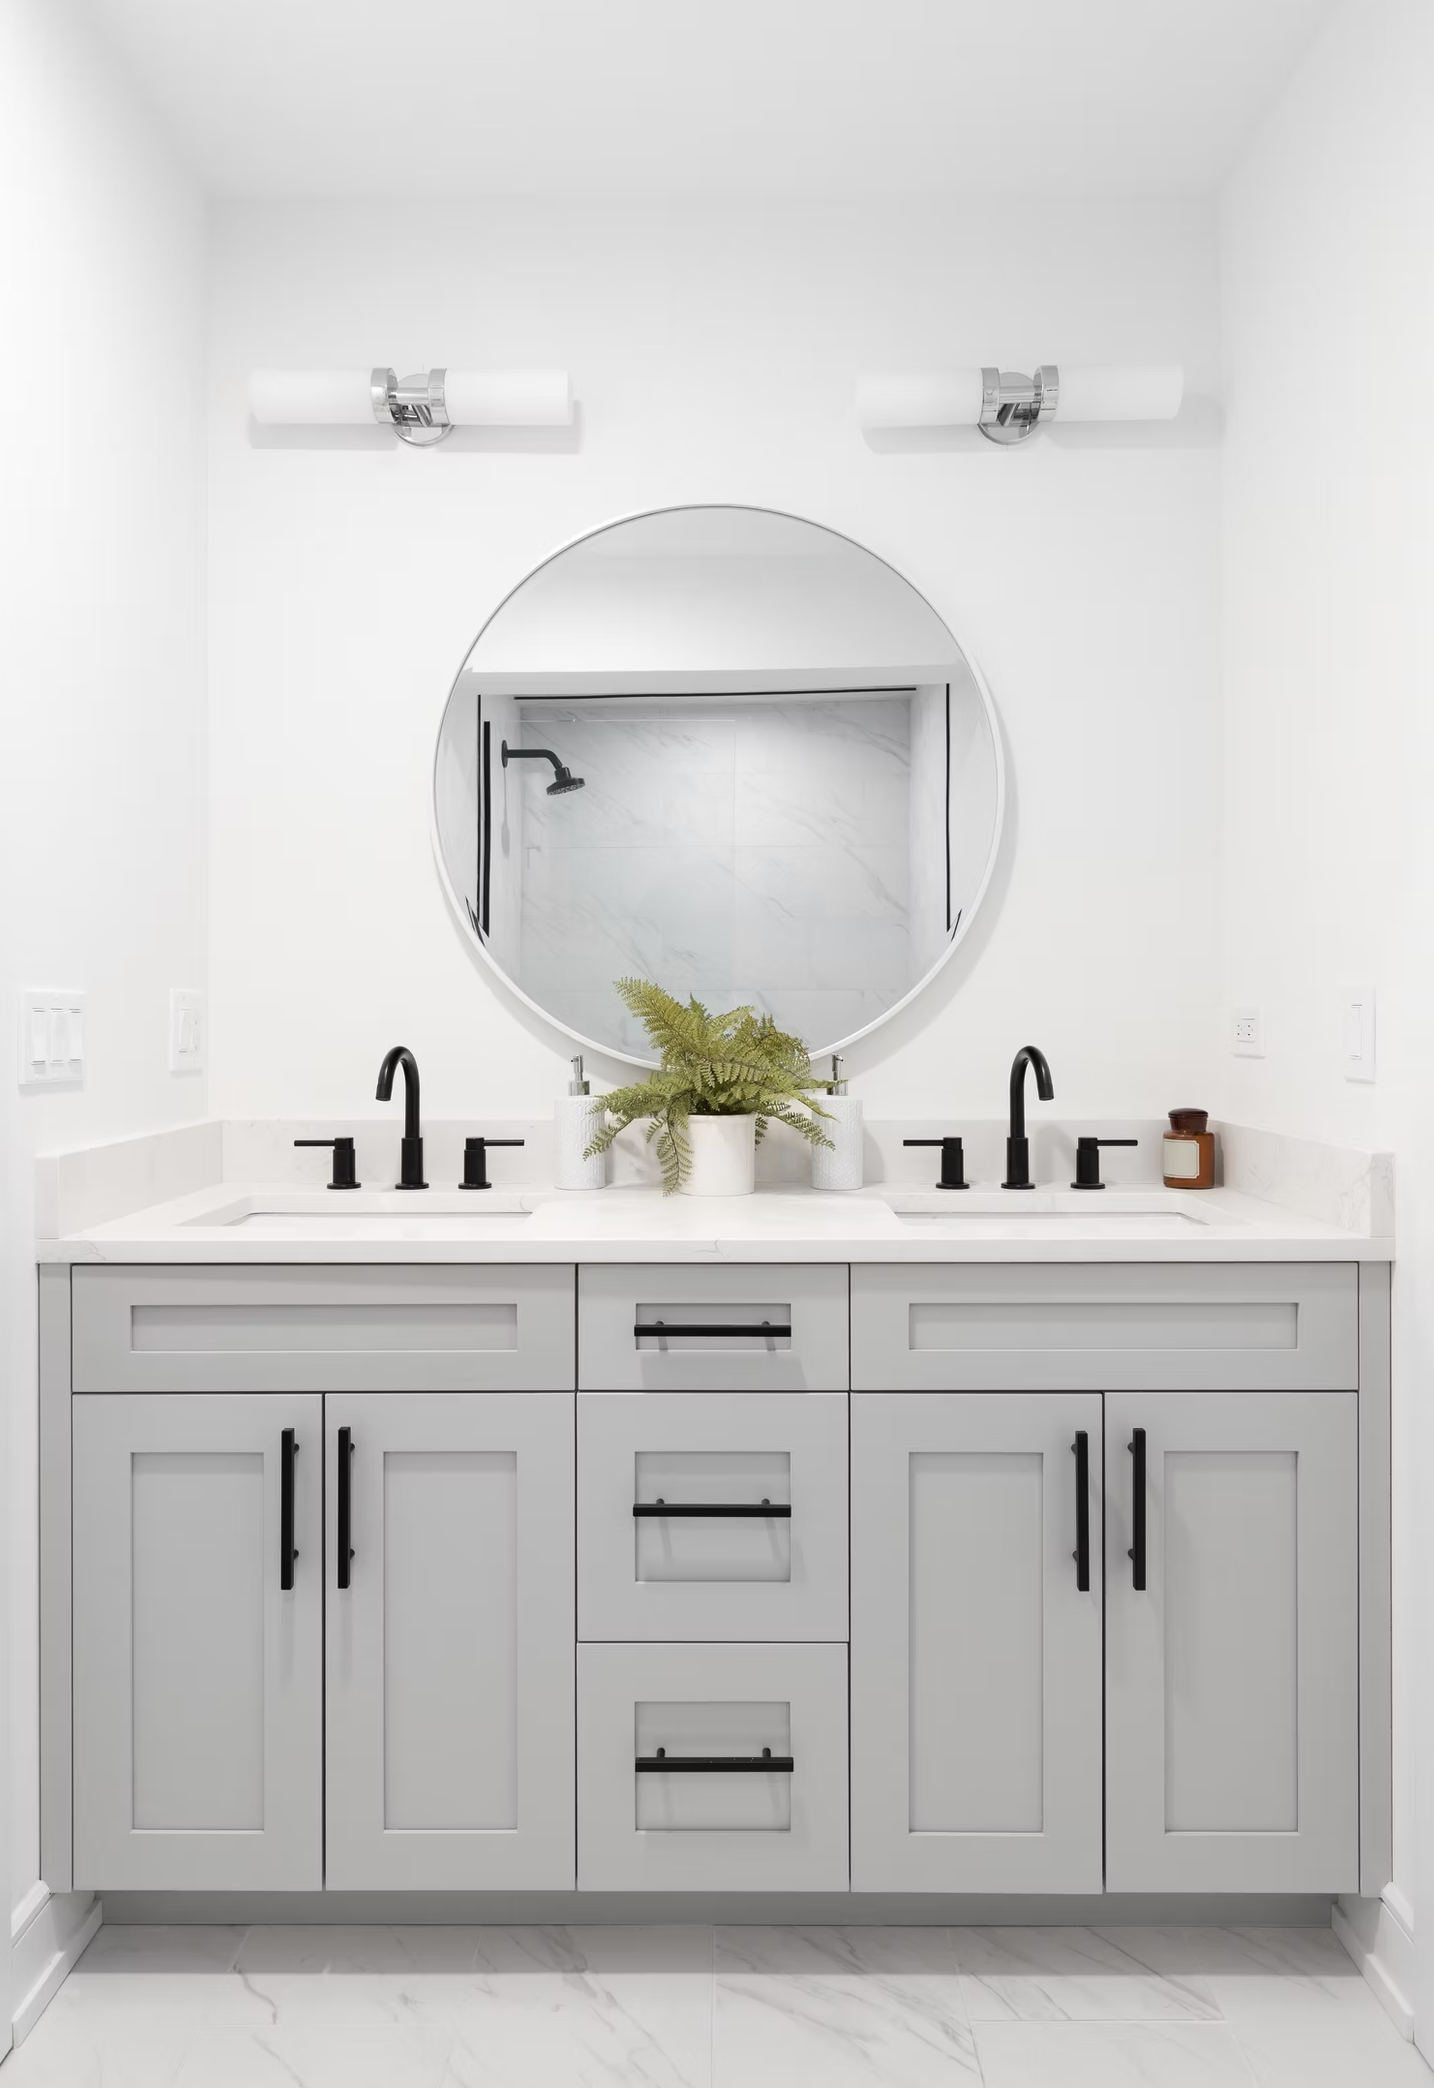
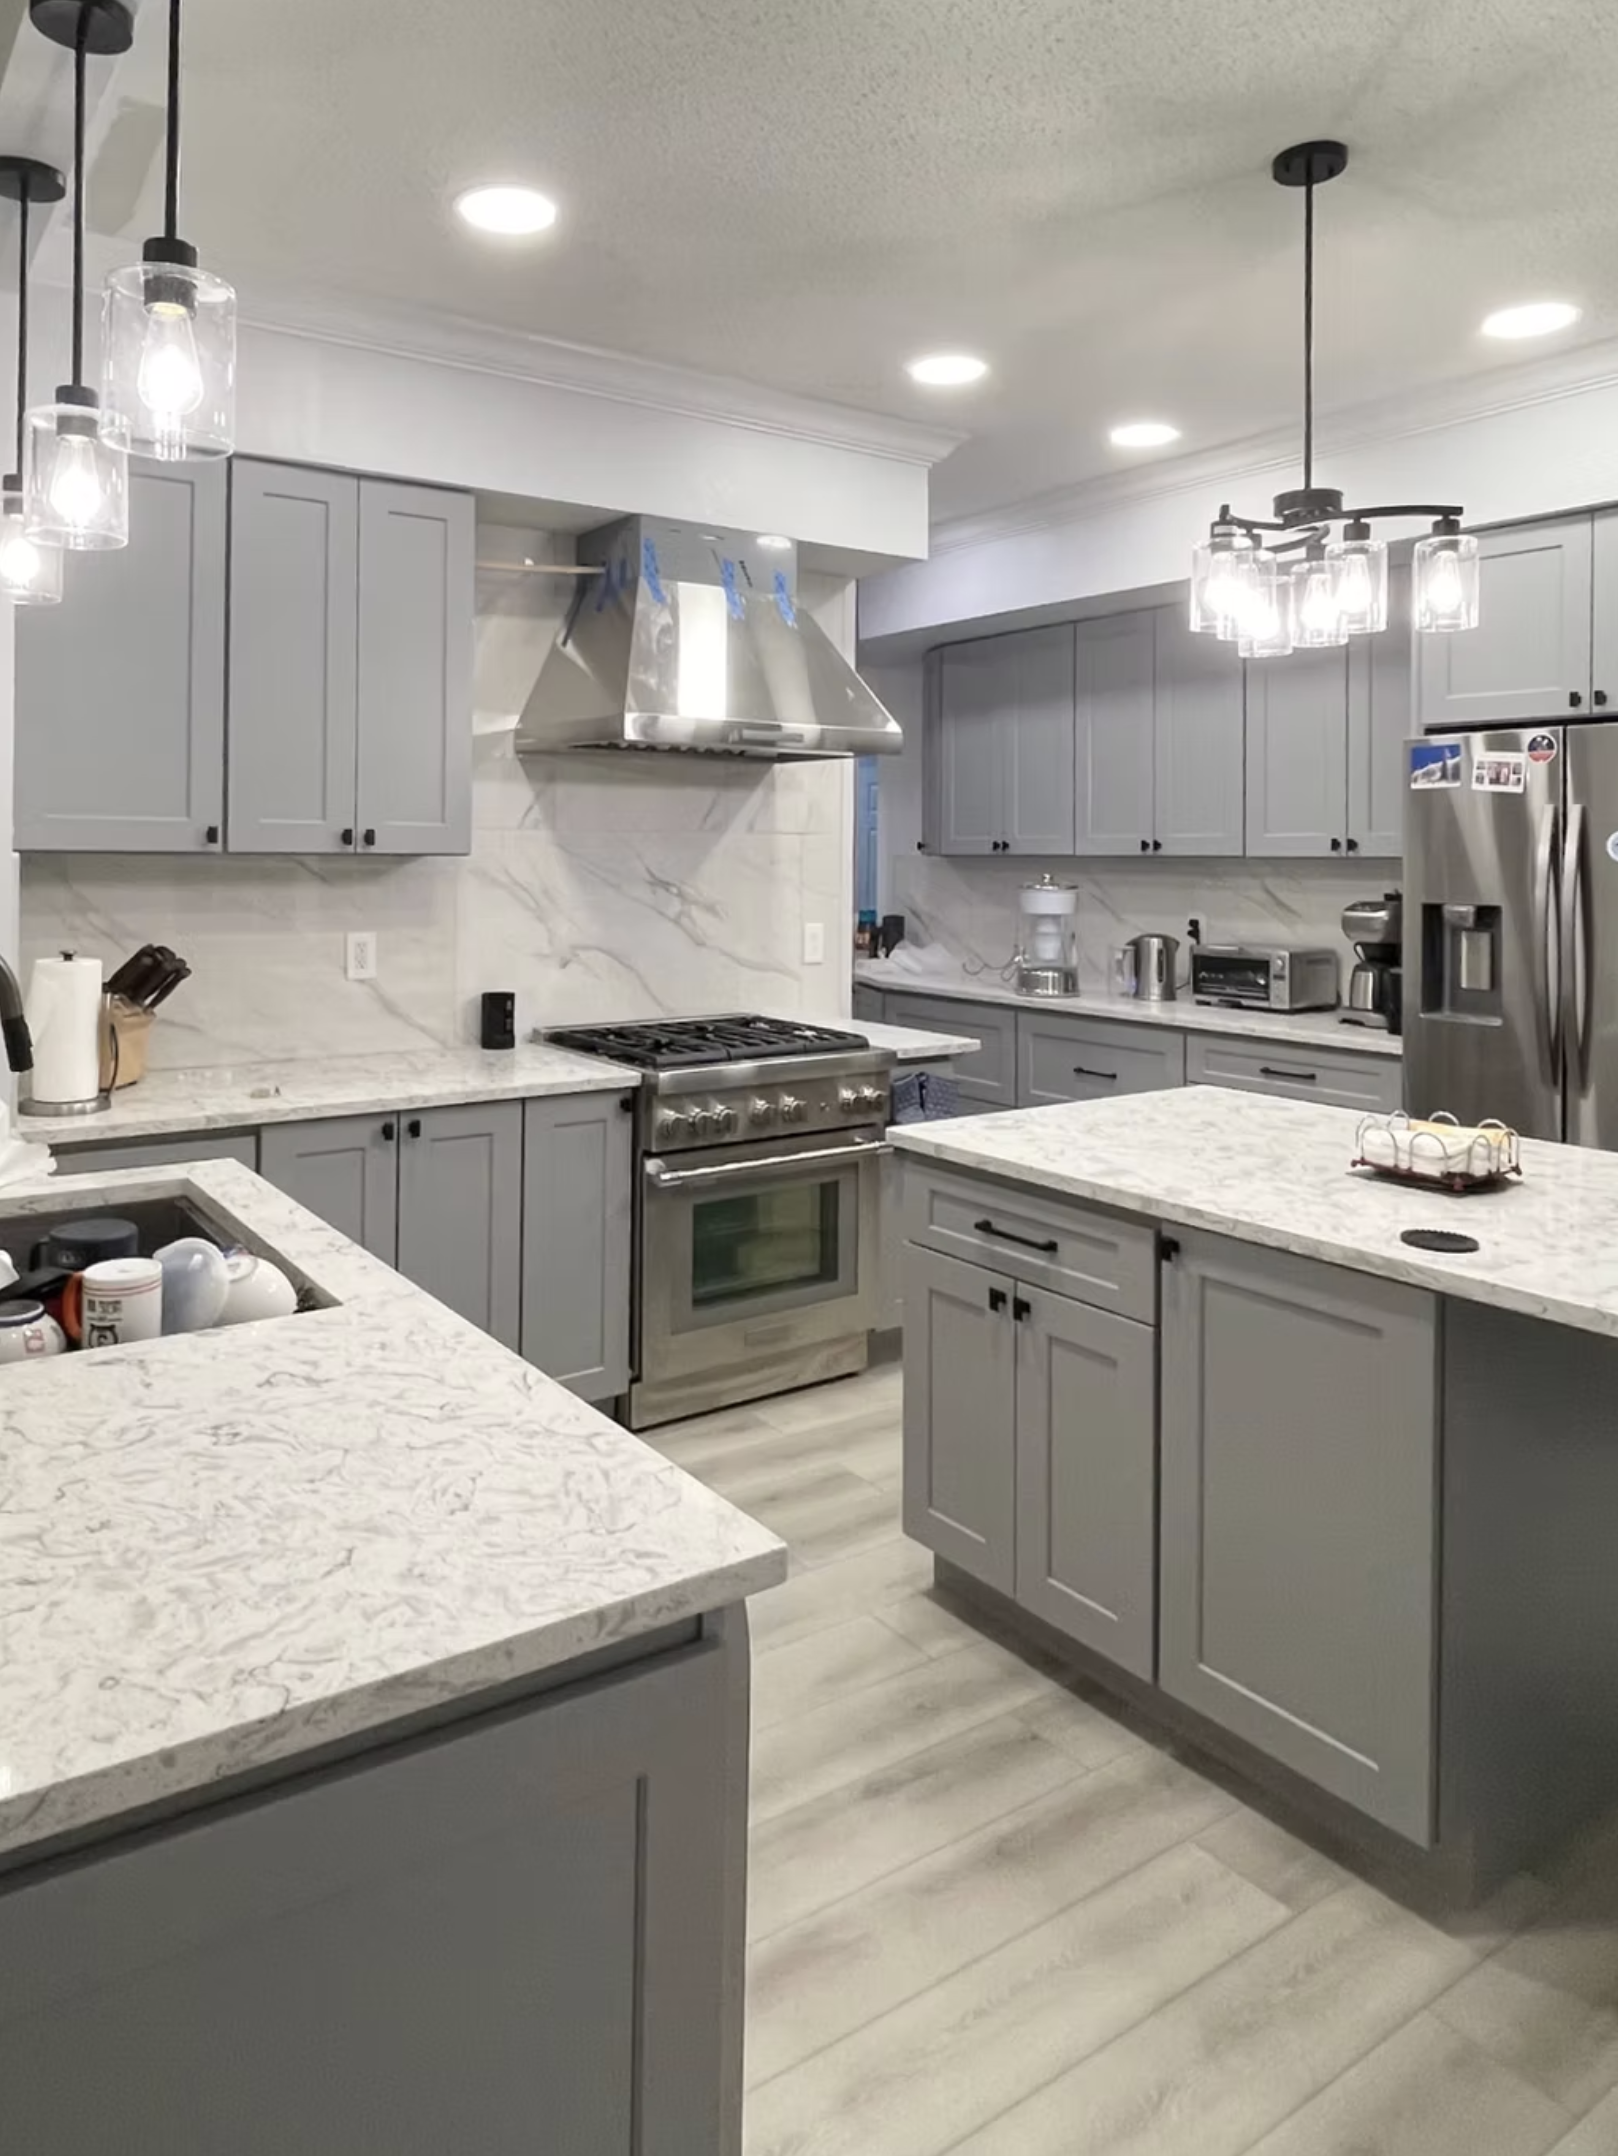
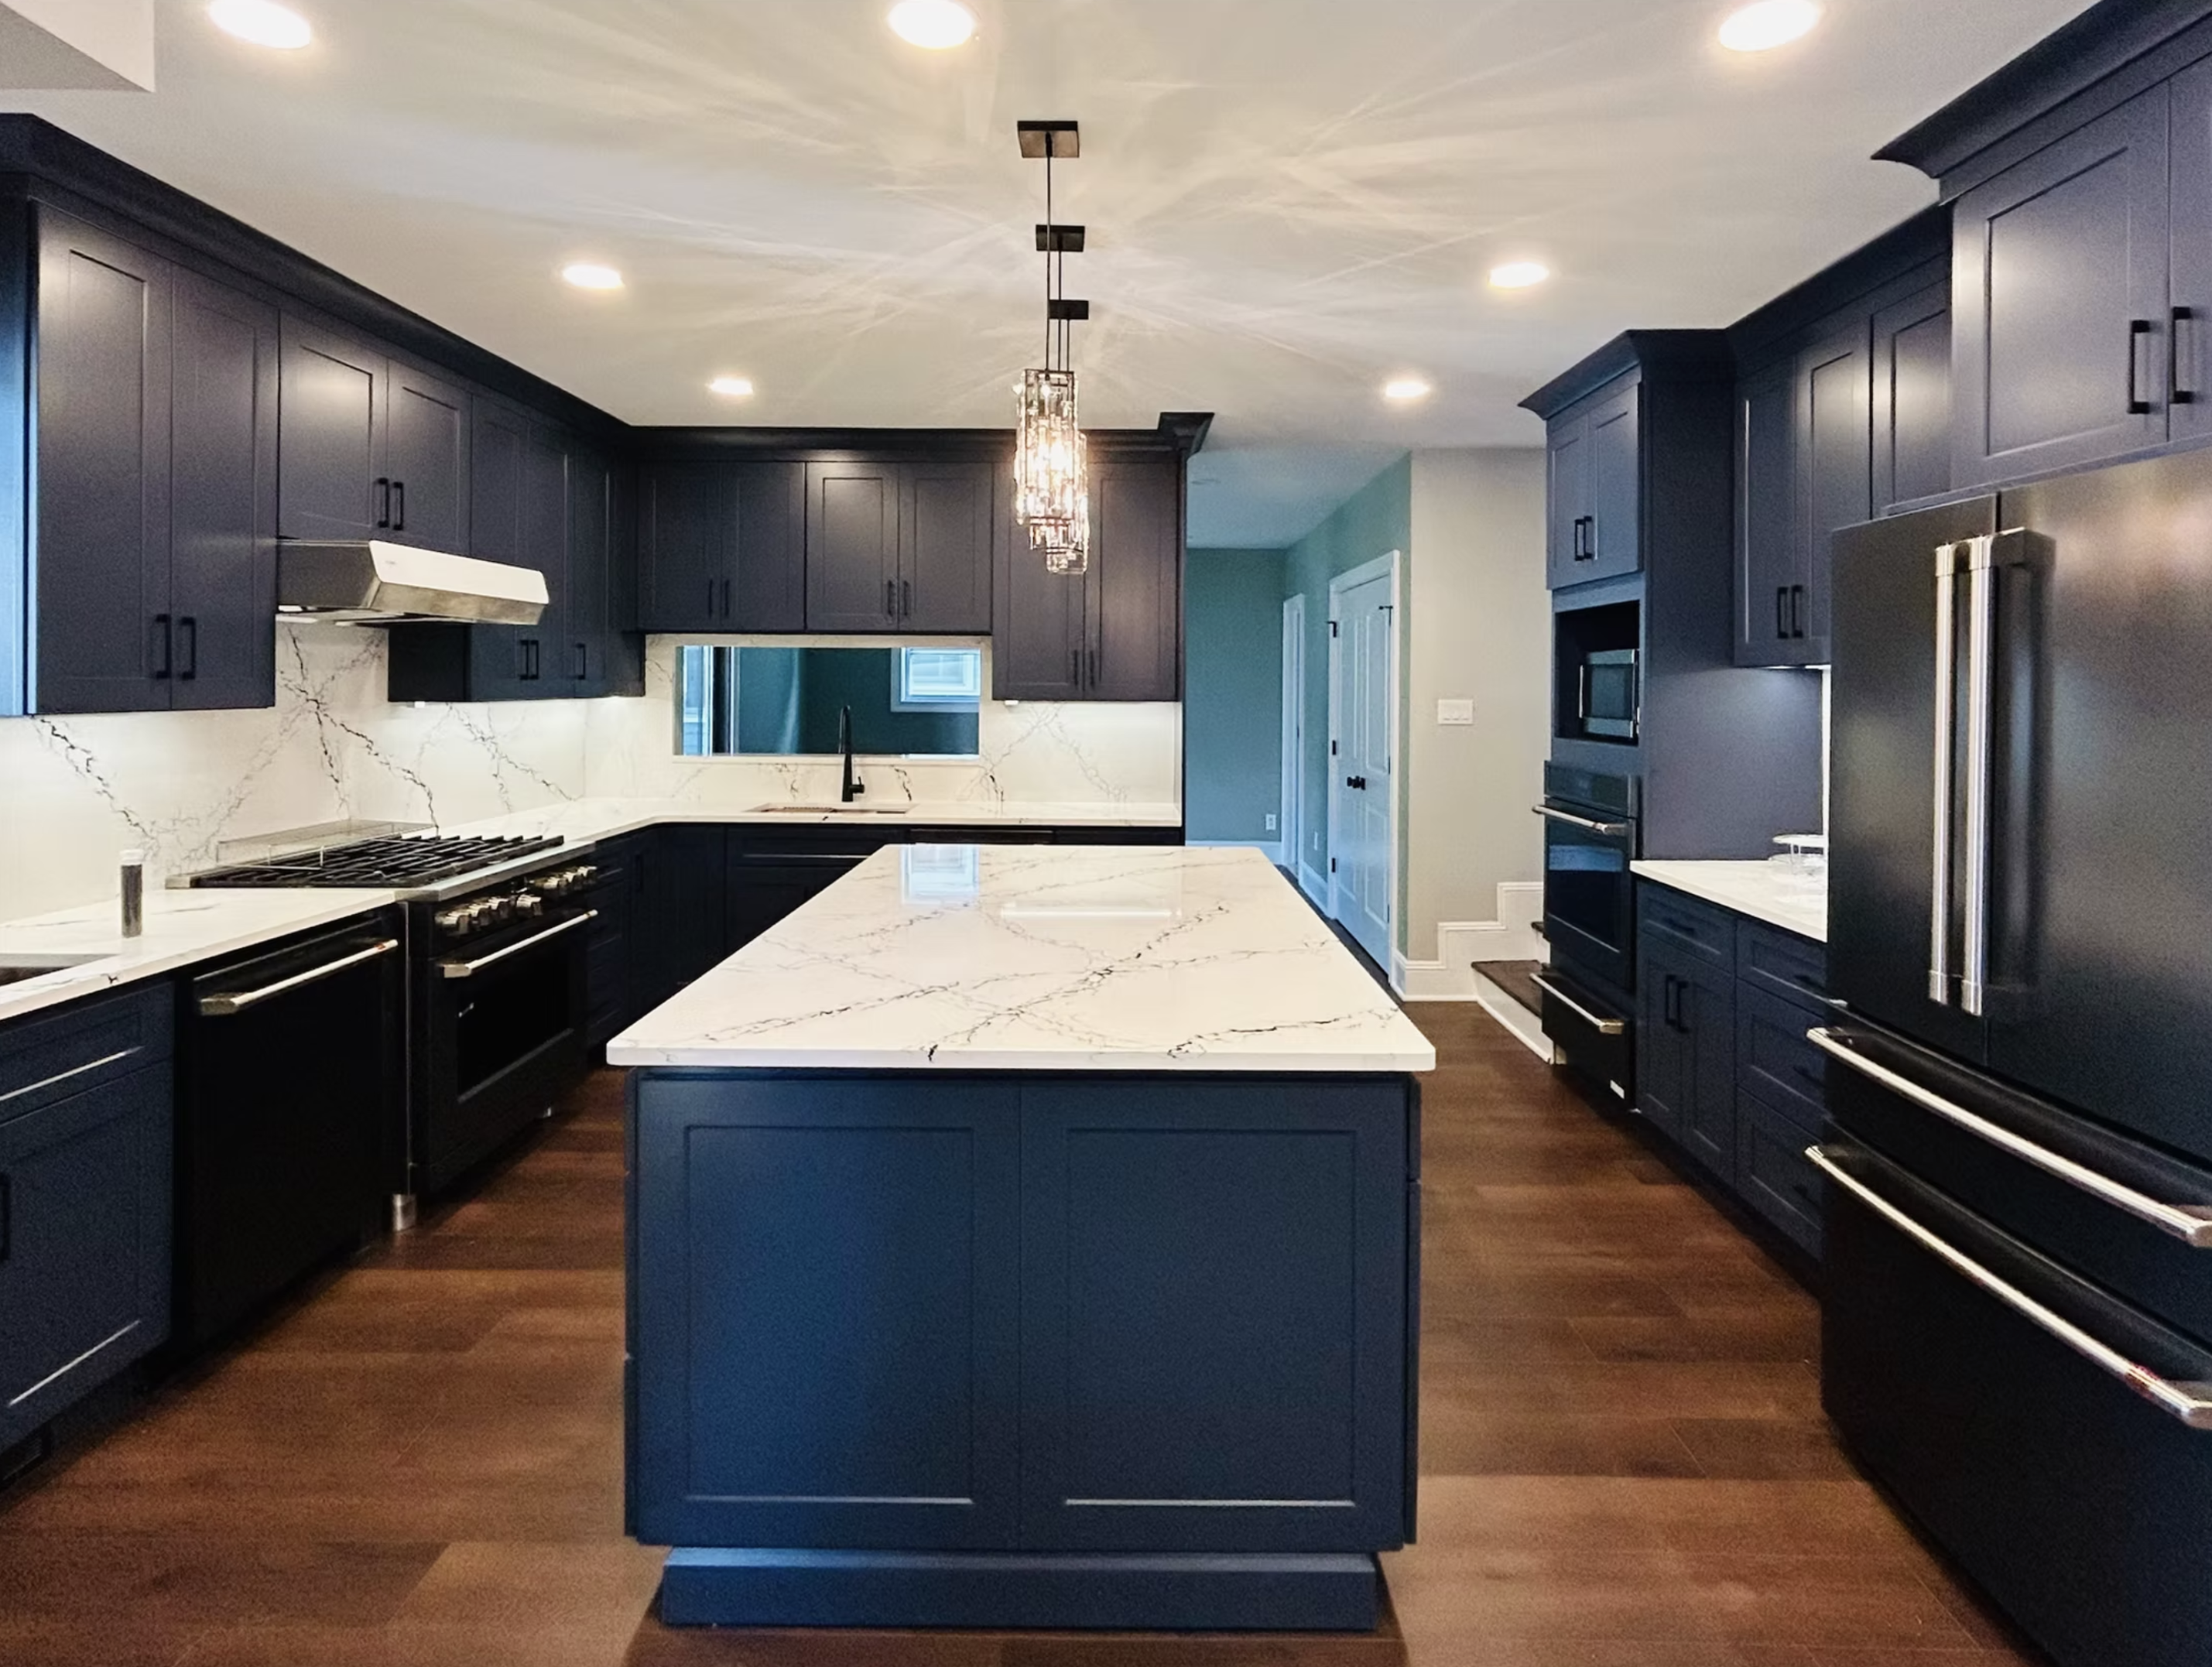
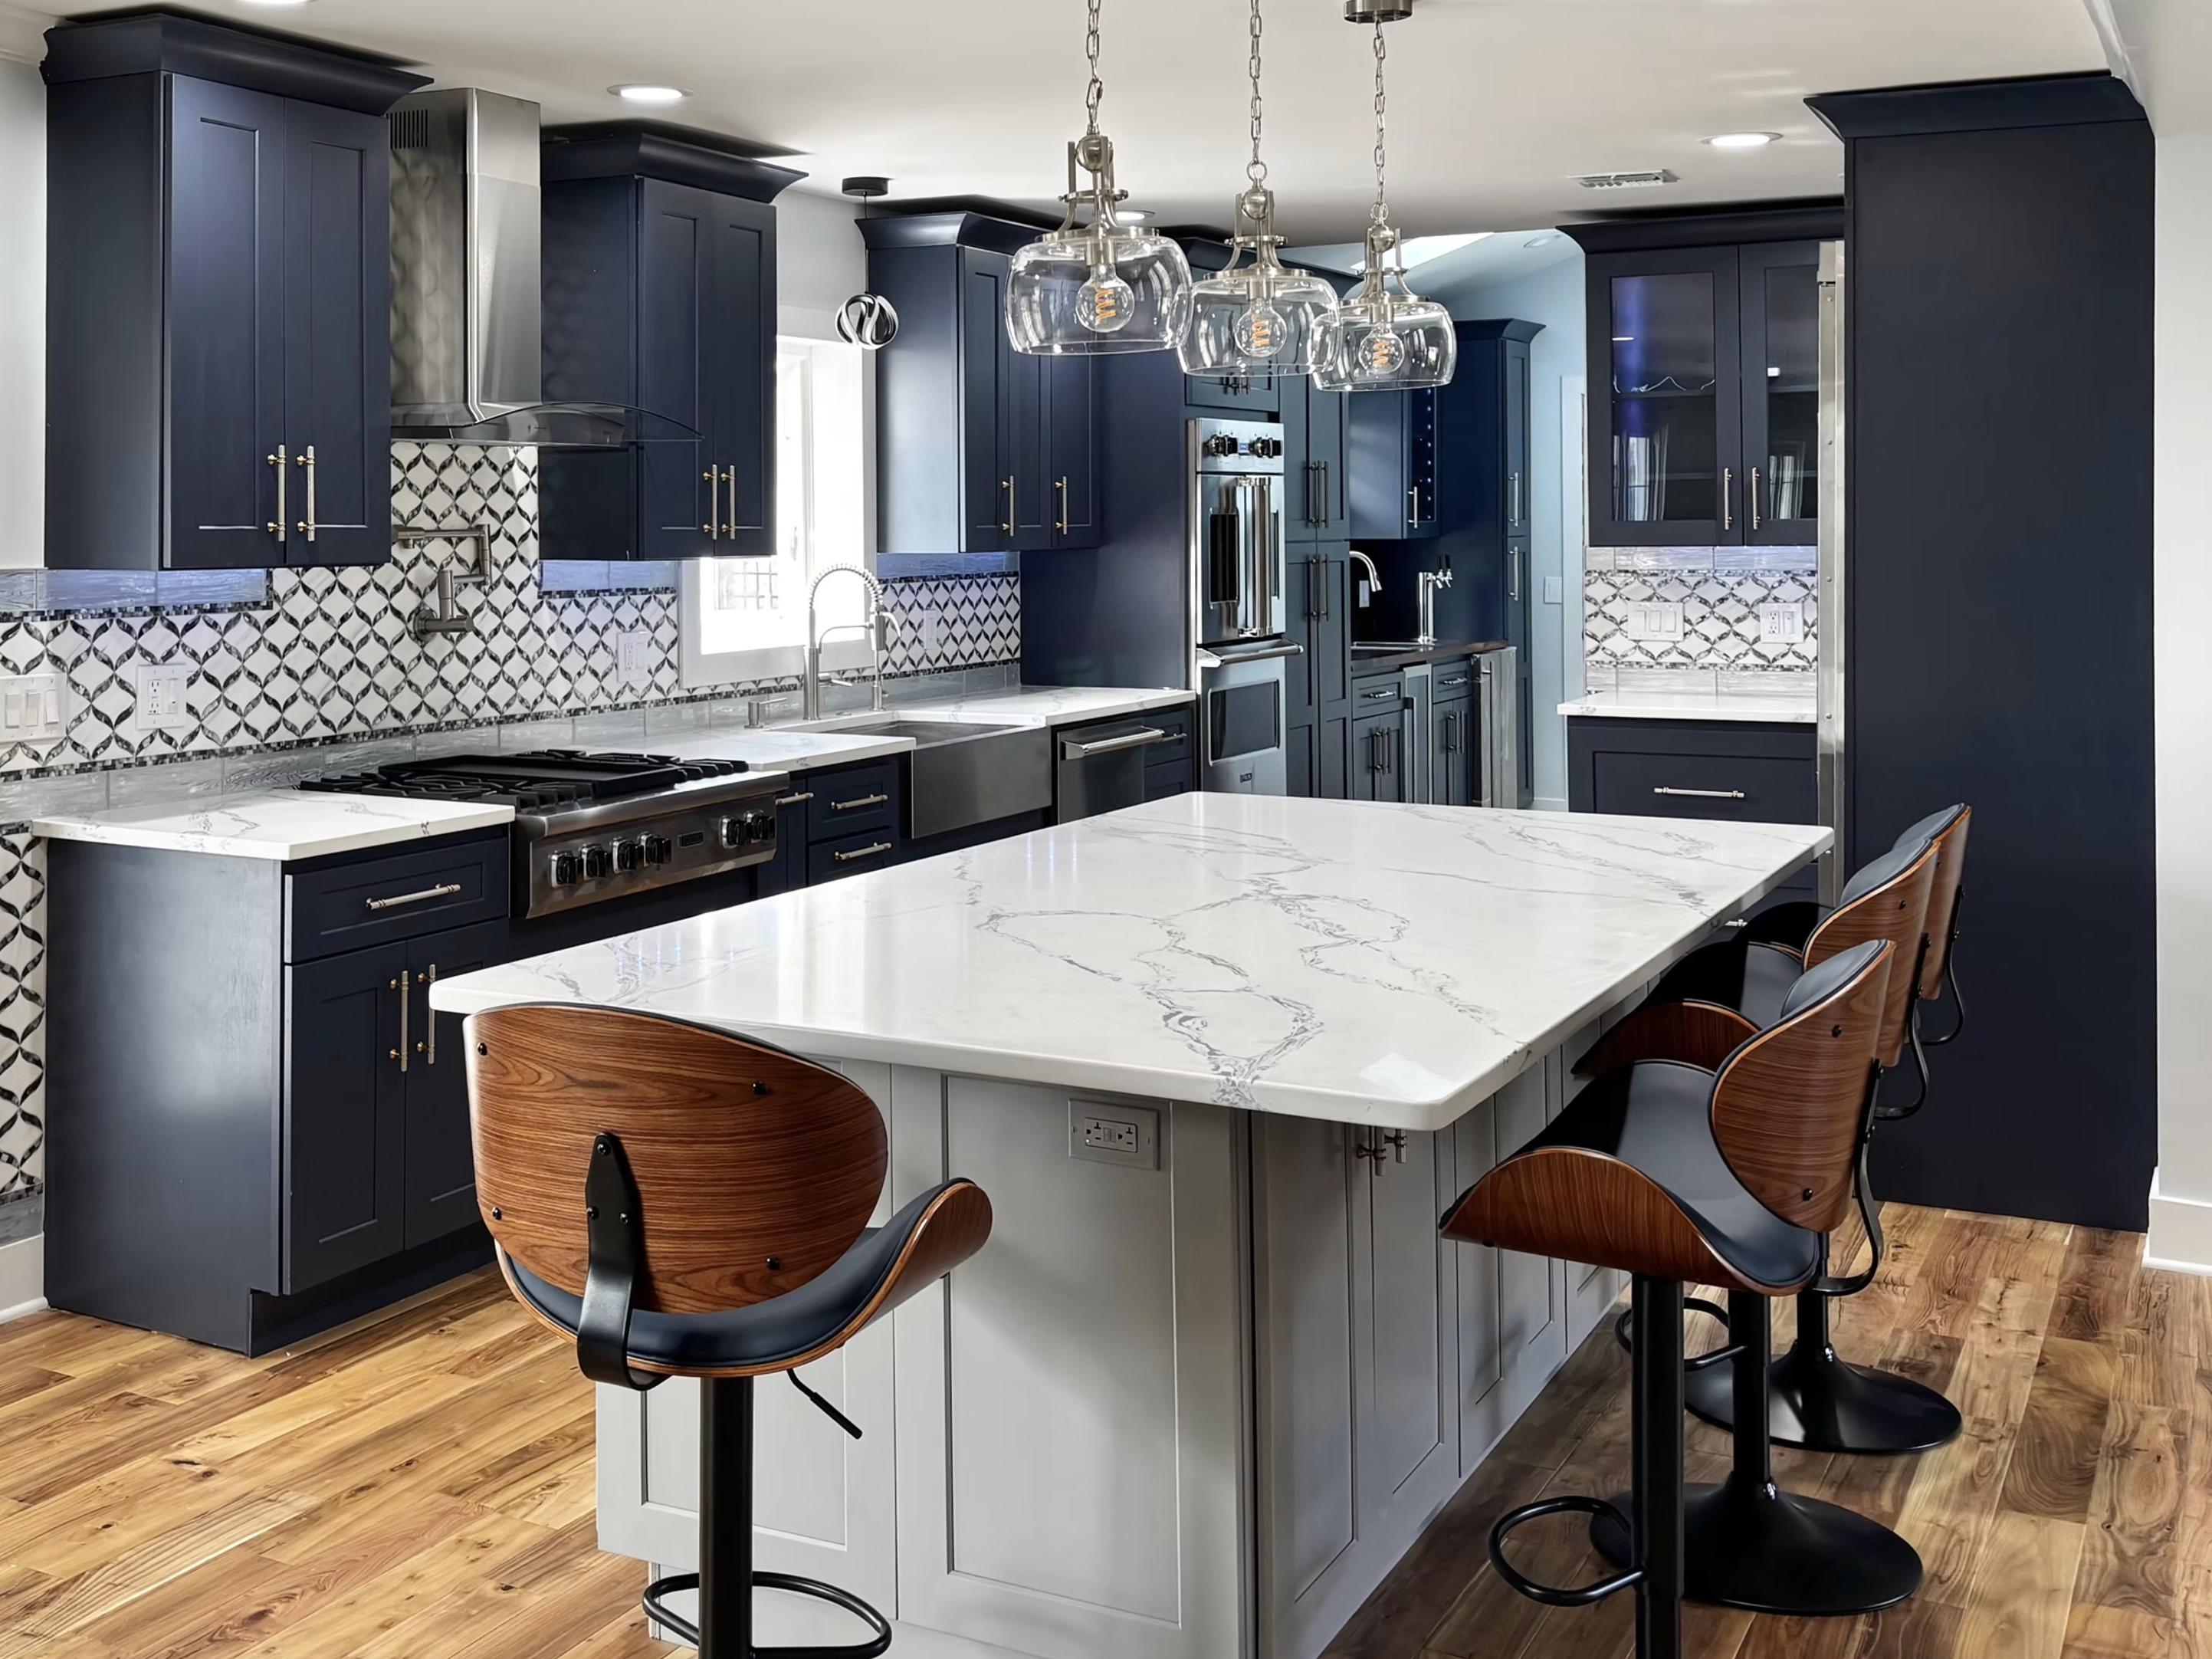
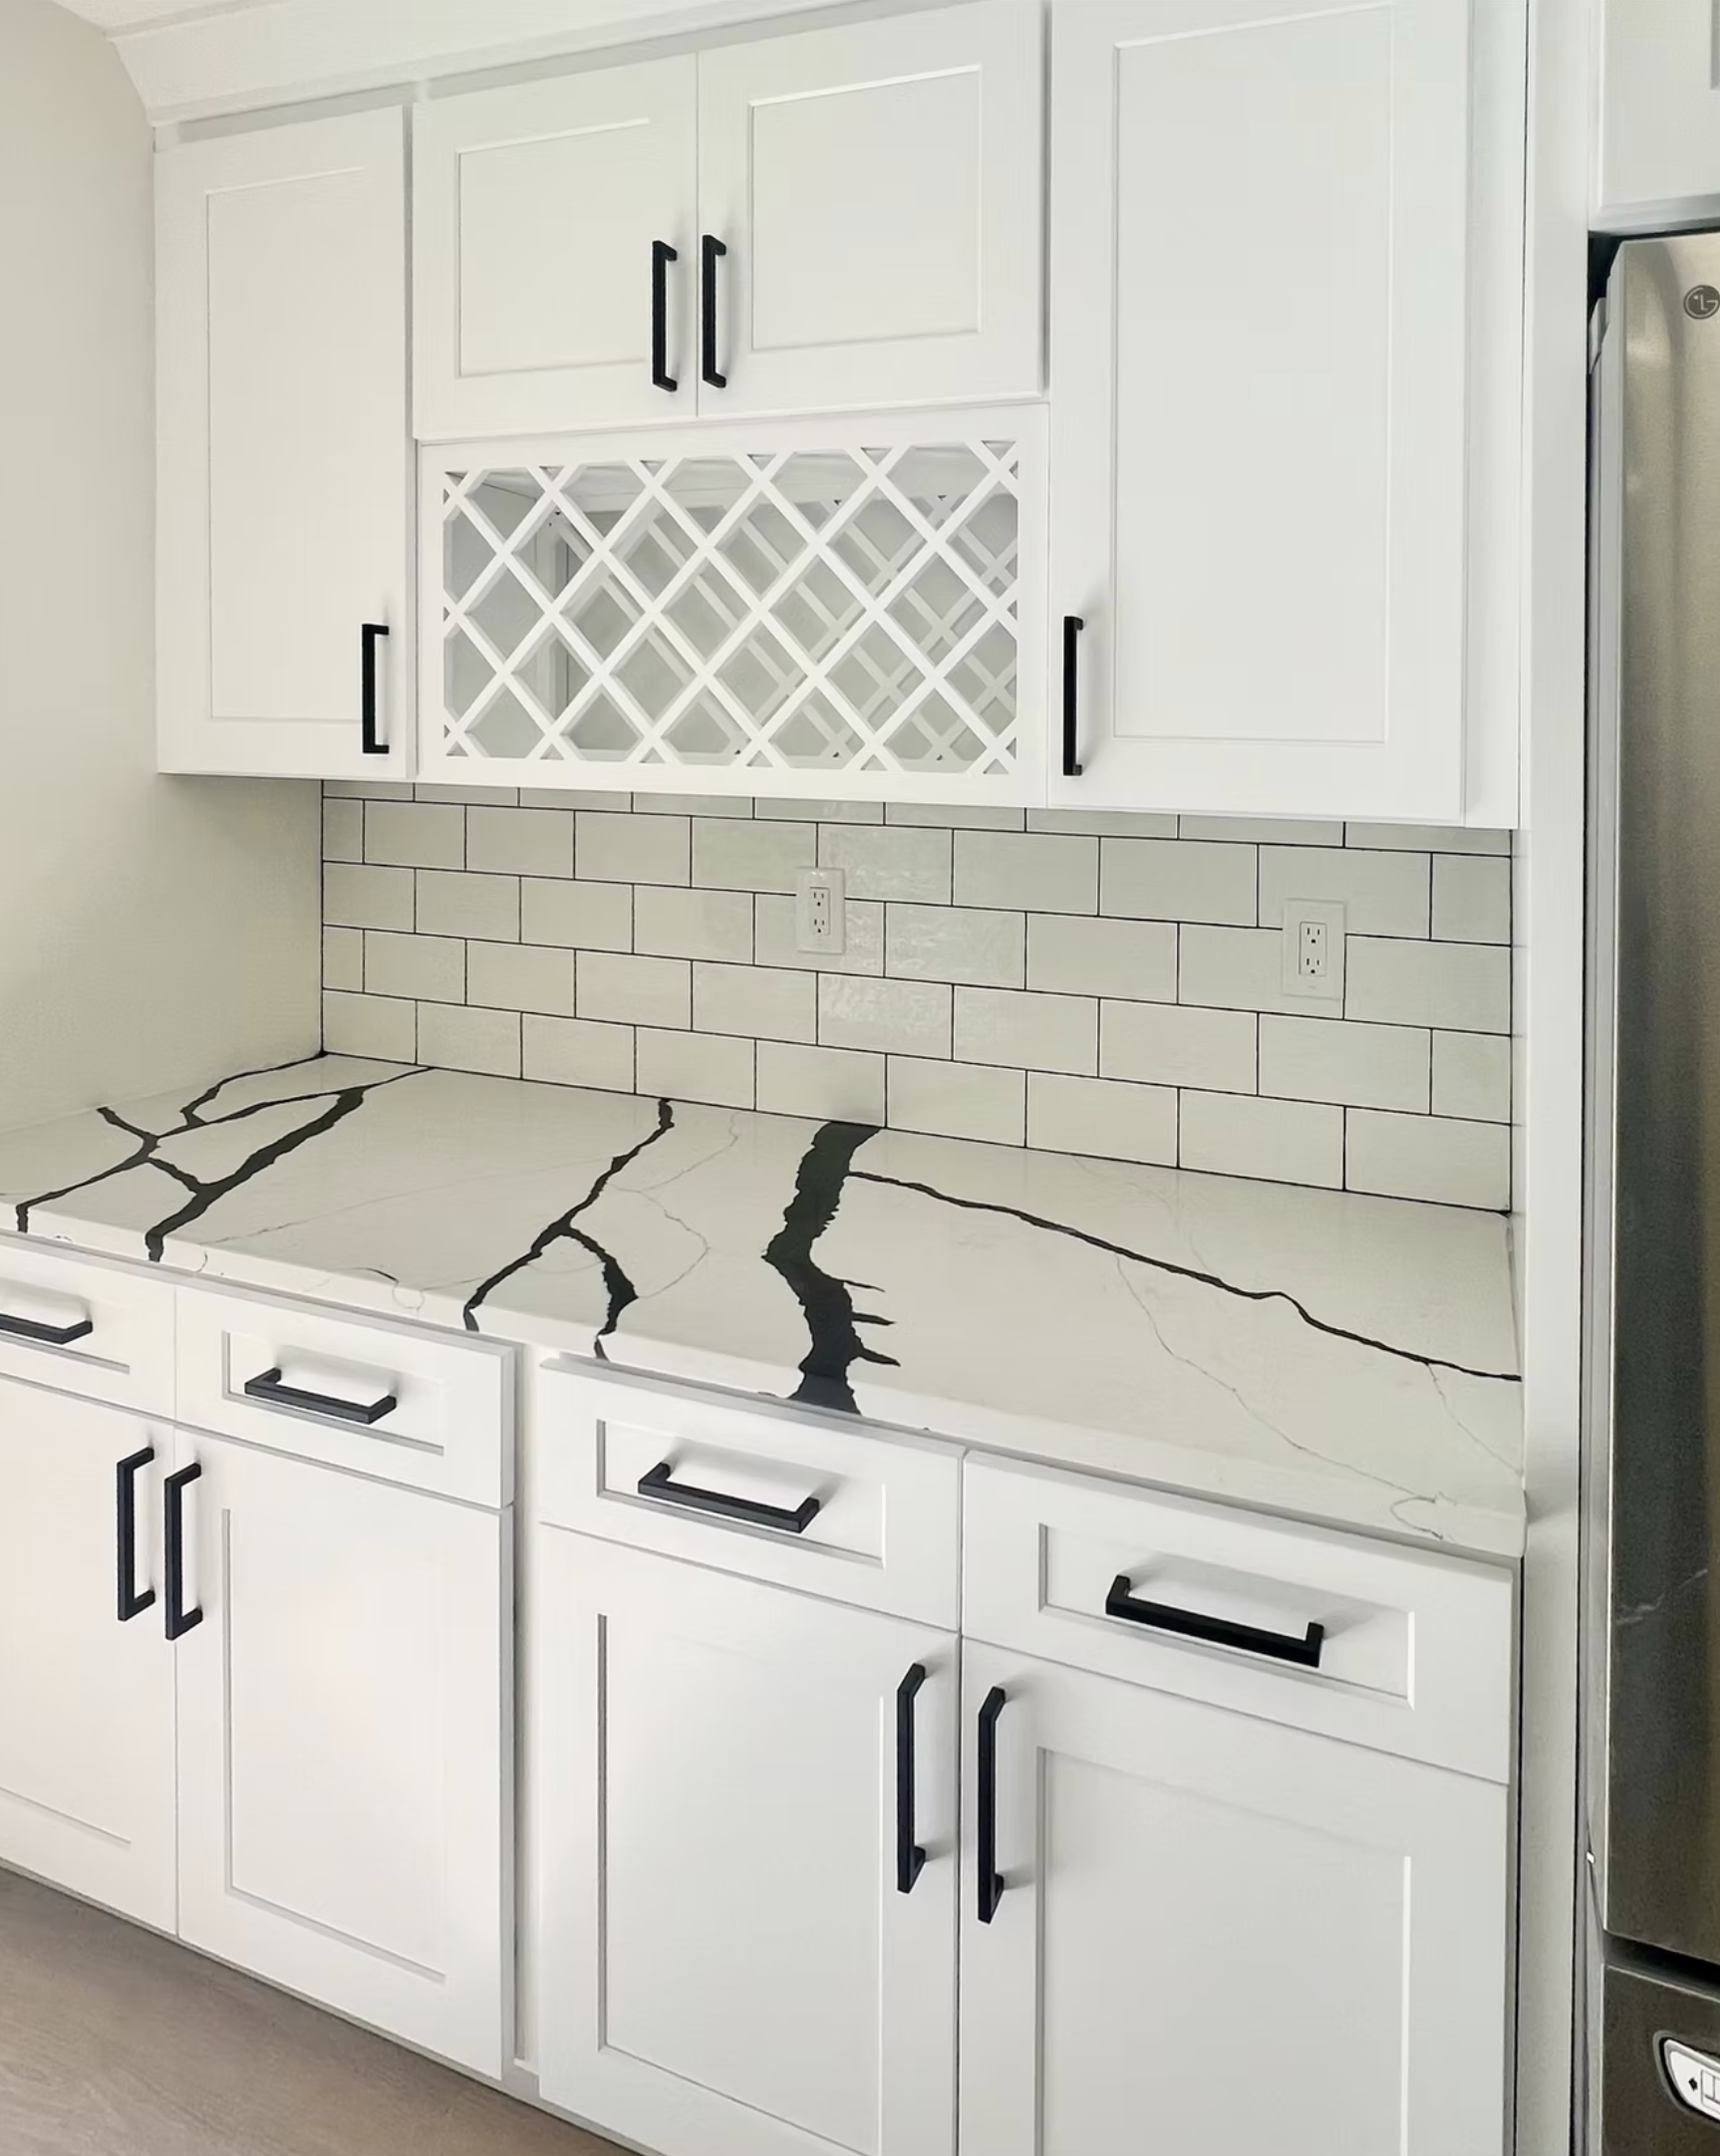
Classics Kitchen Cabinet

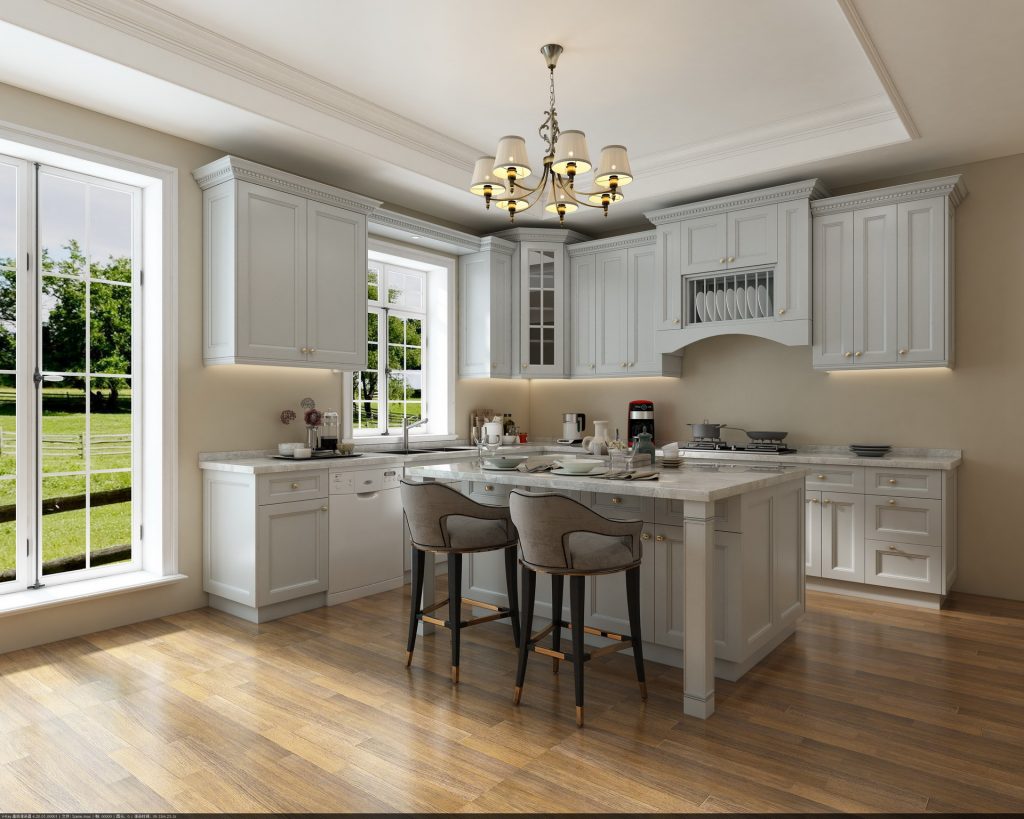
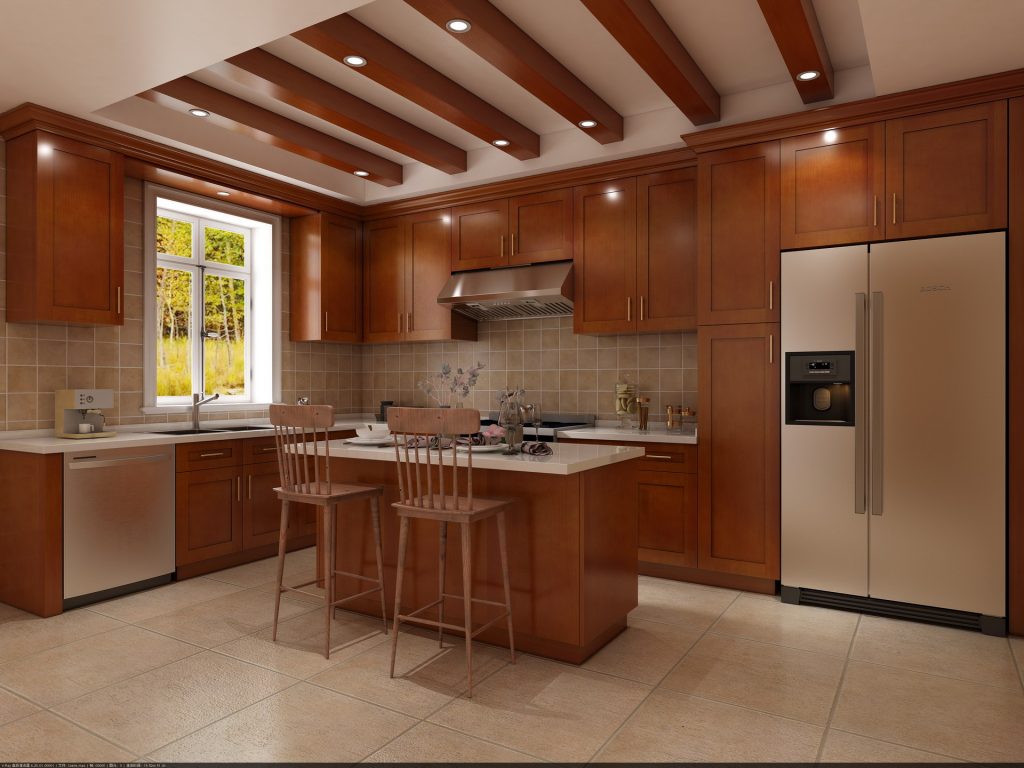
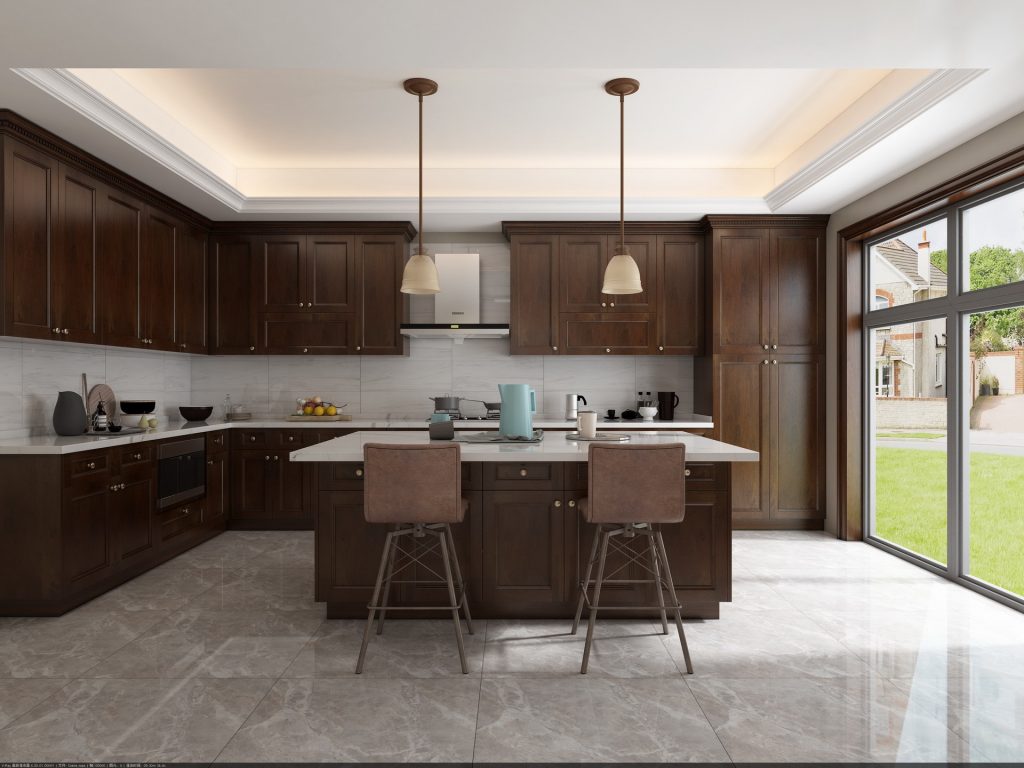
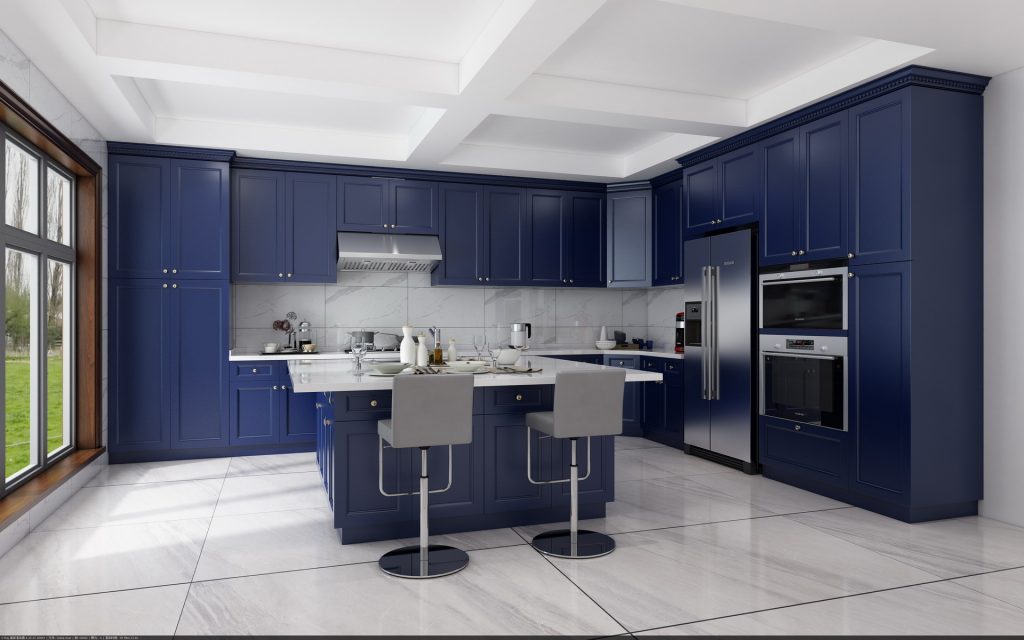
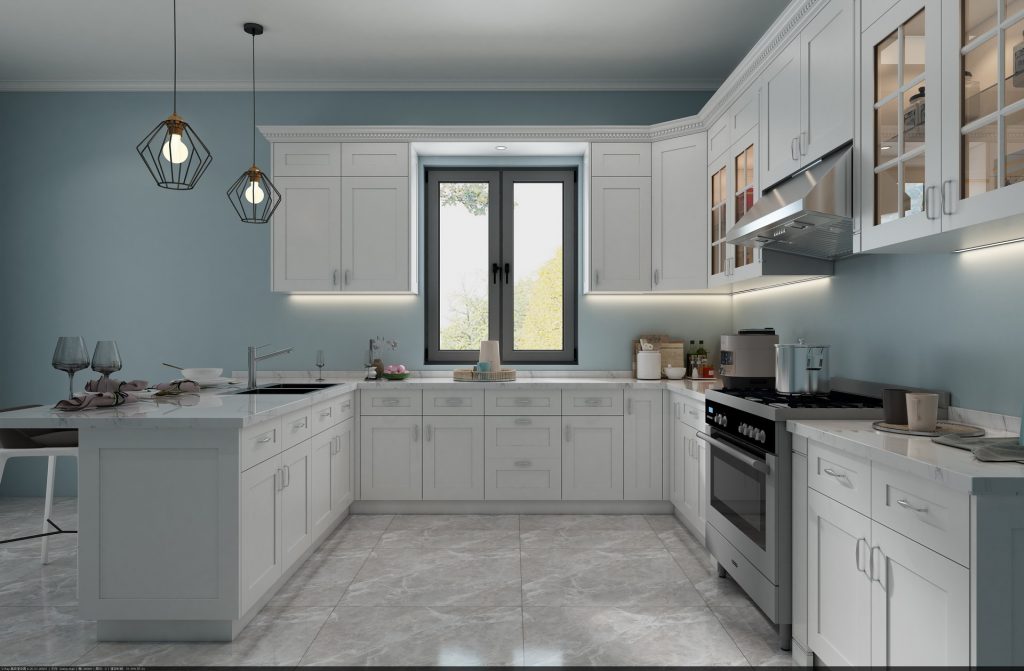
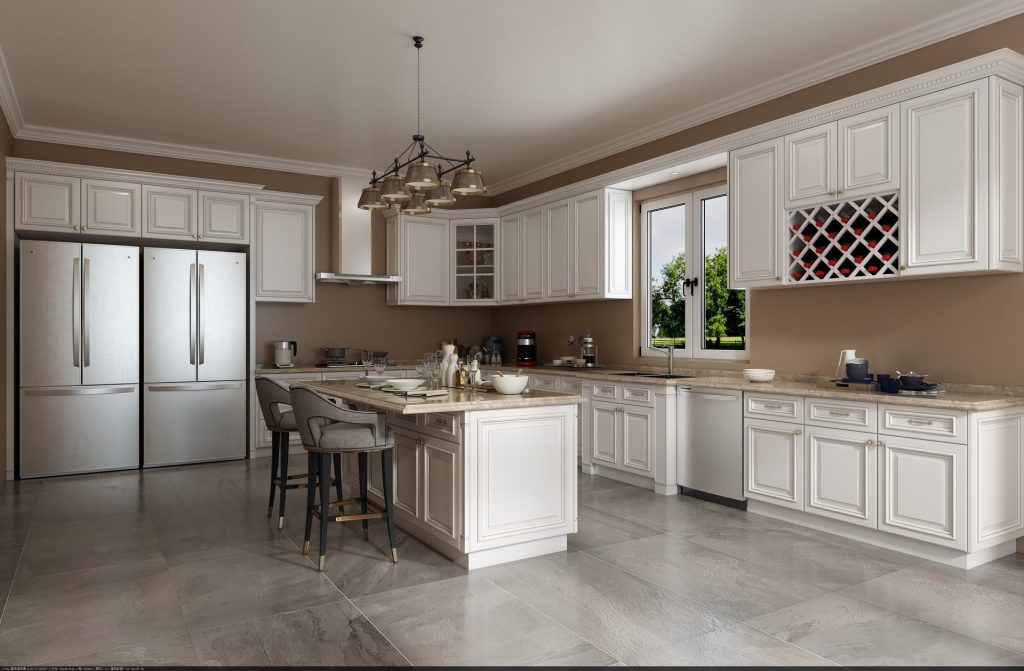
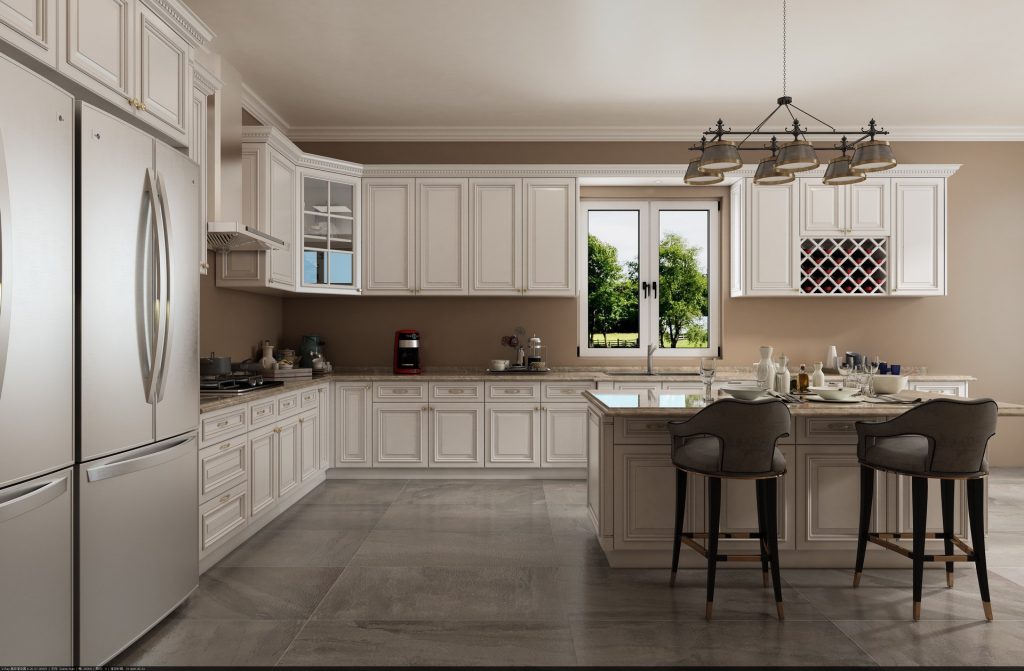
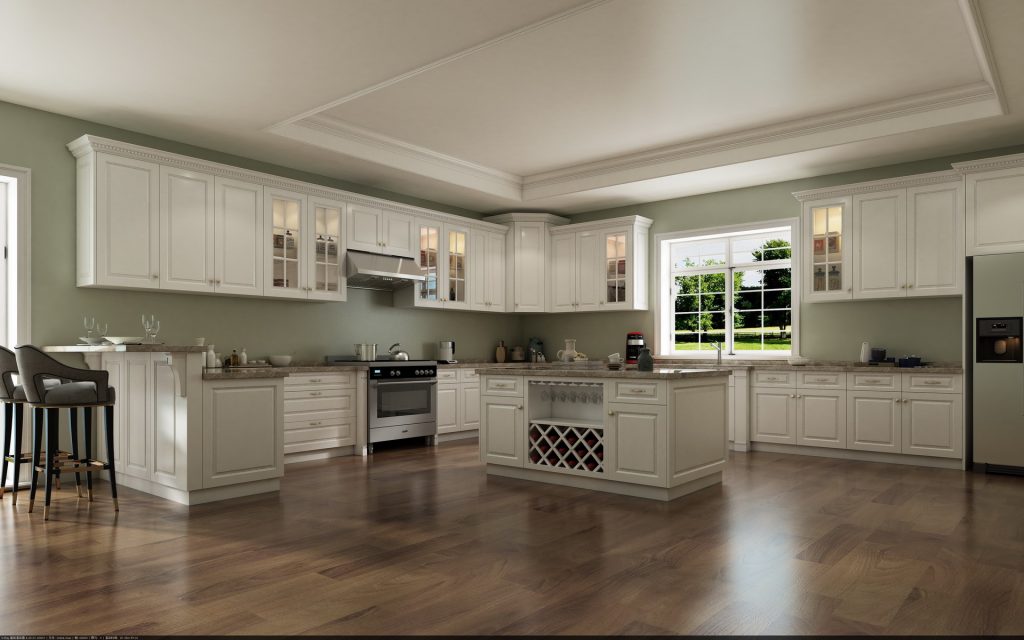
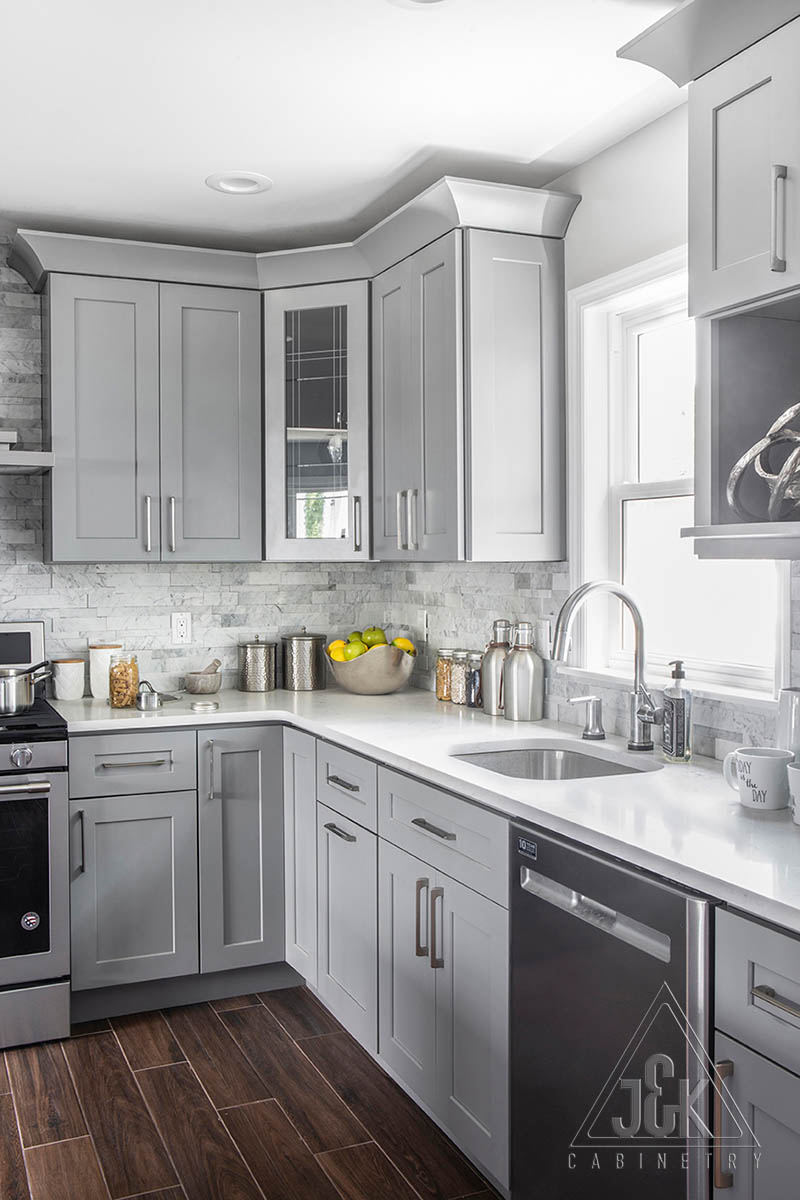
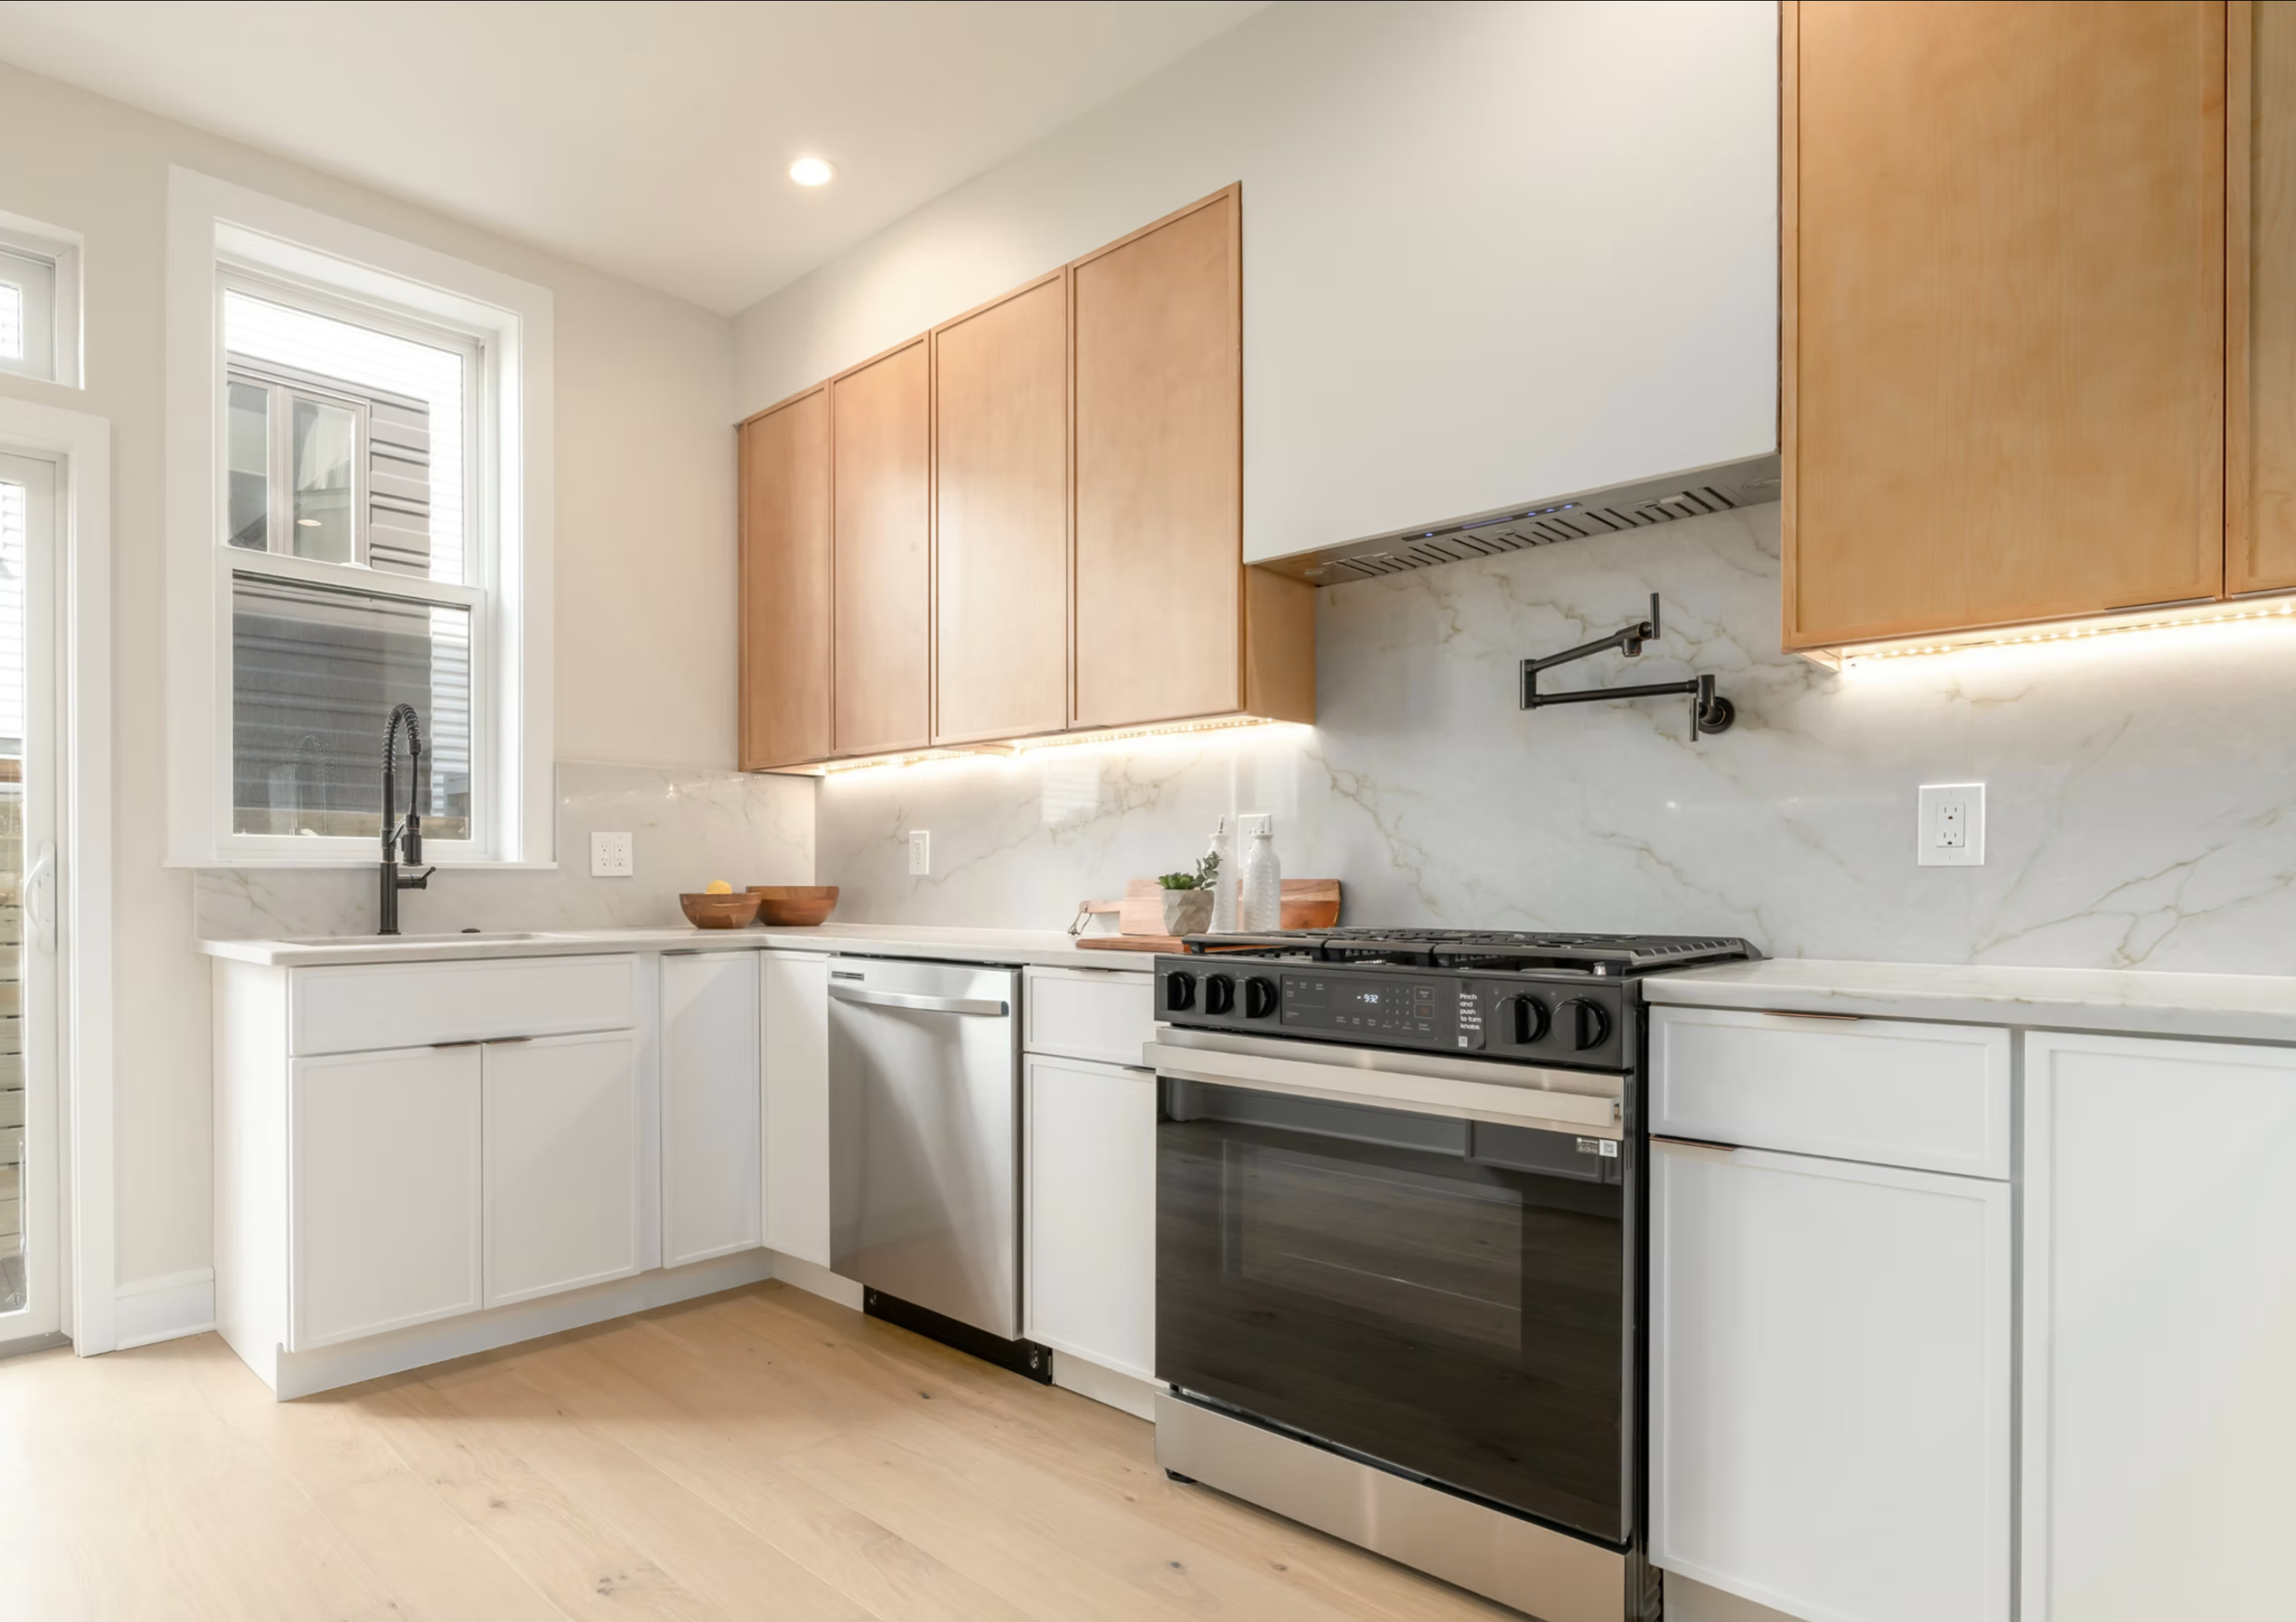
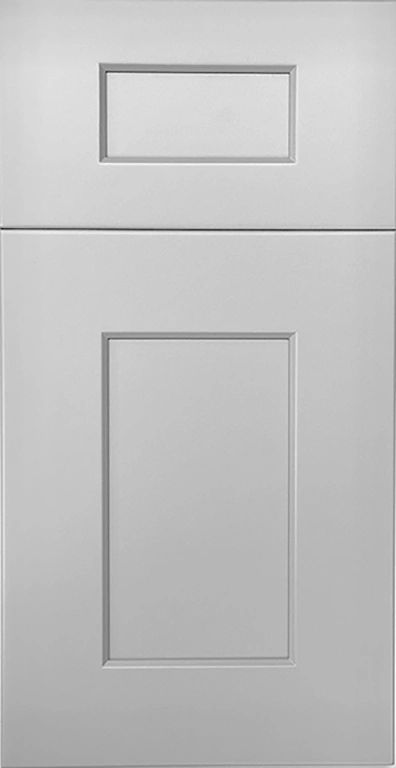
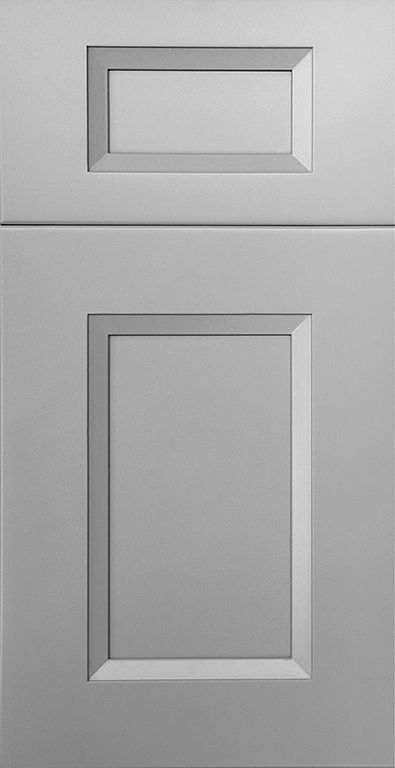
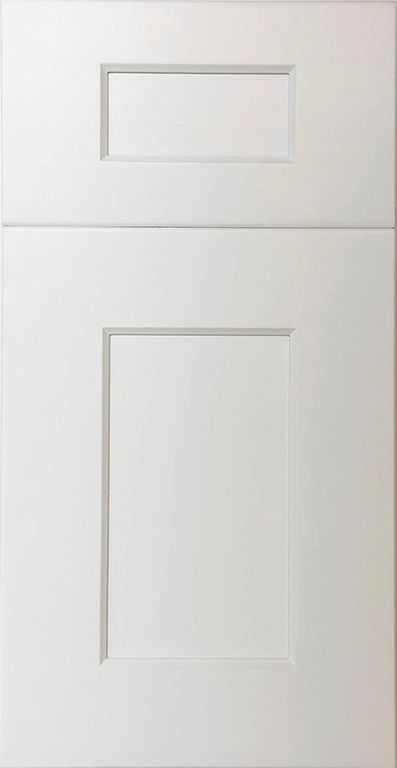
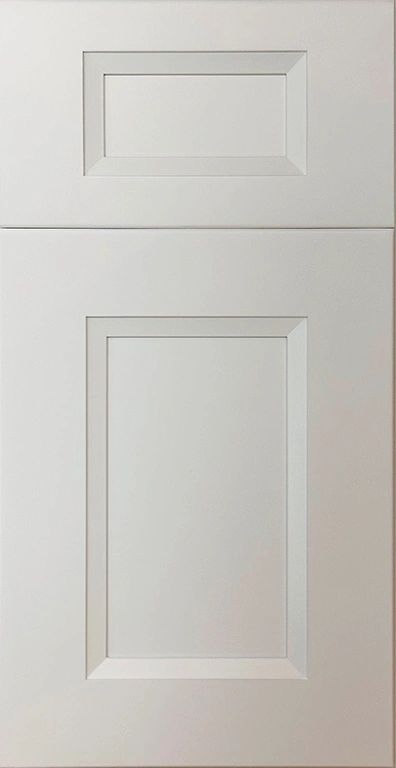
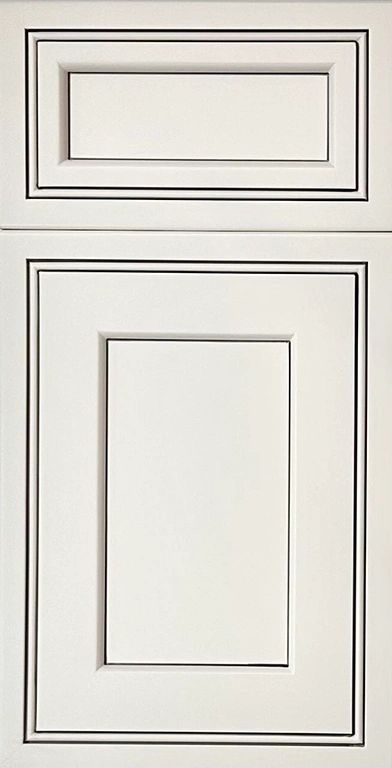
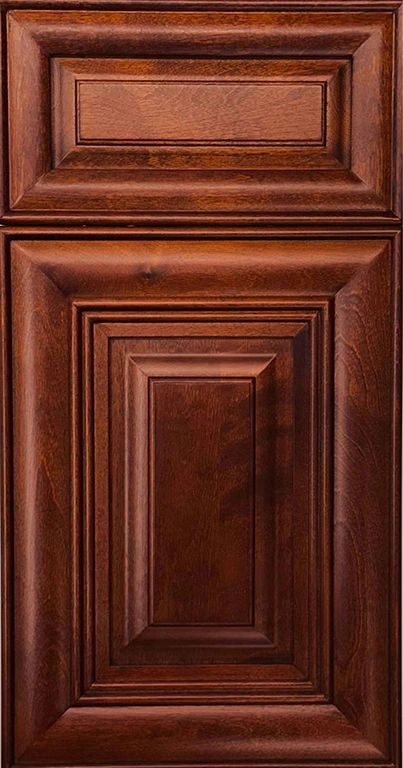
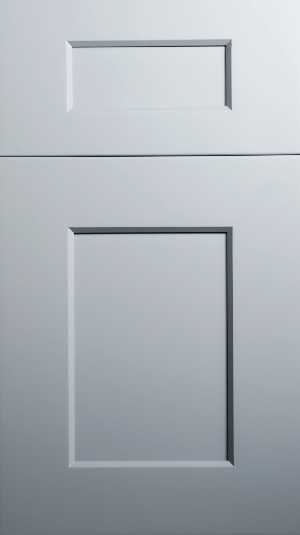
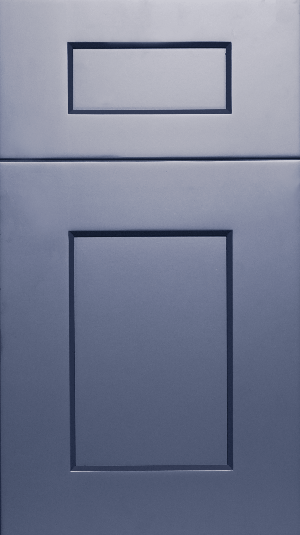
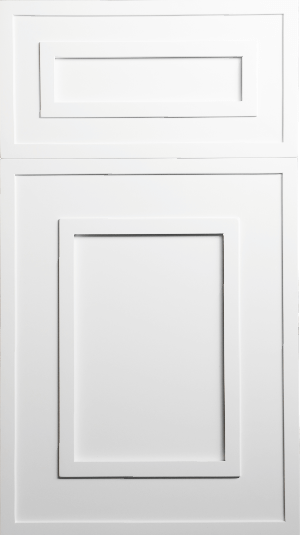
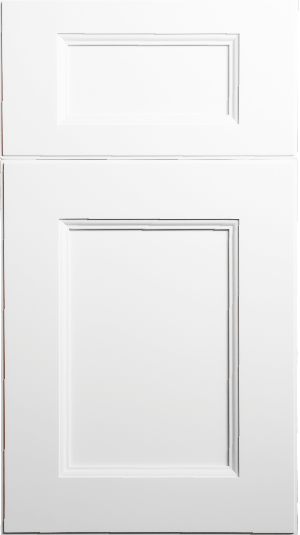
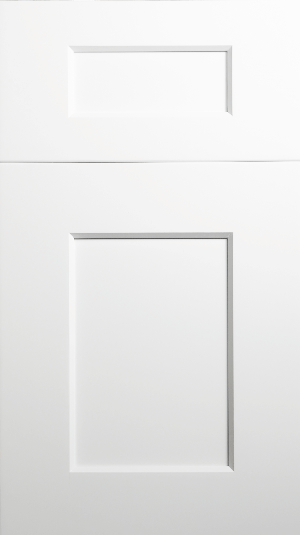
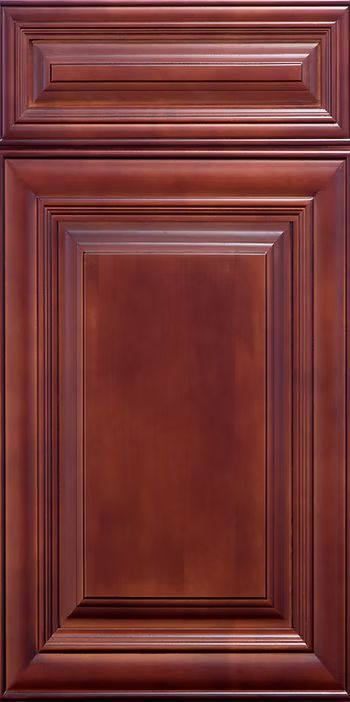
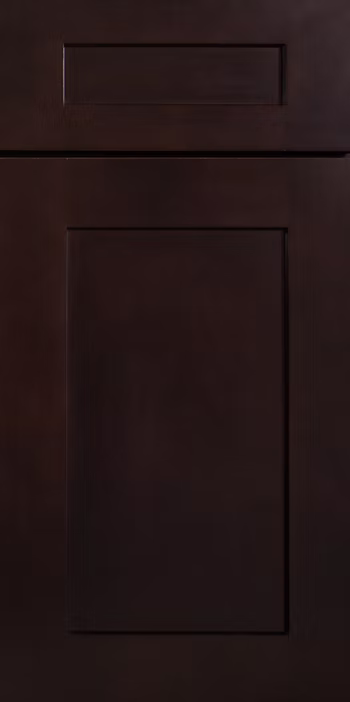
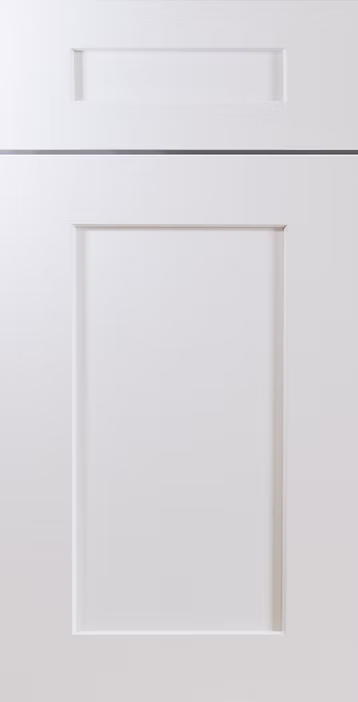
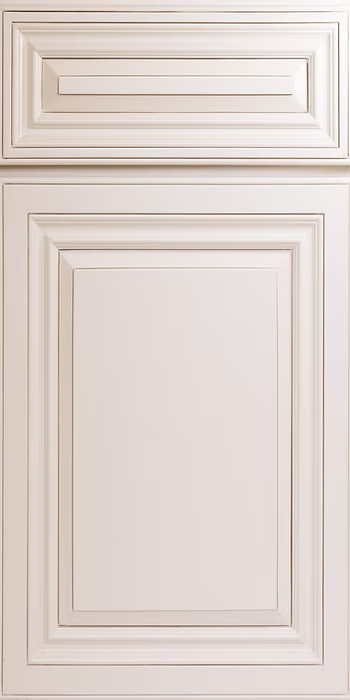
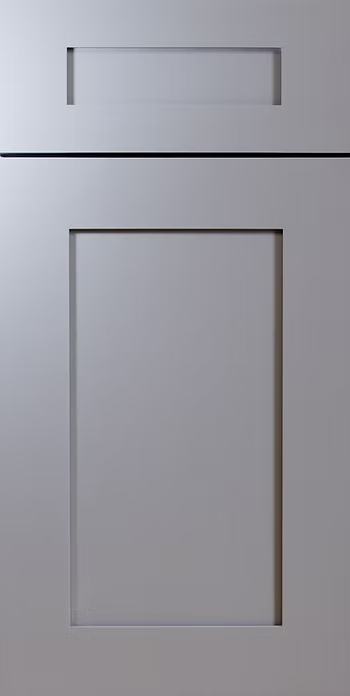
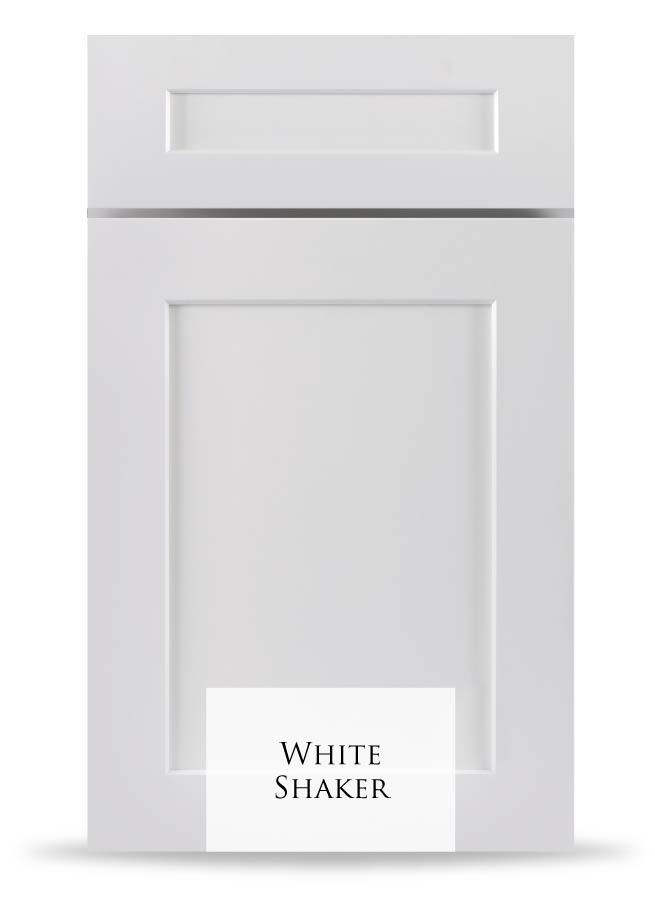
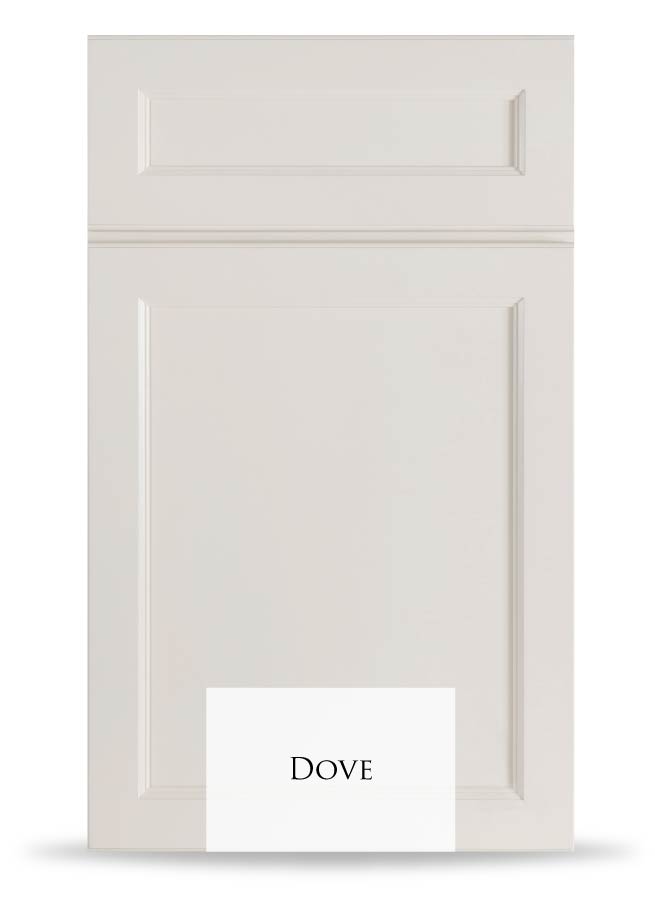
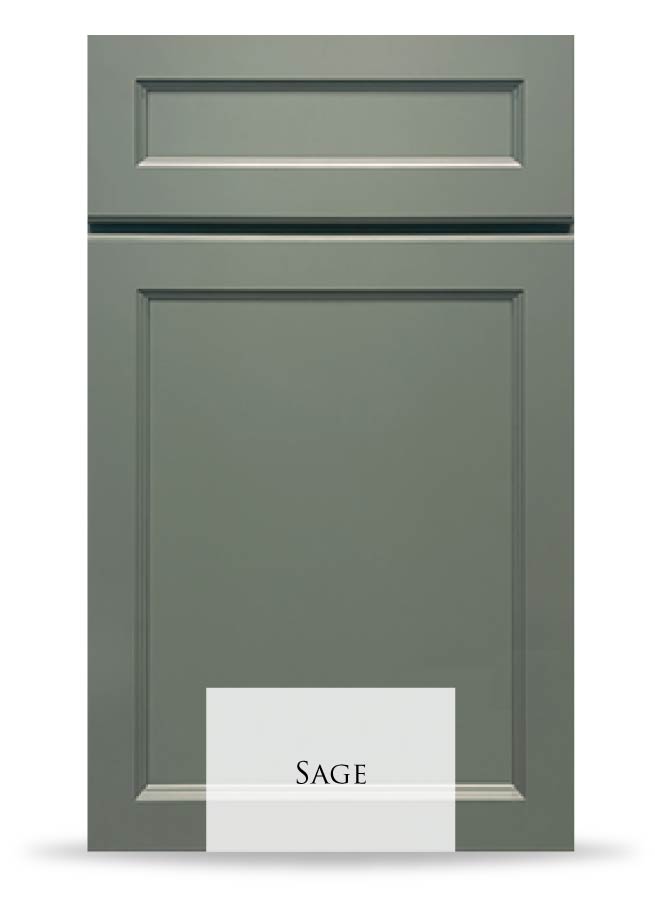
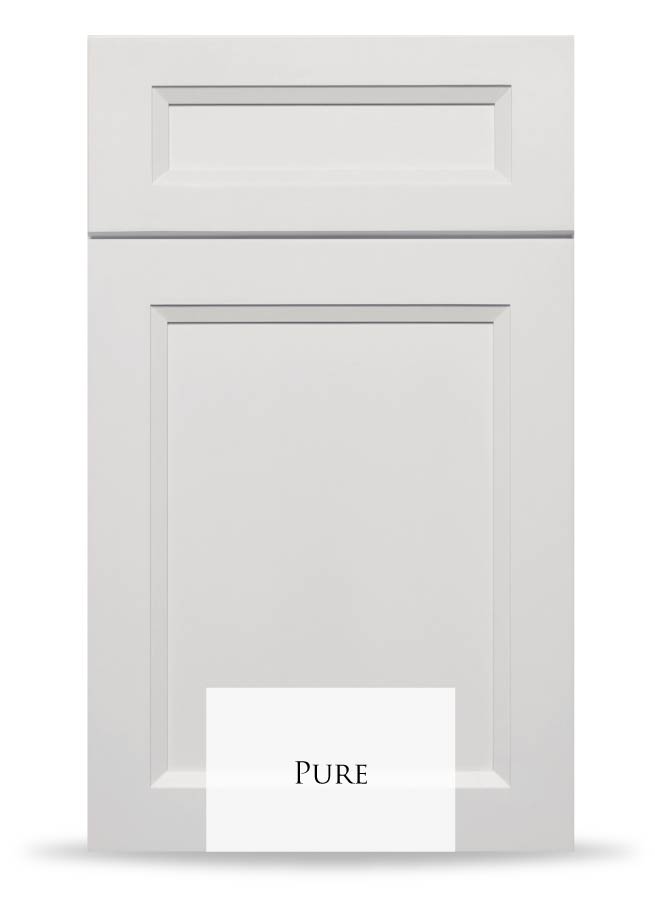
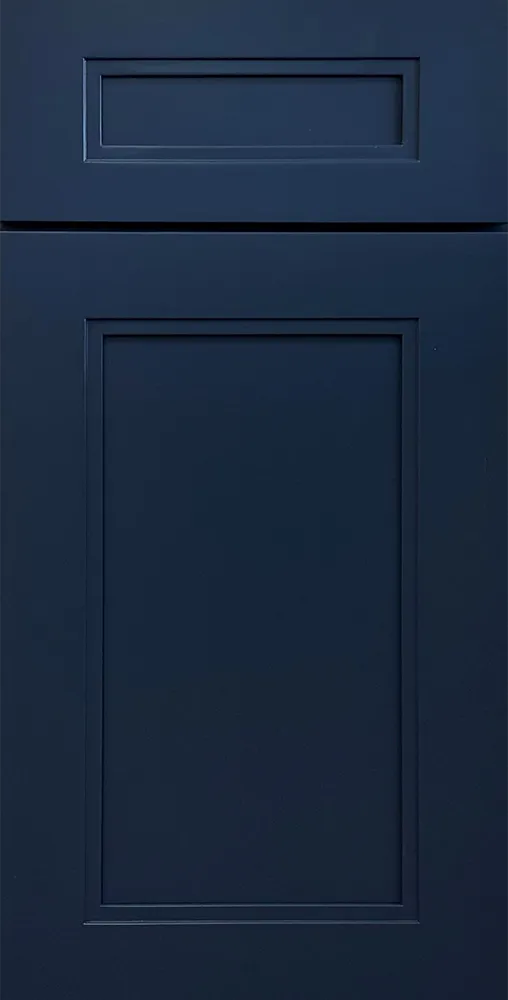
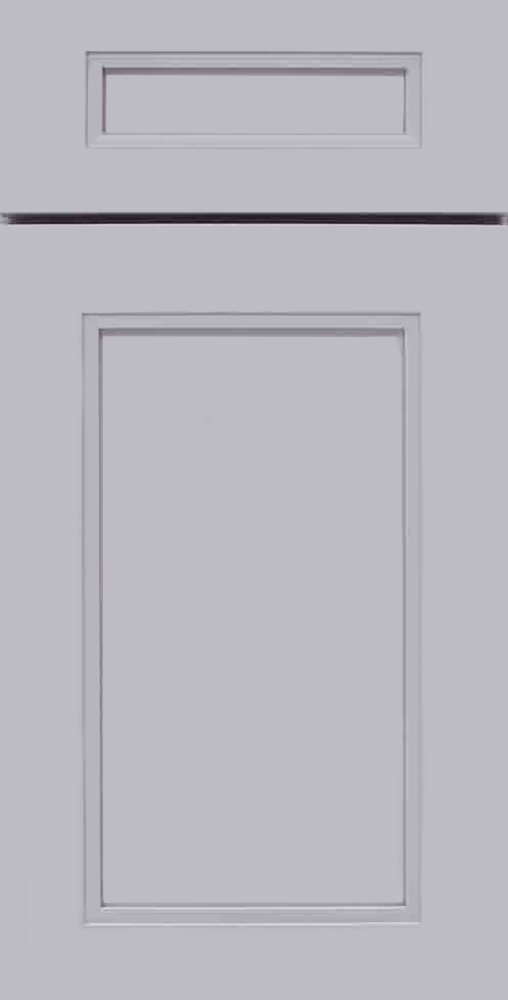
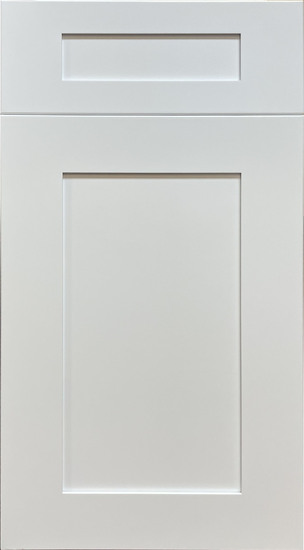
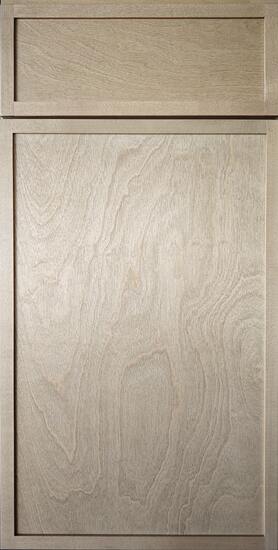
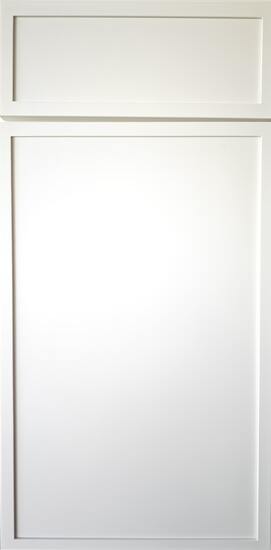
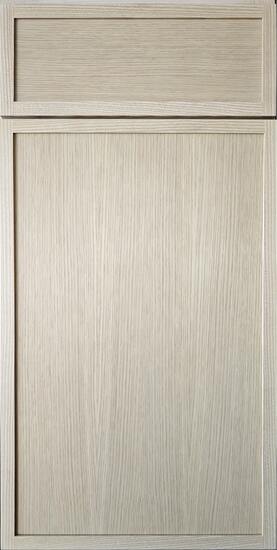
Timeless cabinet designs in Shaker, Raised Panel, and European styles

Gallery

Classic Kitchen Cabinet Collection

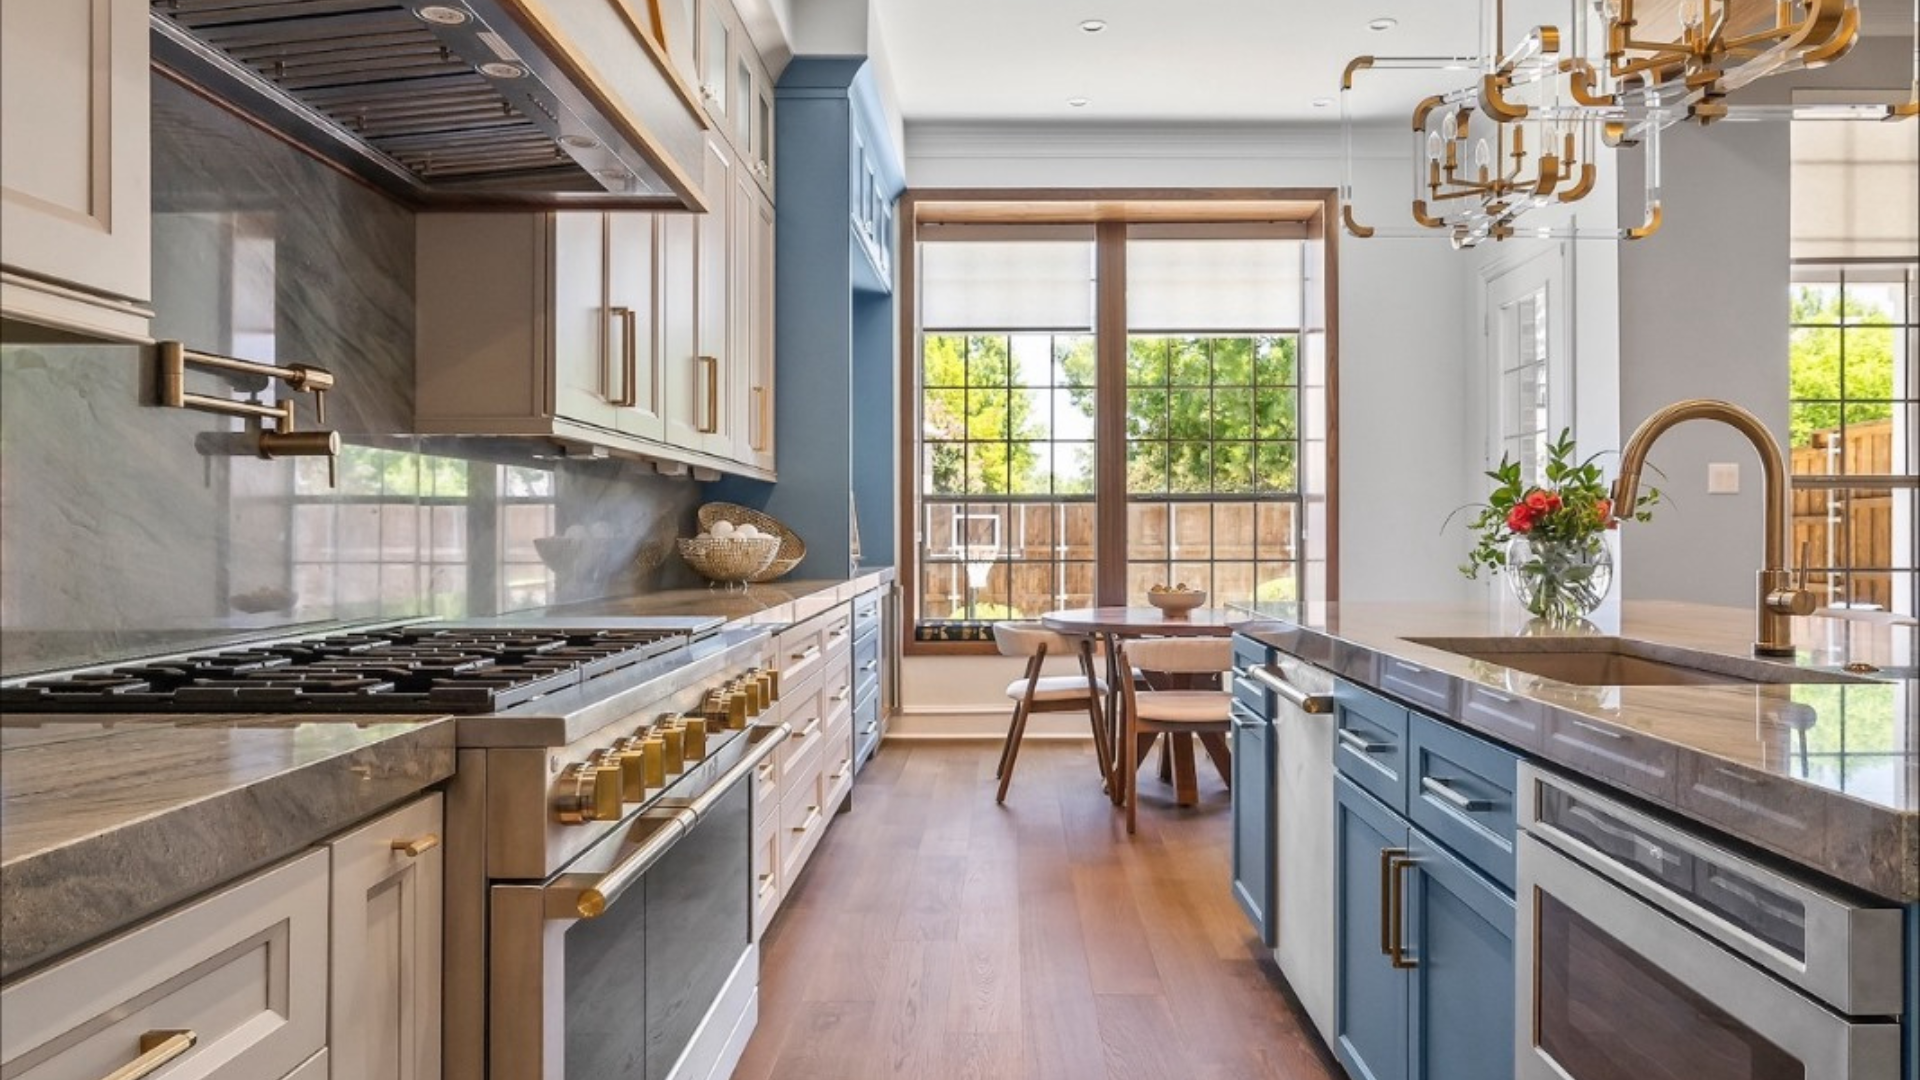
Explore our extensive range of classic kitchen cabinets featuring premium construction and timeless designs suitable for any home style.

Most Popular

Most Popular Imported Kitchen Cabinets

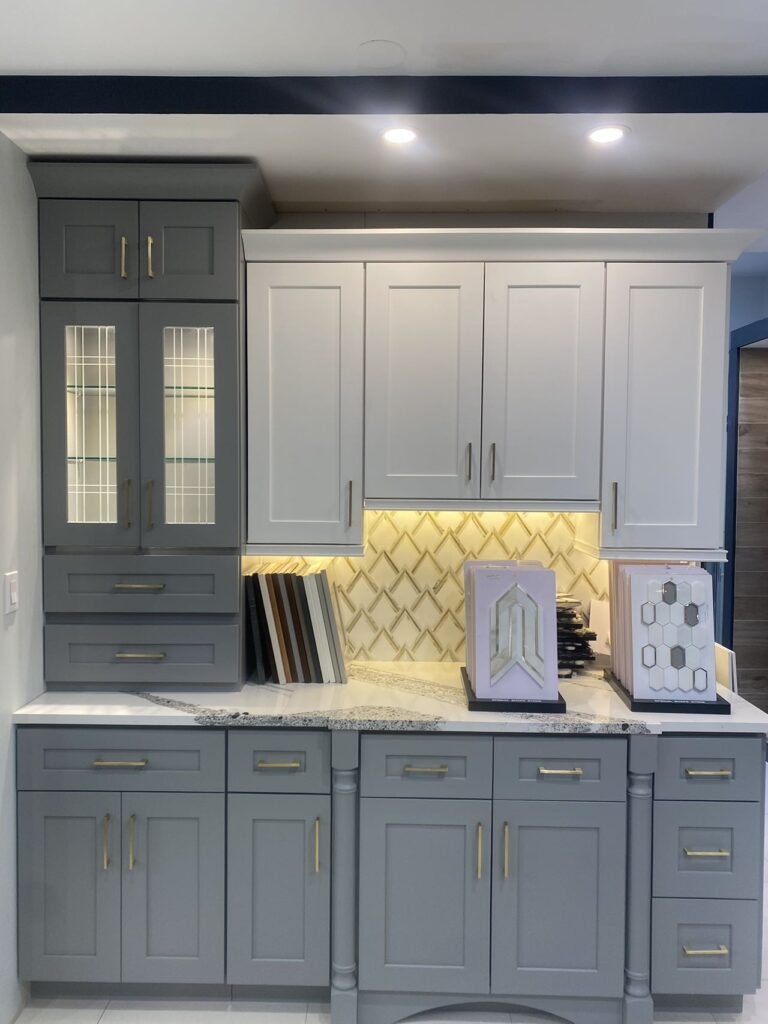
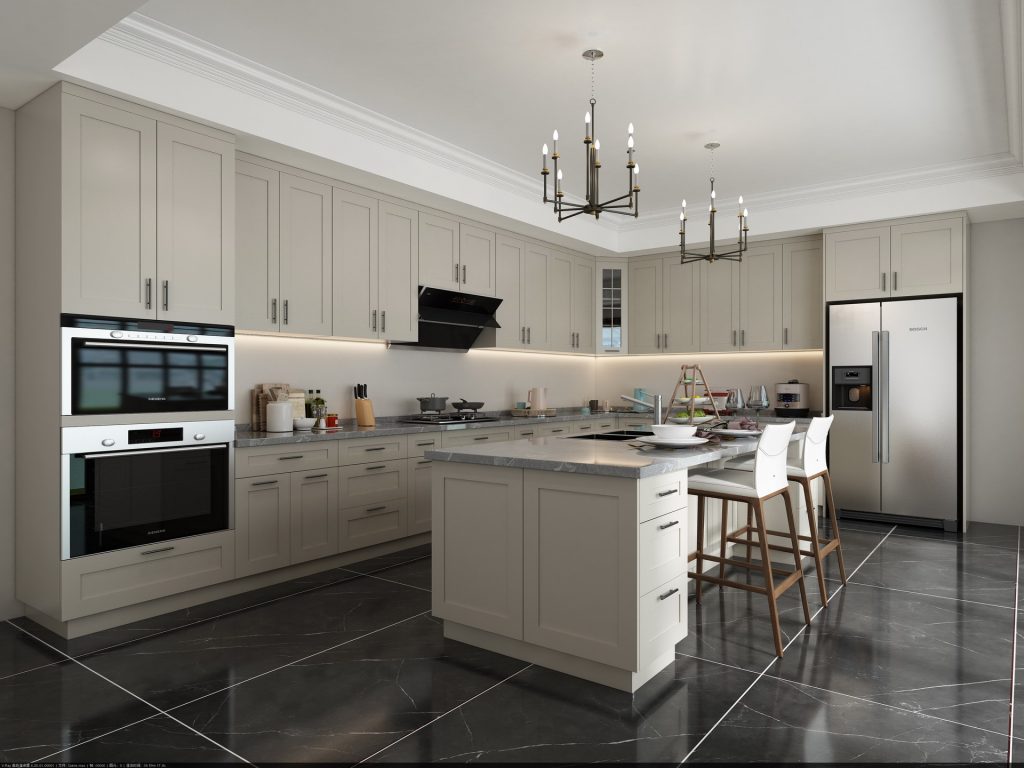
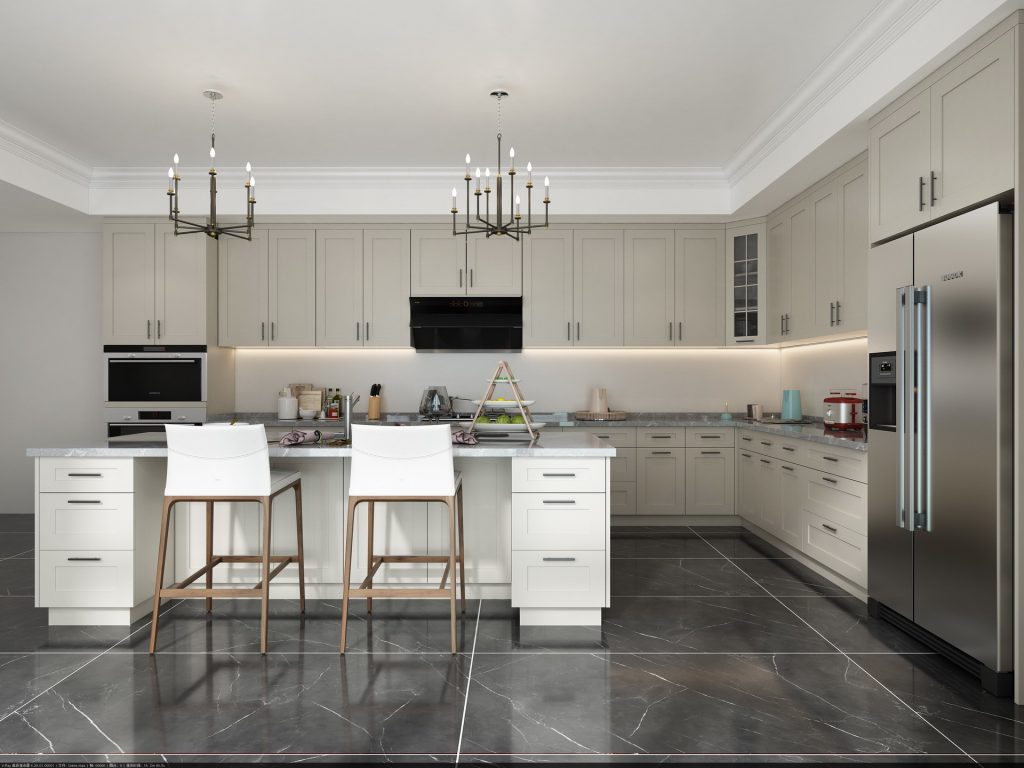
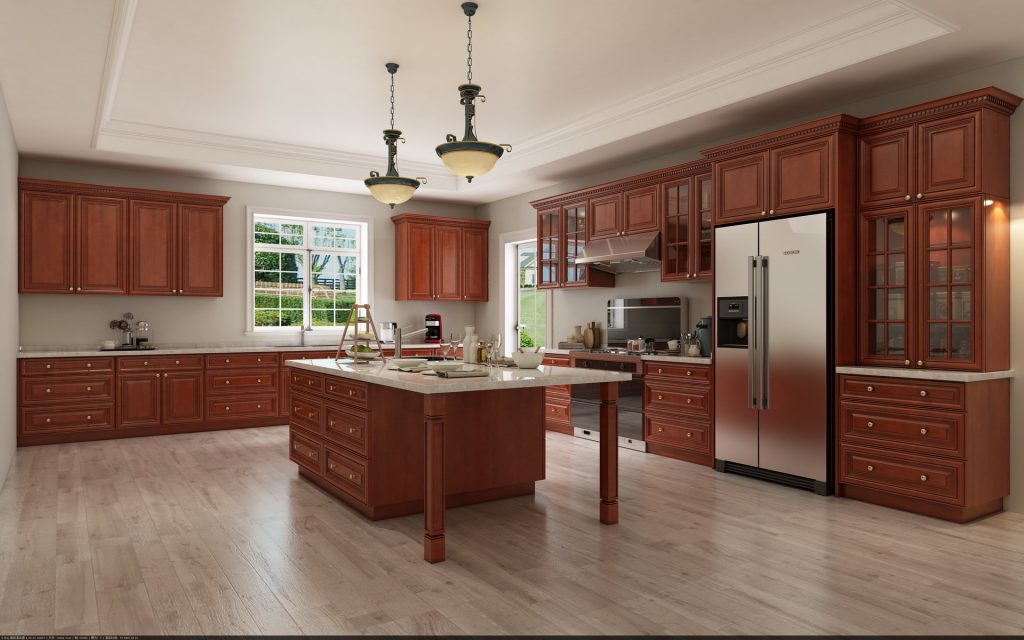
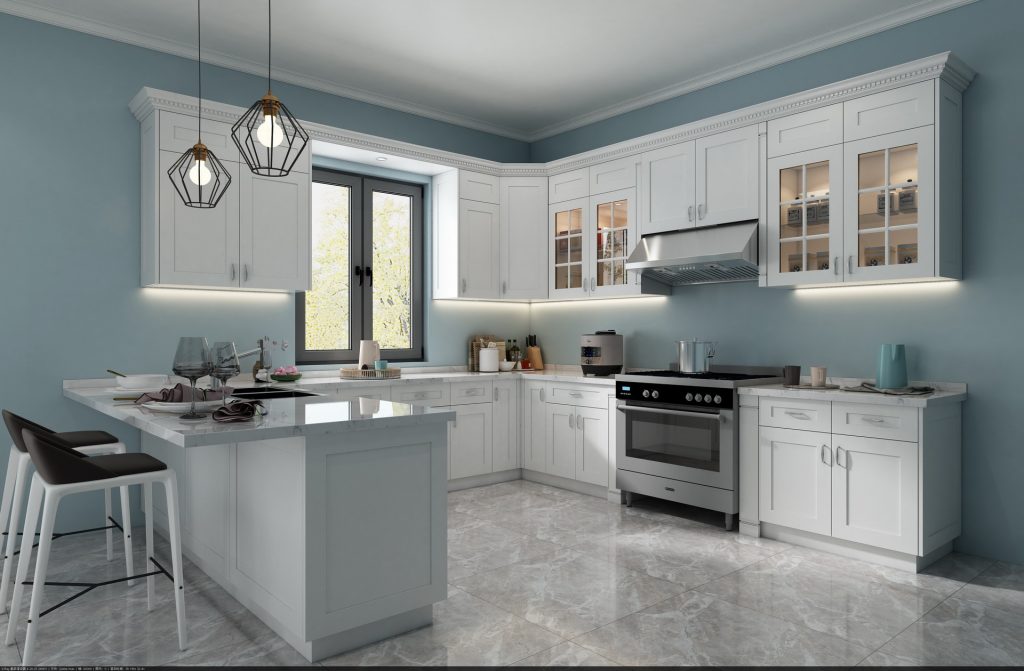
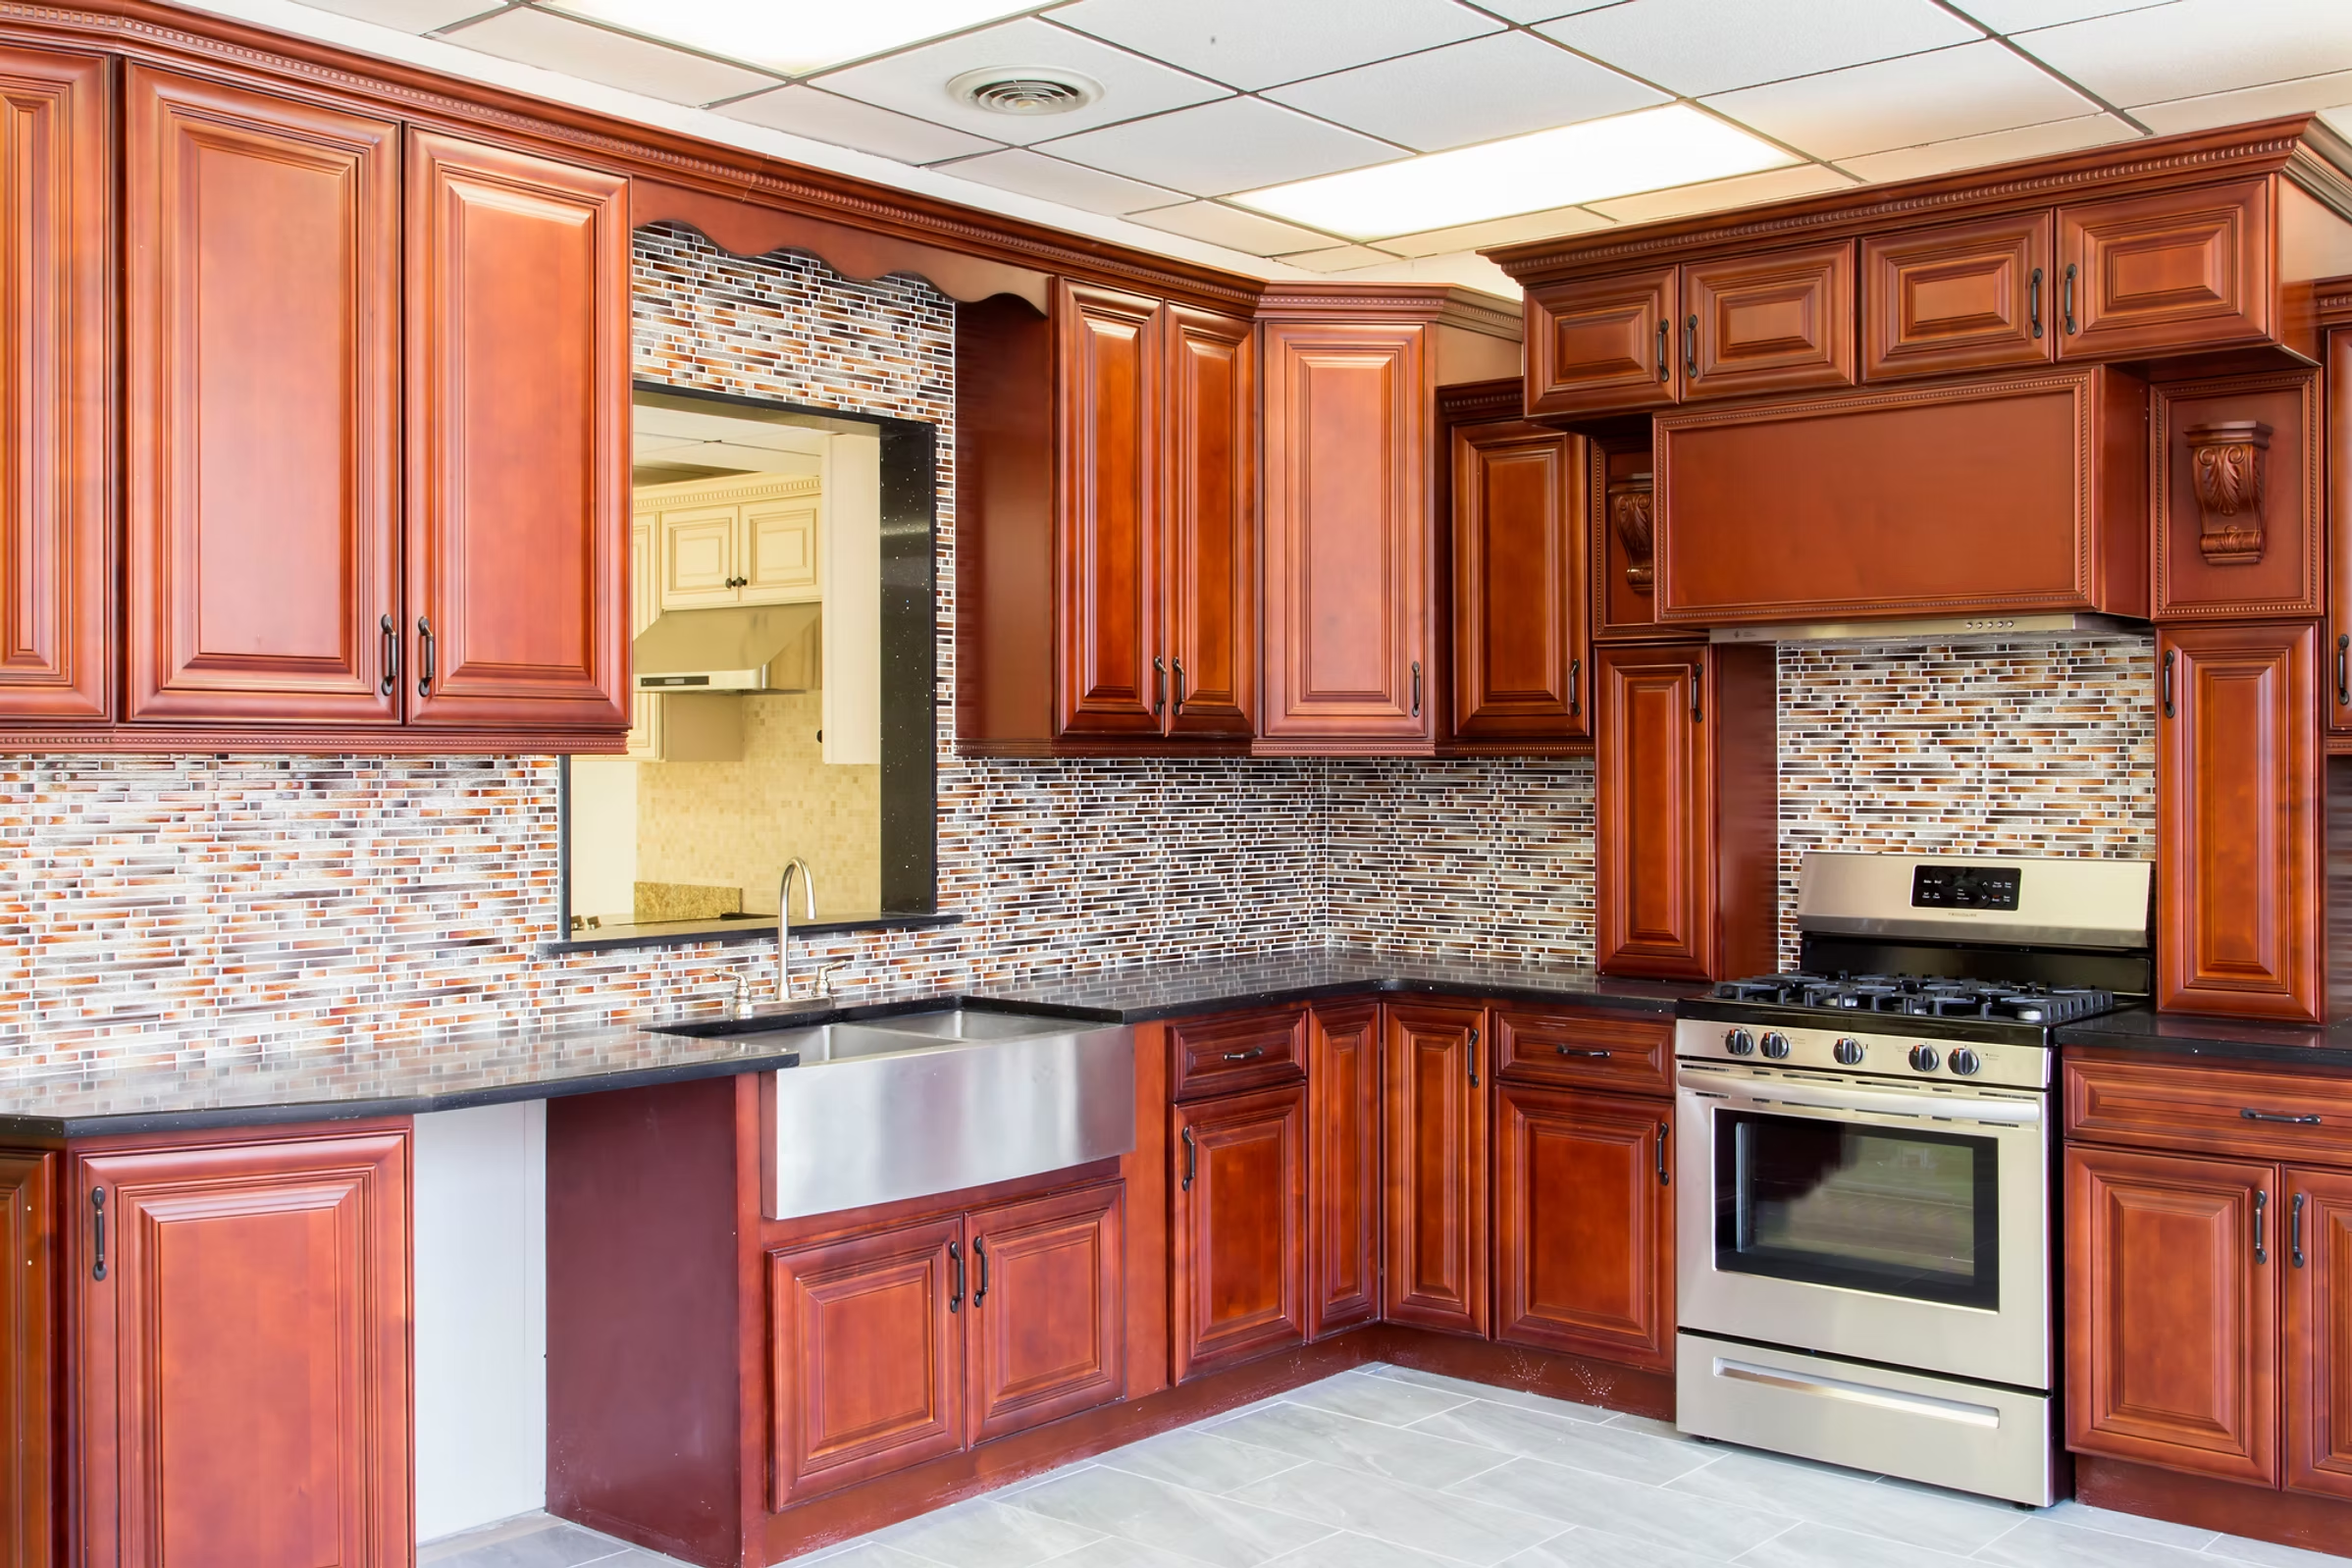
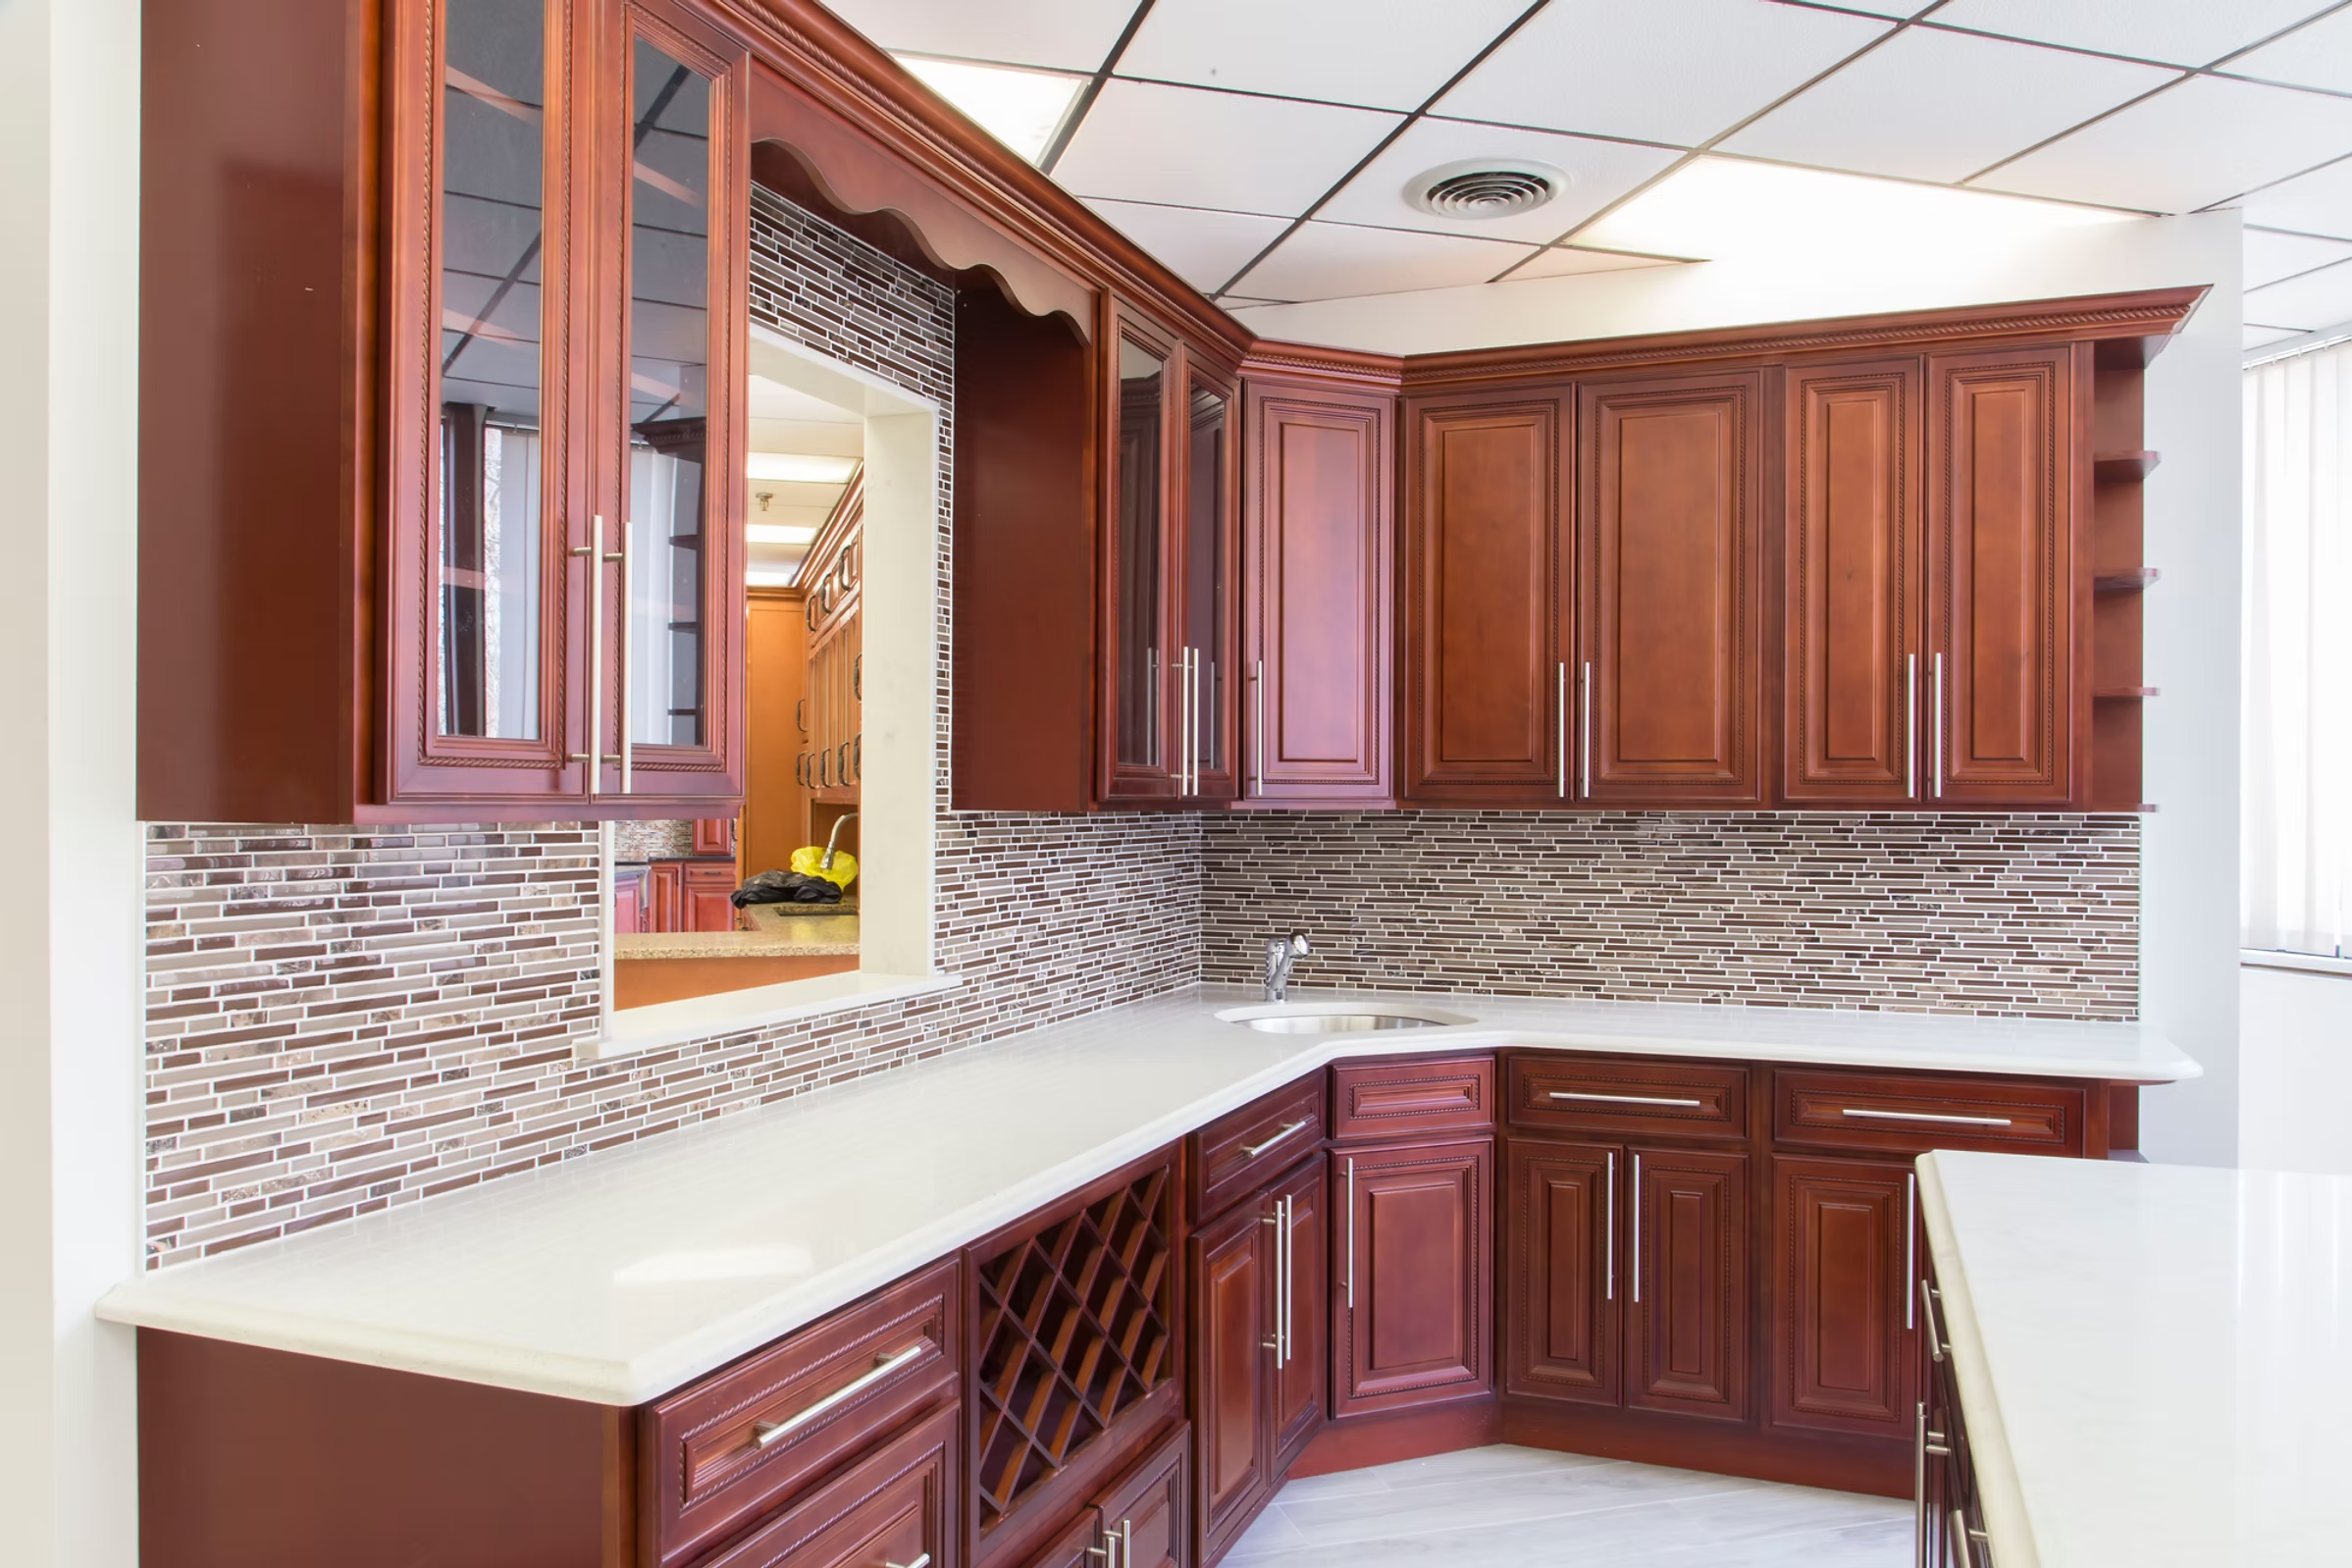
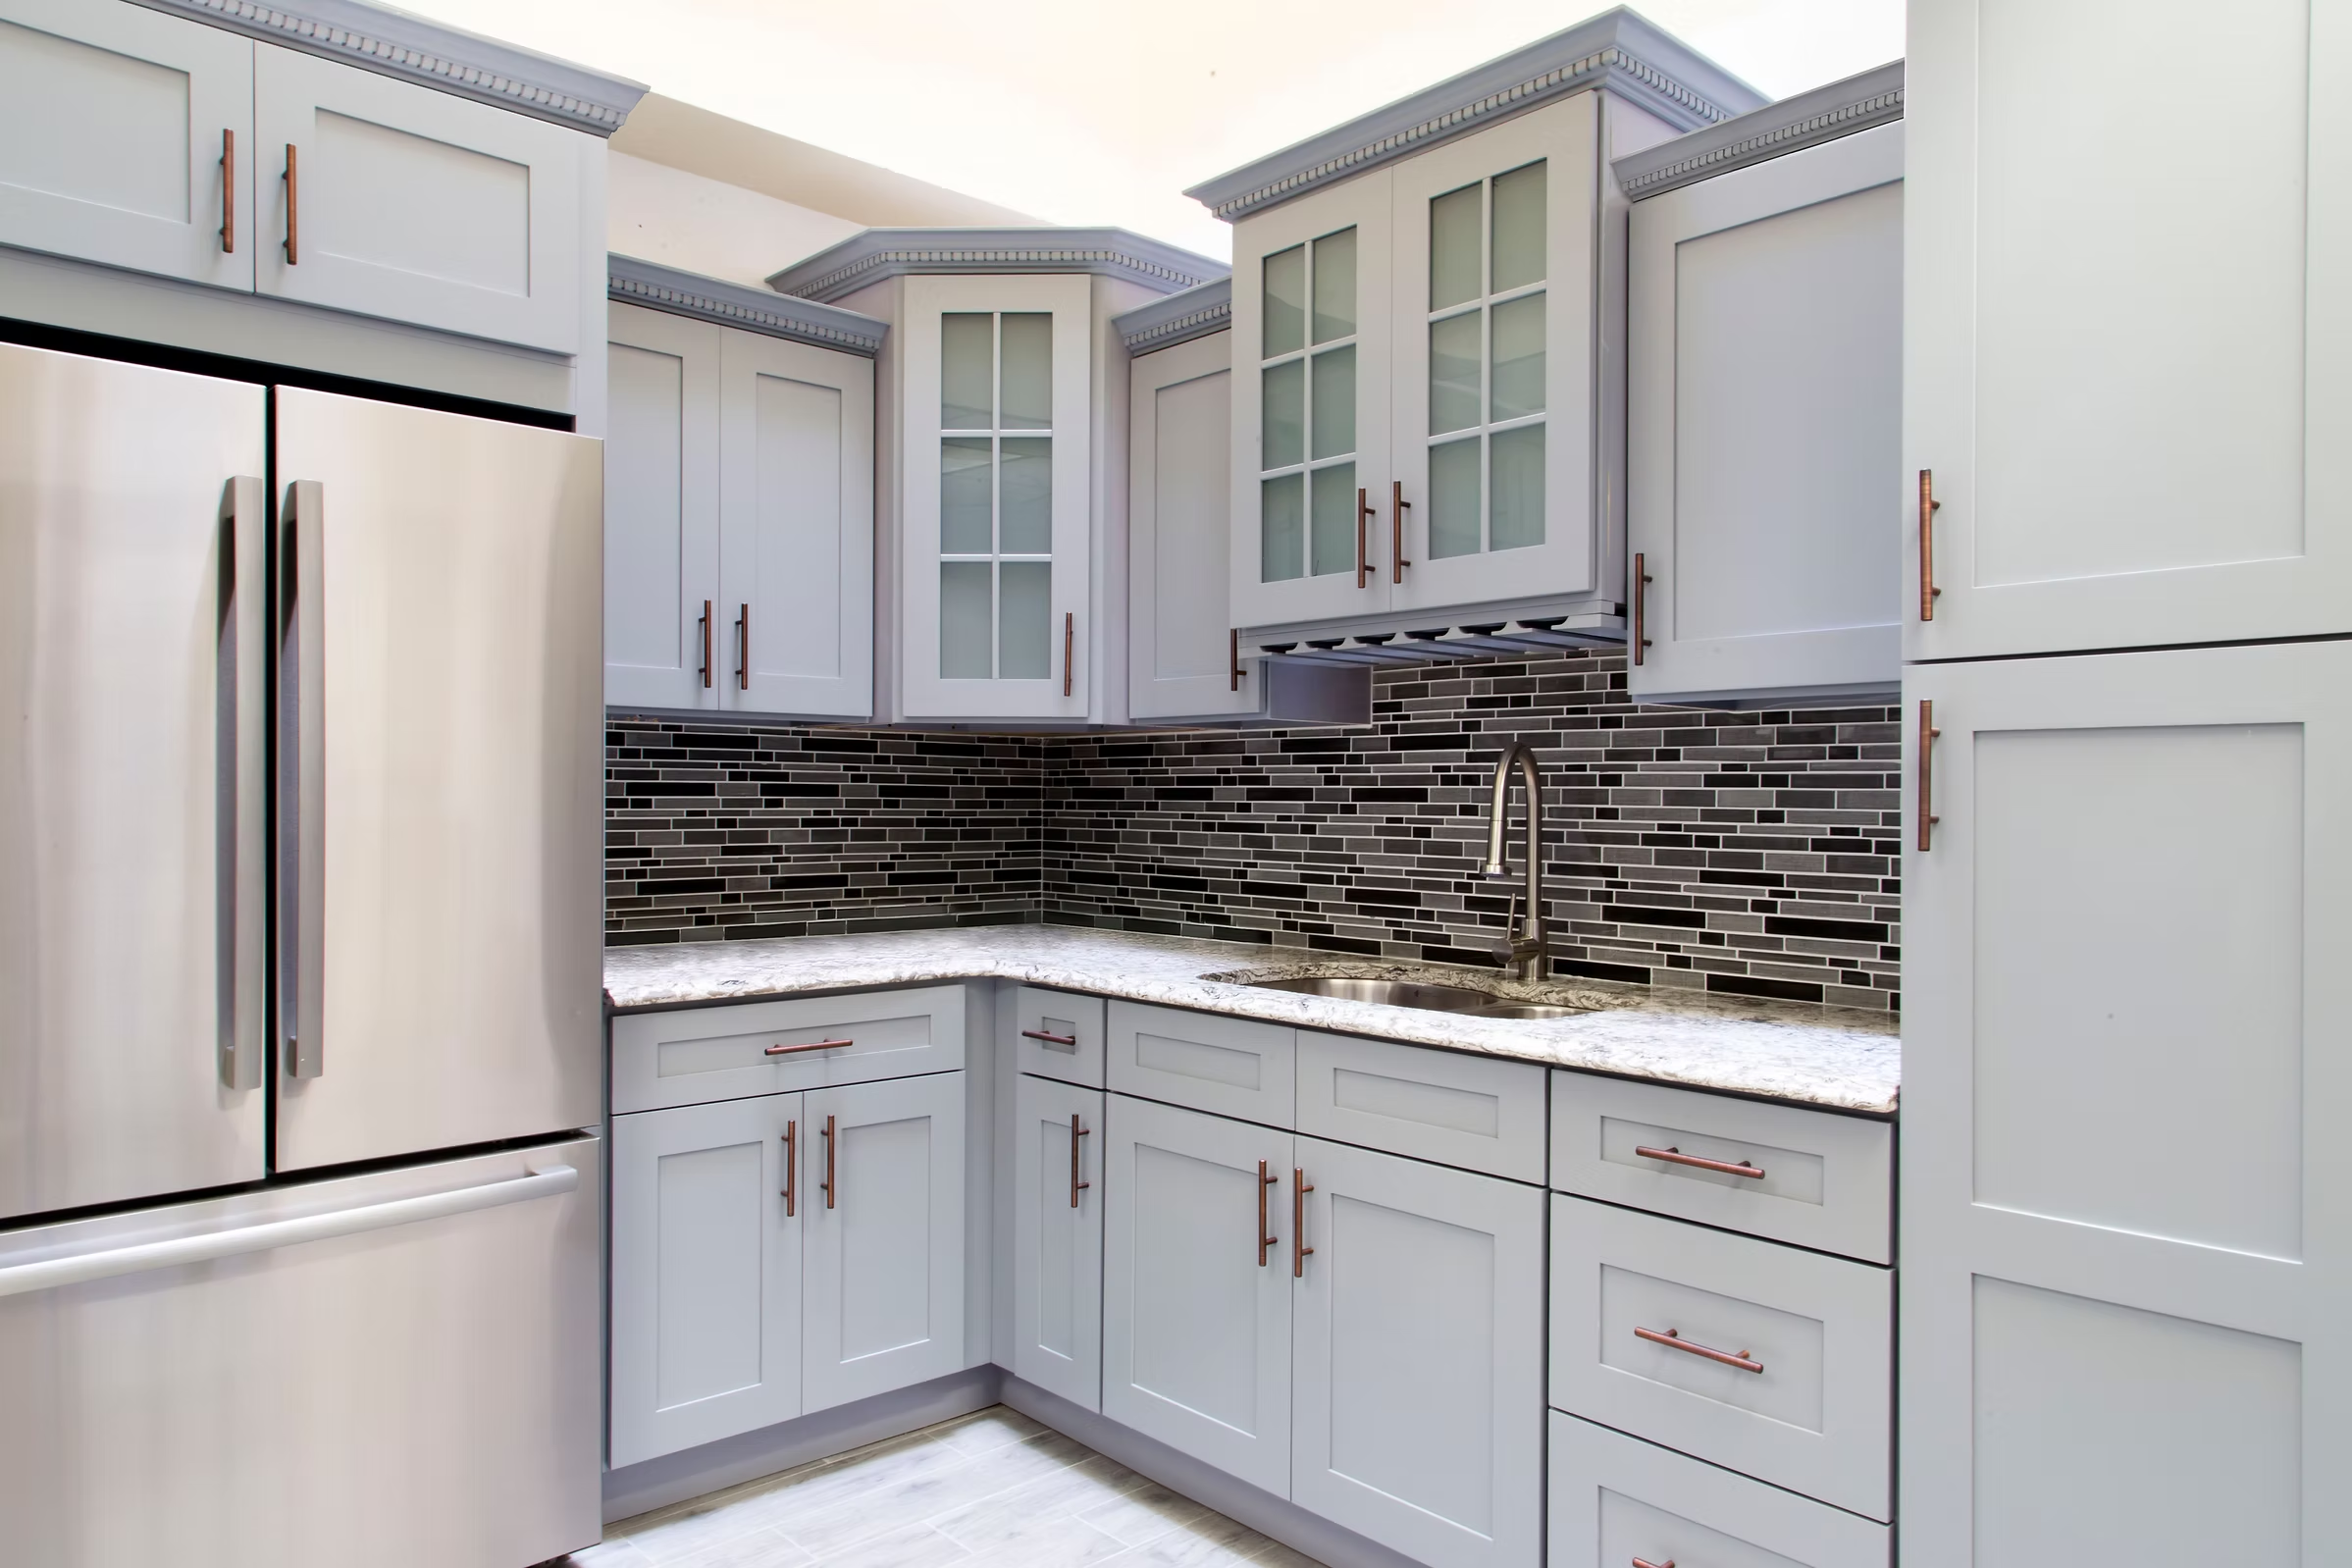
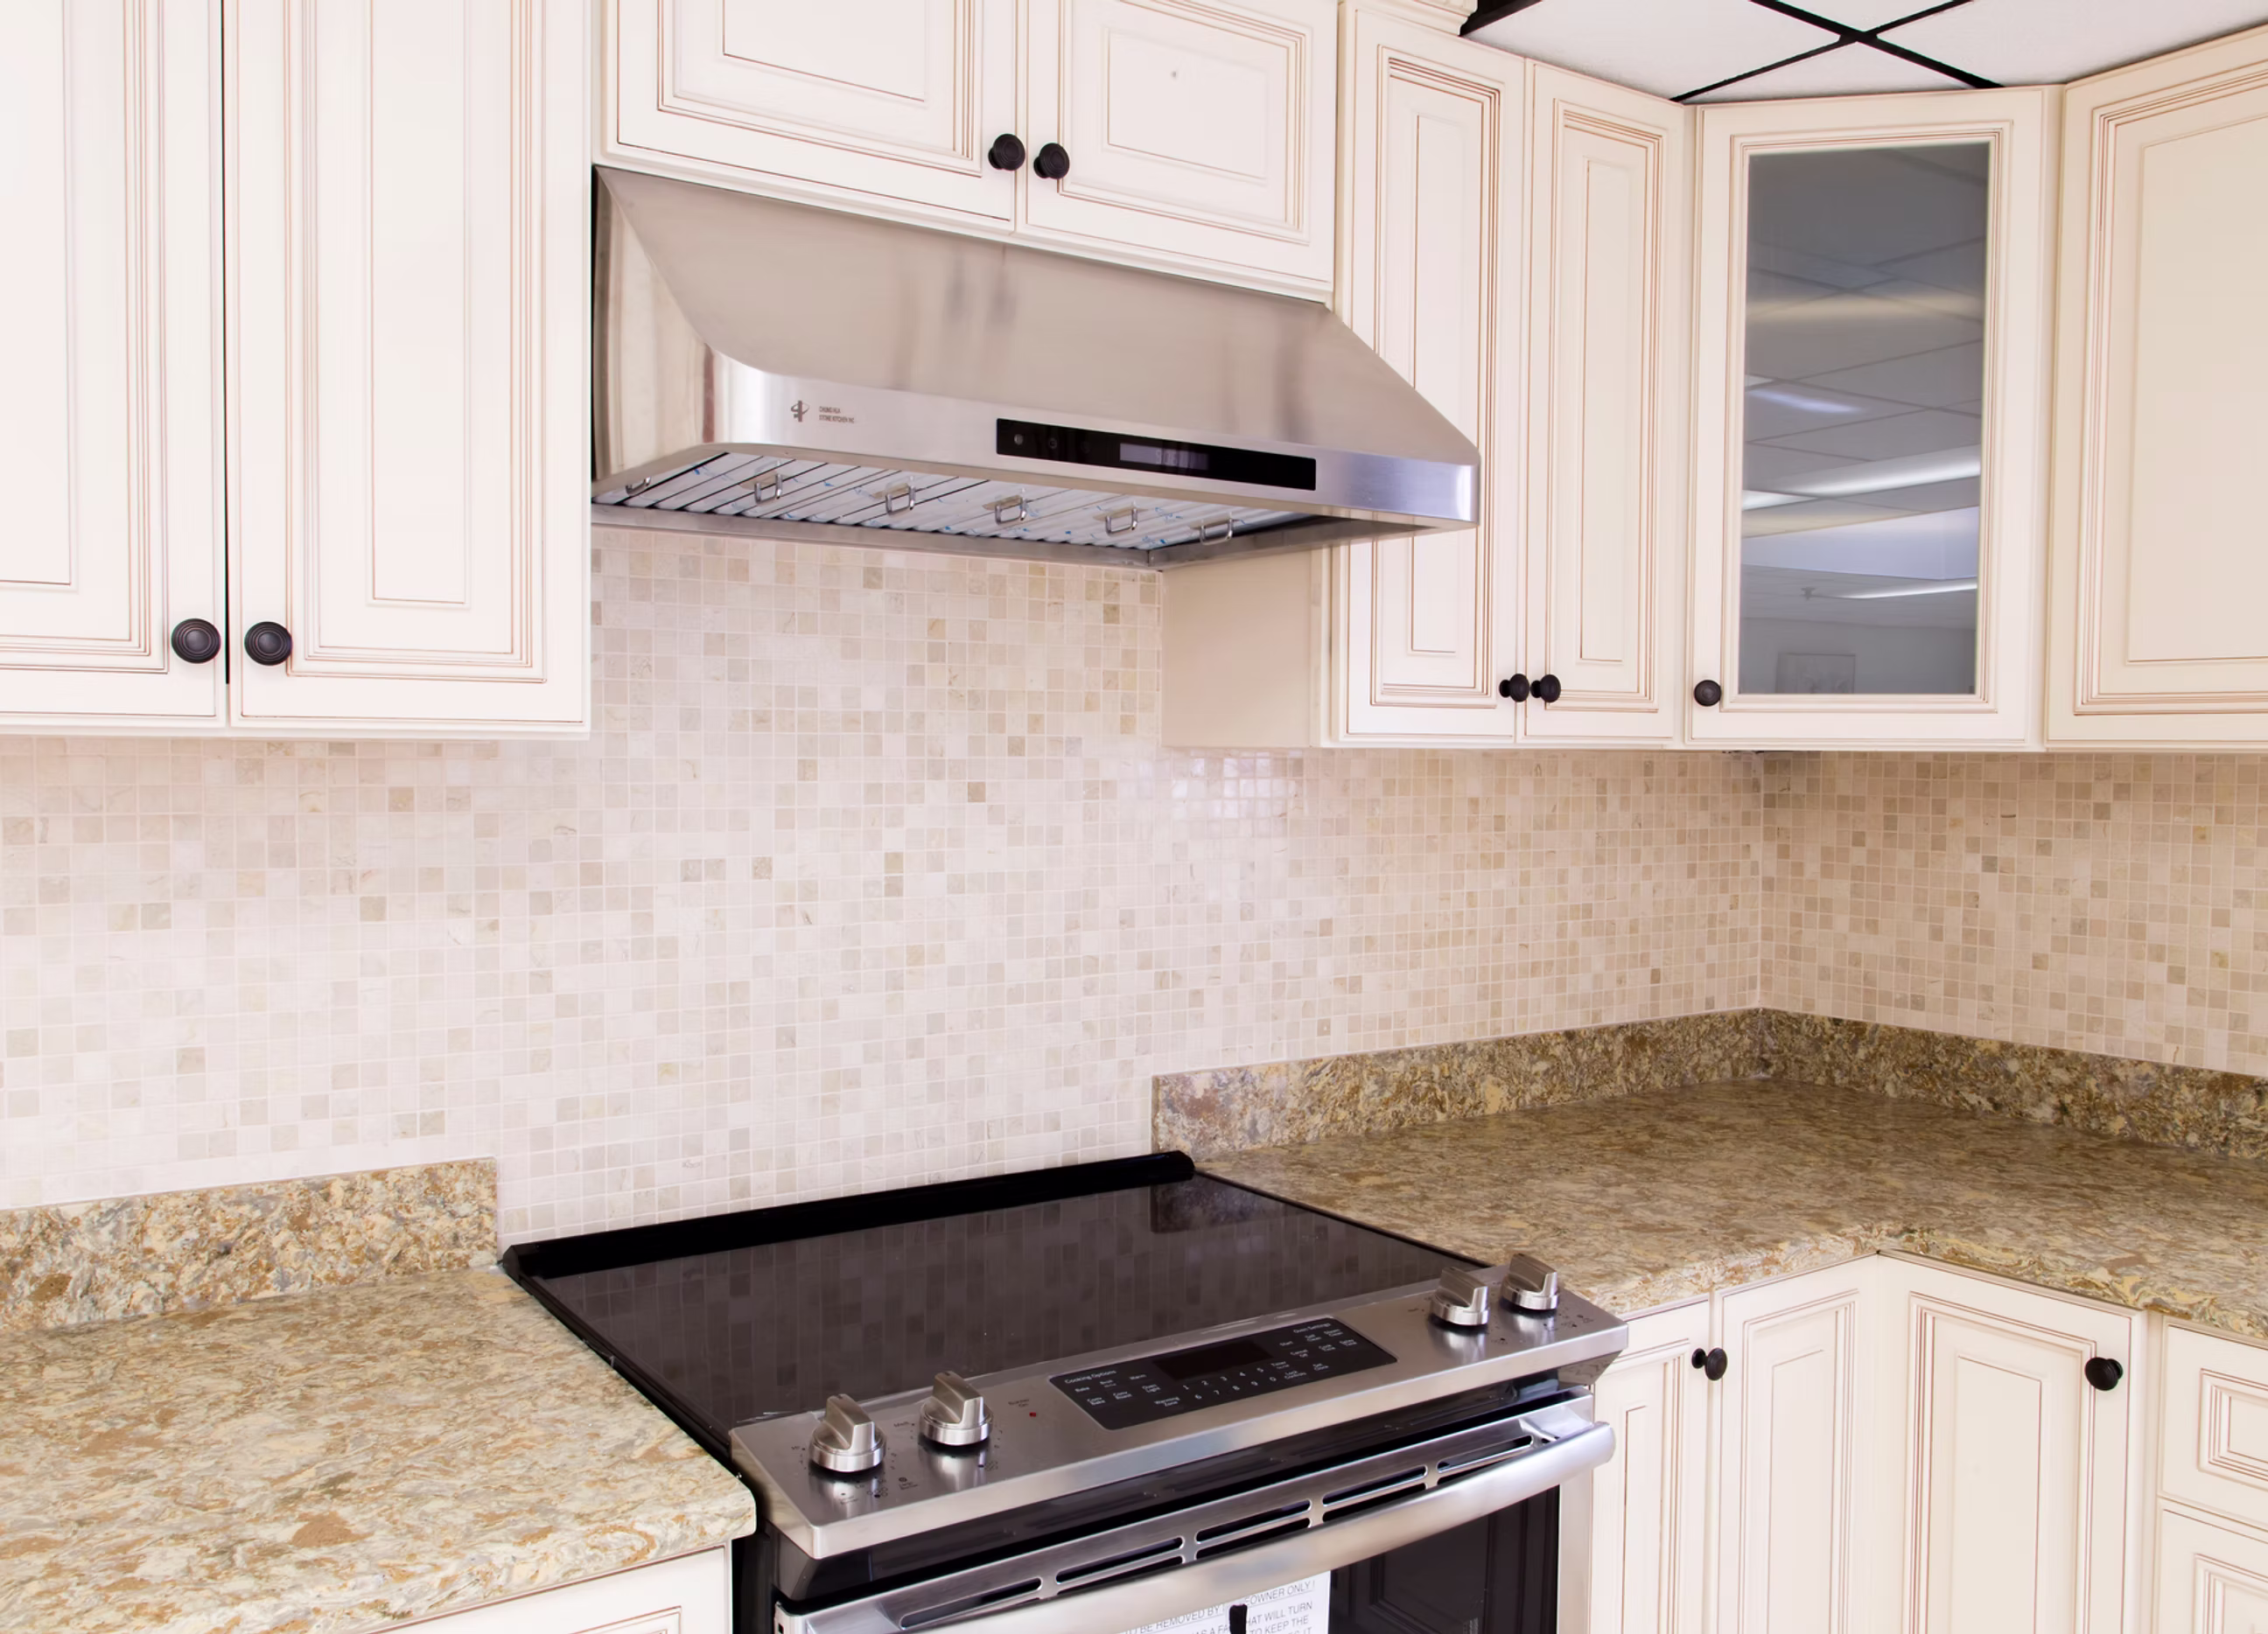
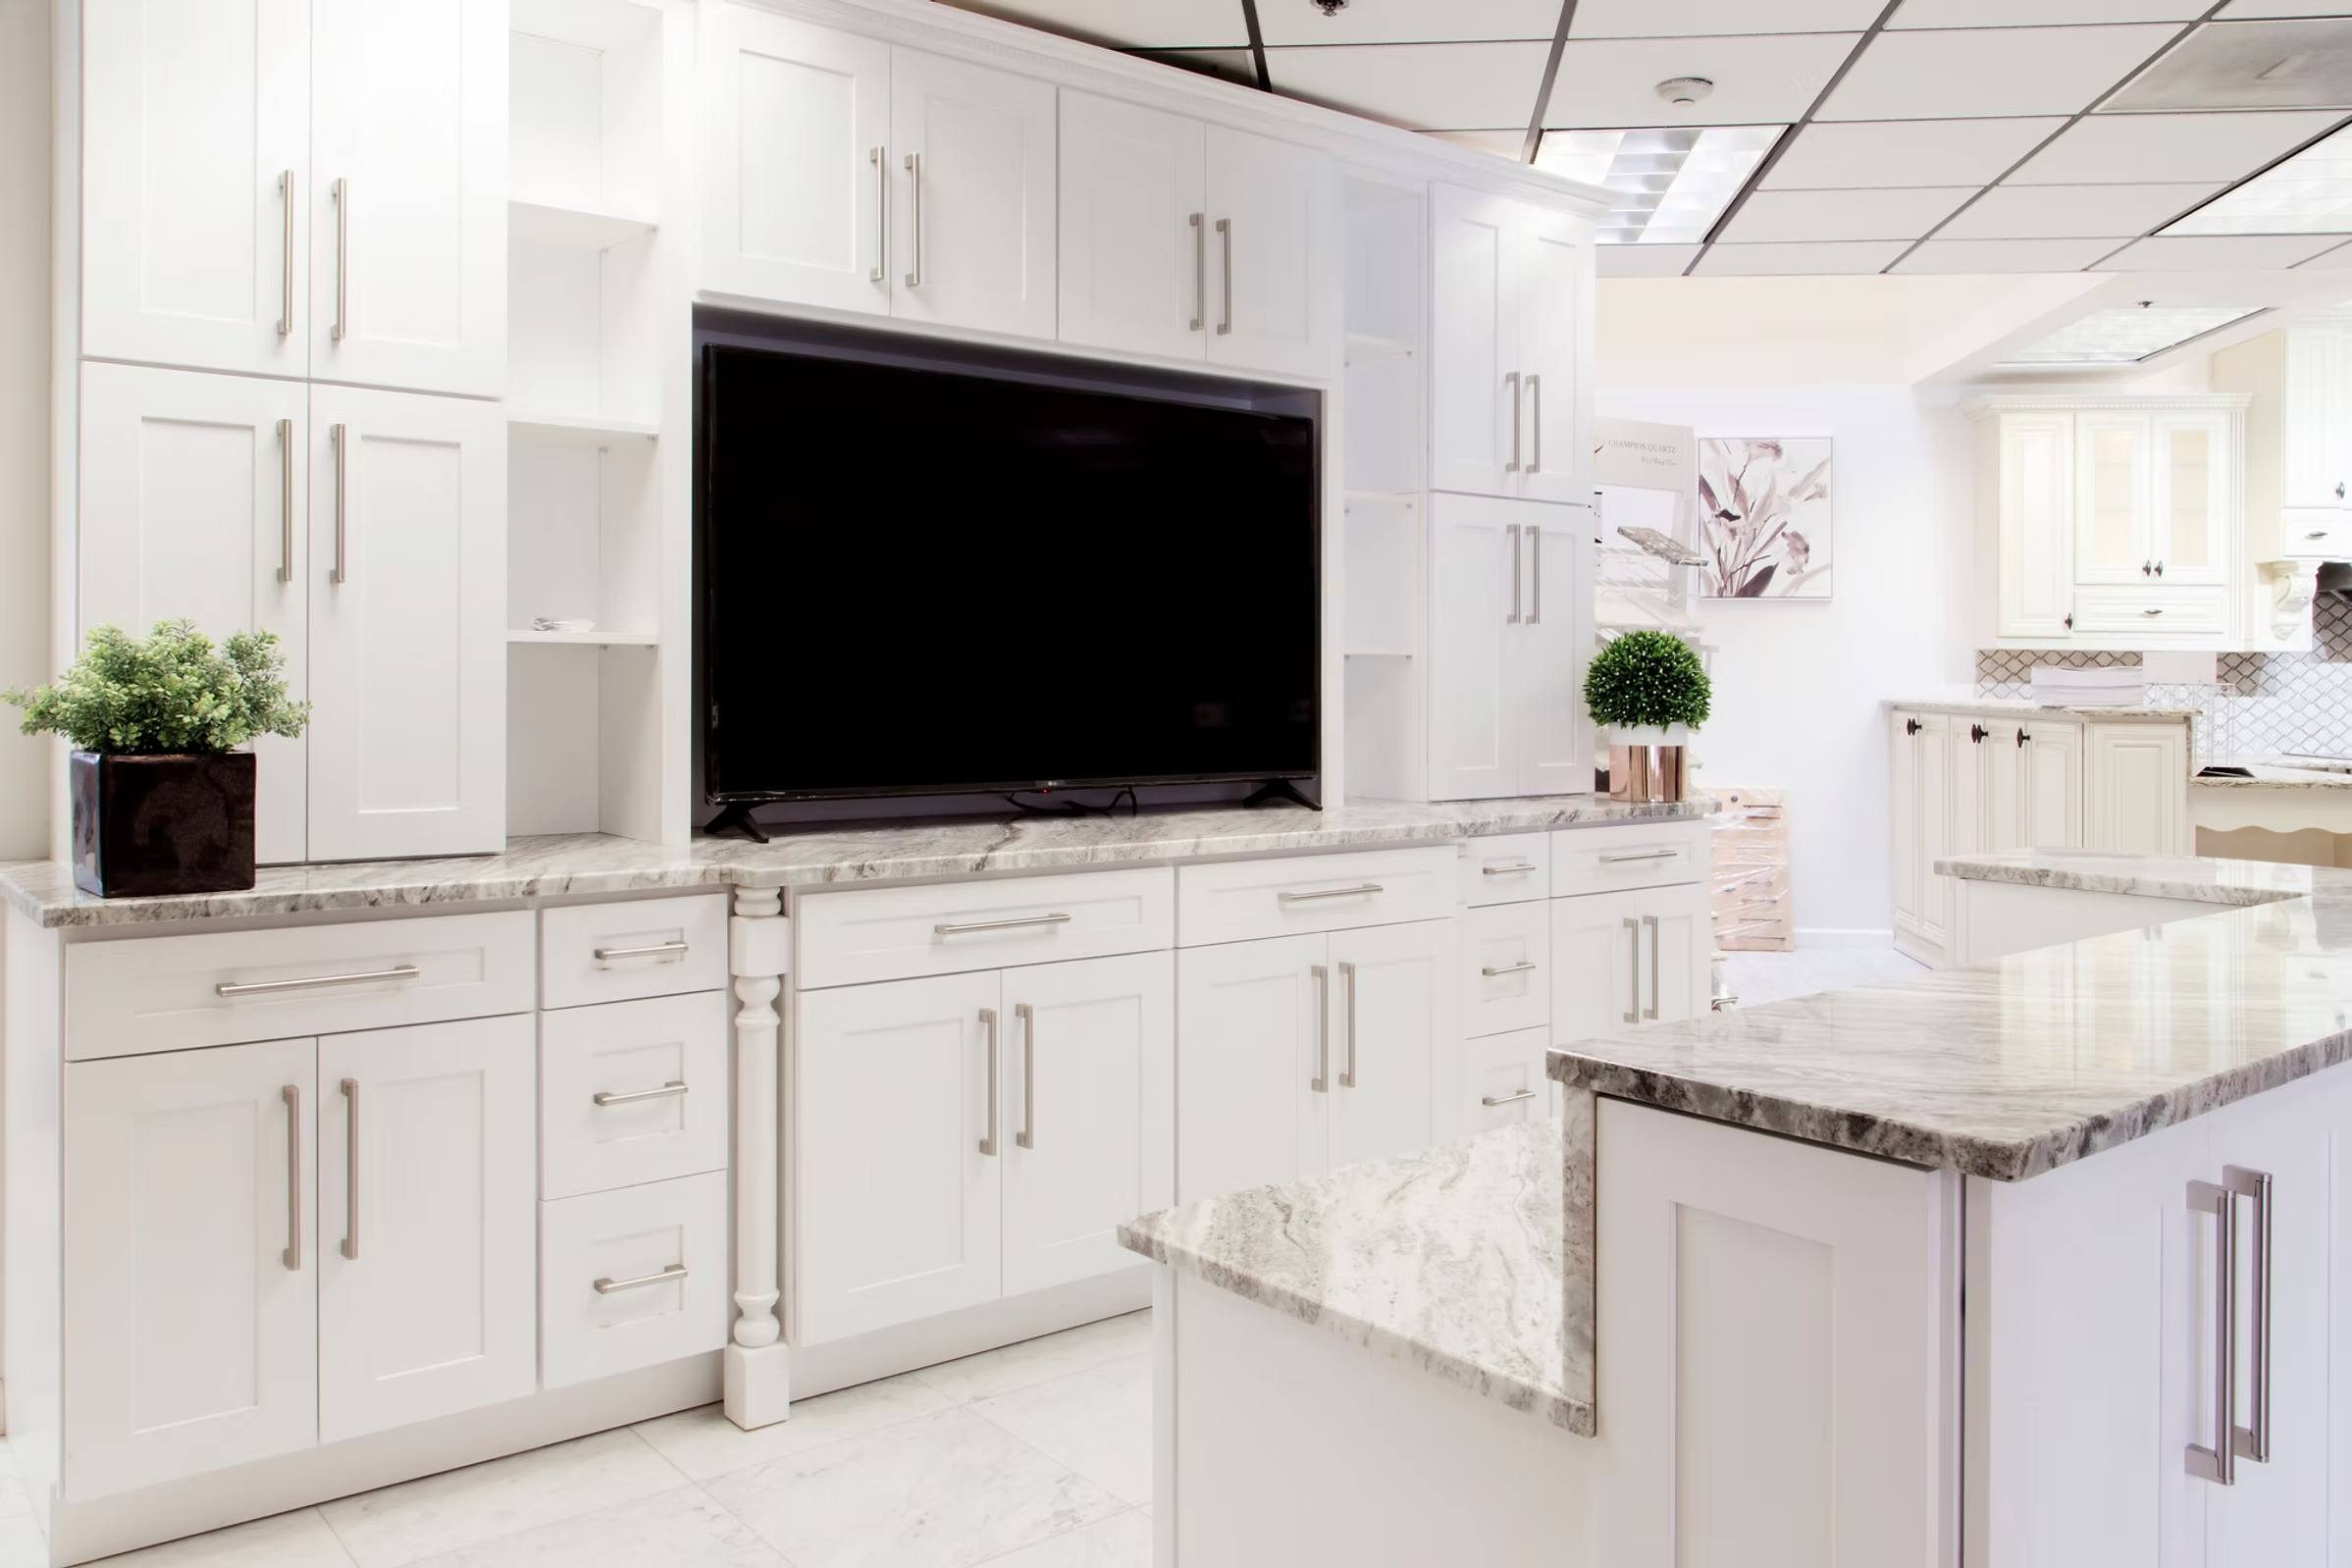
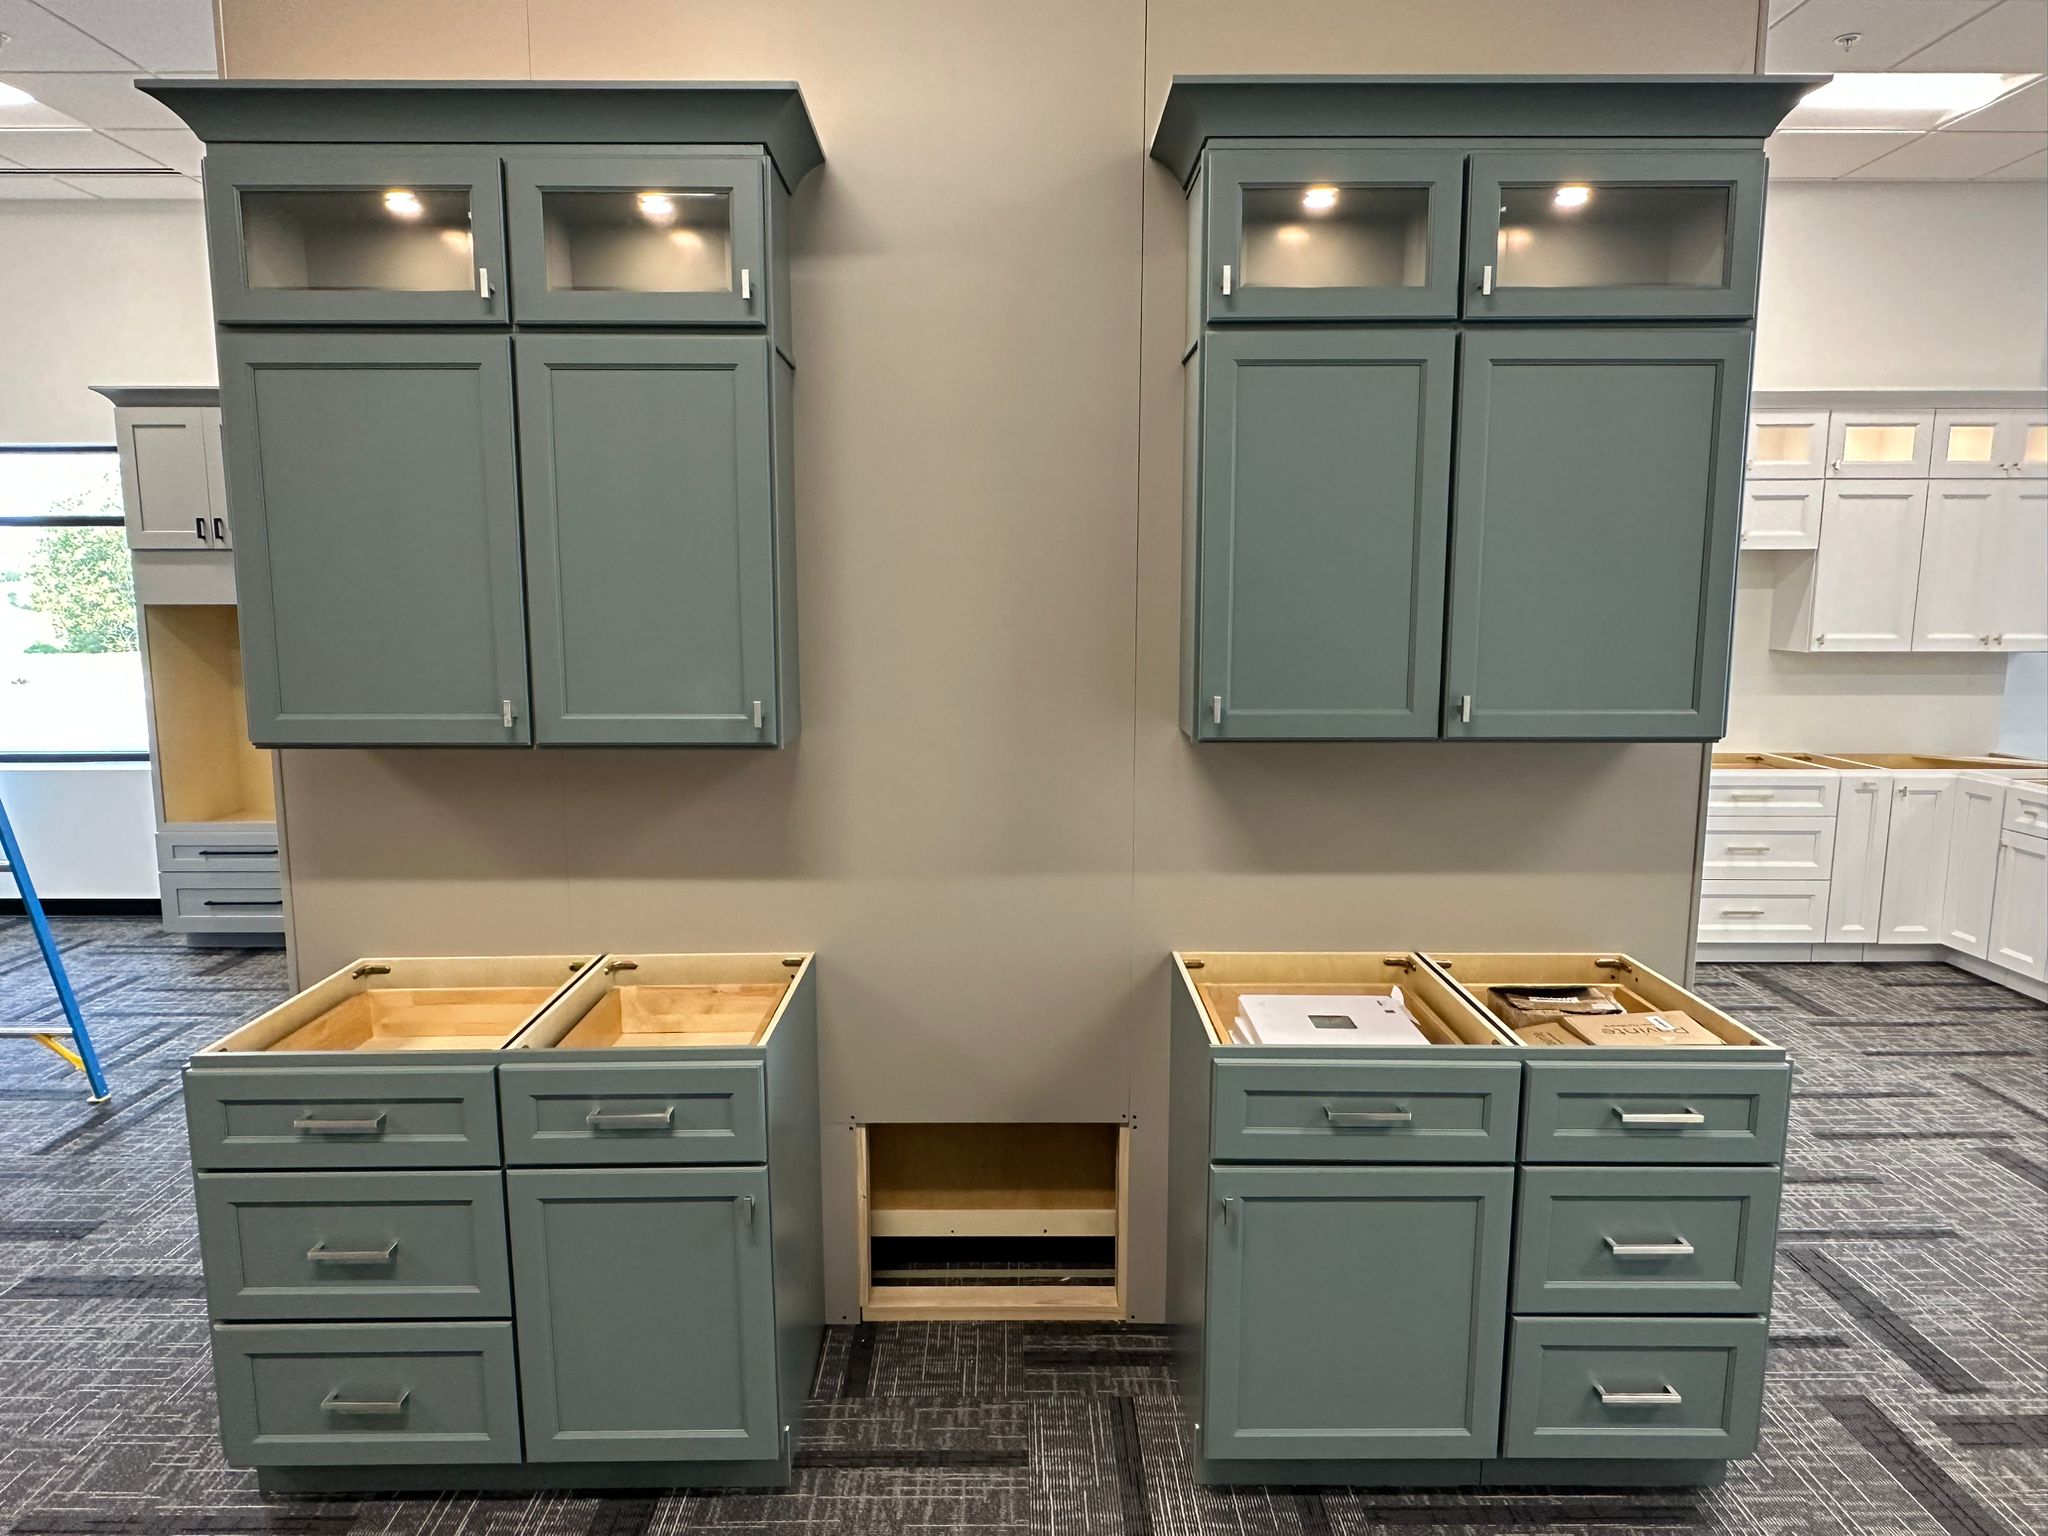
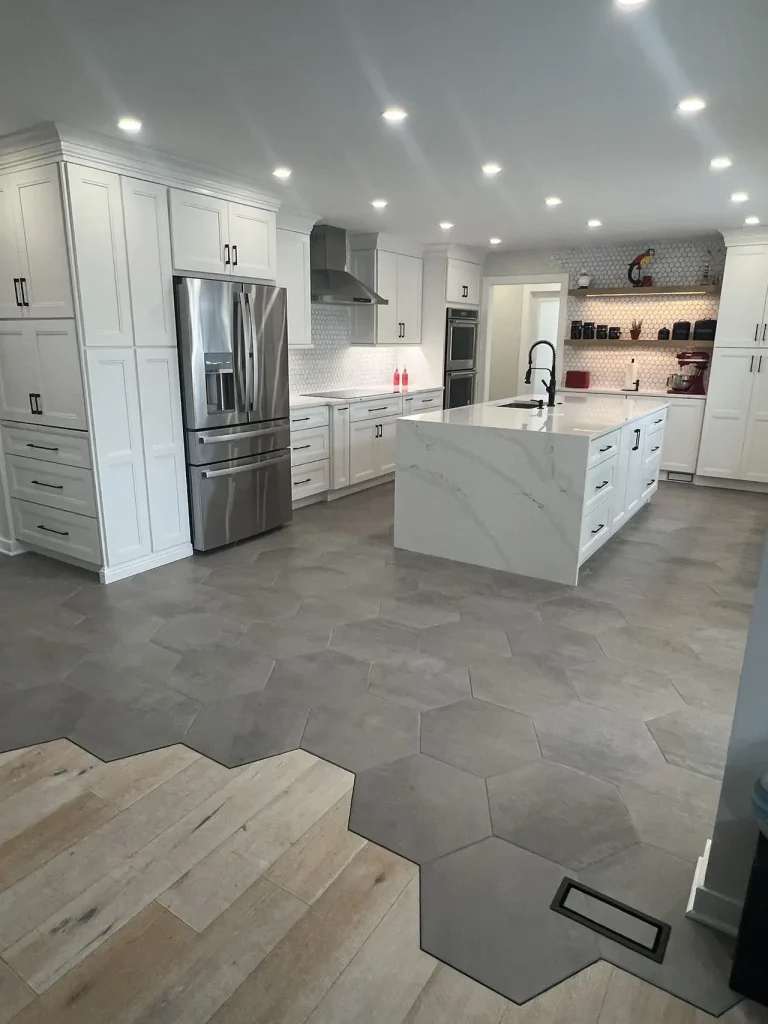
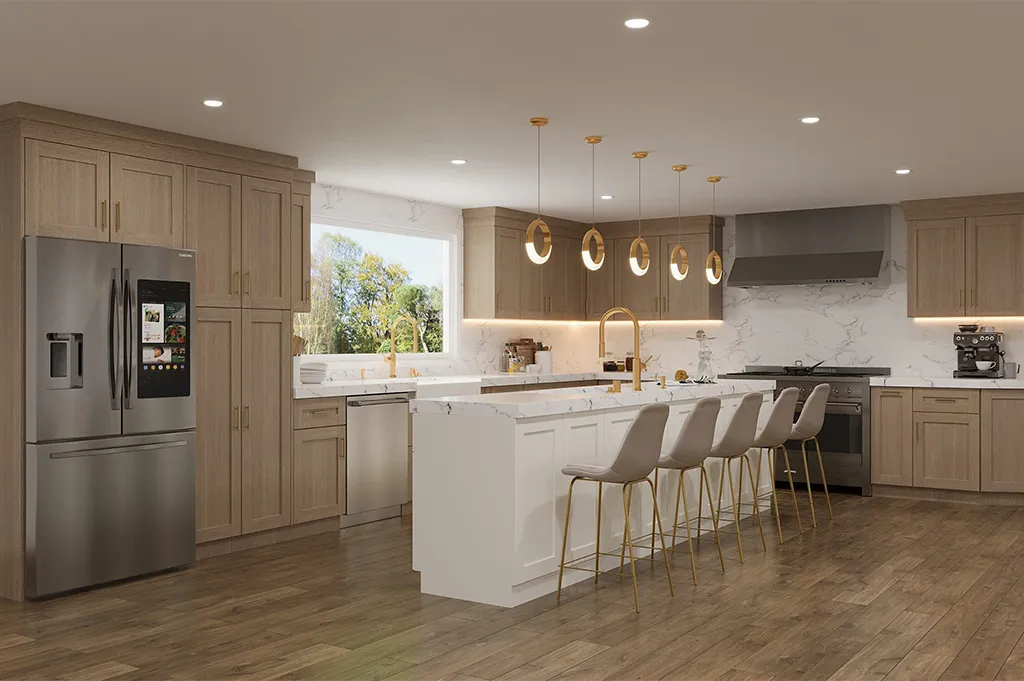
Our most popular cabinet lines chosen by contractors and homeowners for their exceptional quality and value.

Cabinet Styles

Explore Our Cabinet Styles

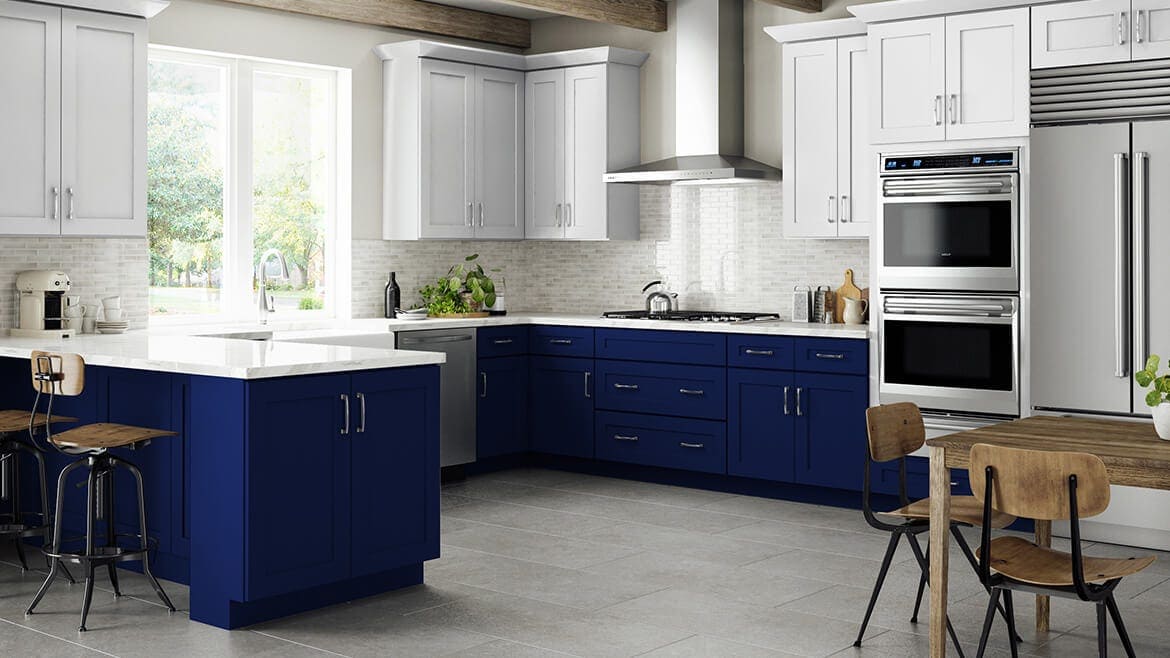
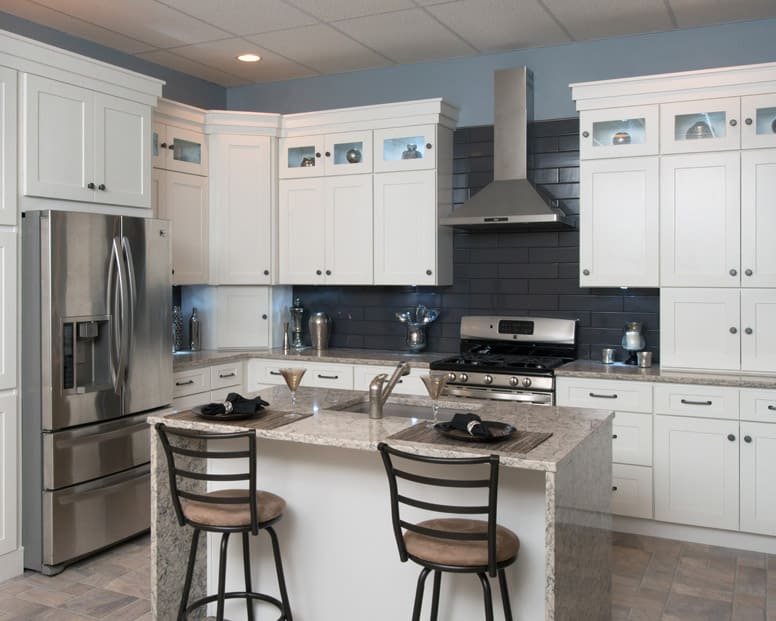
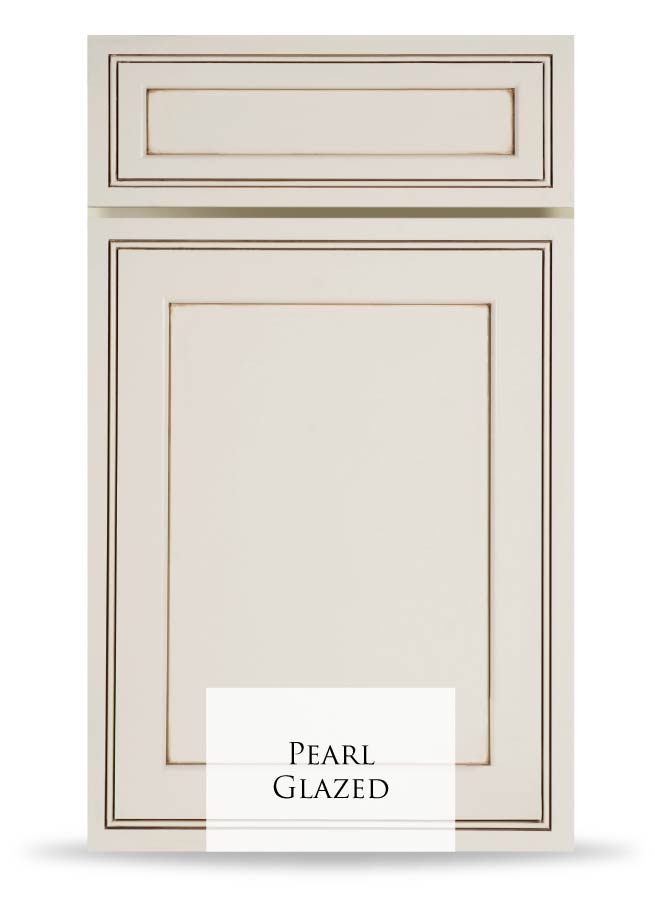
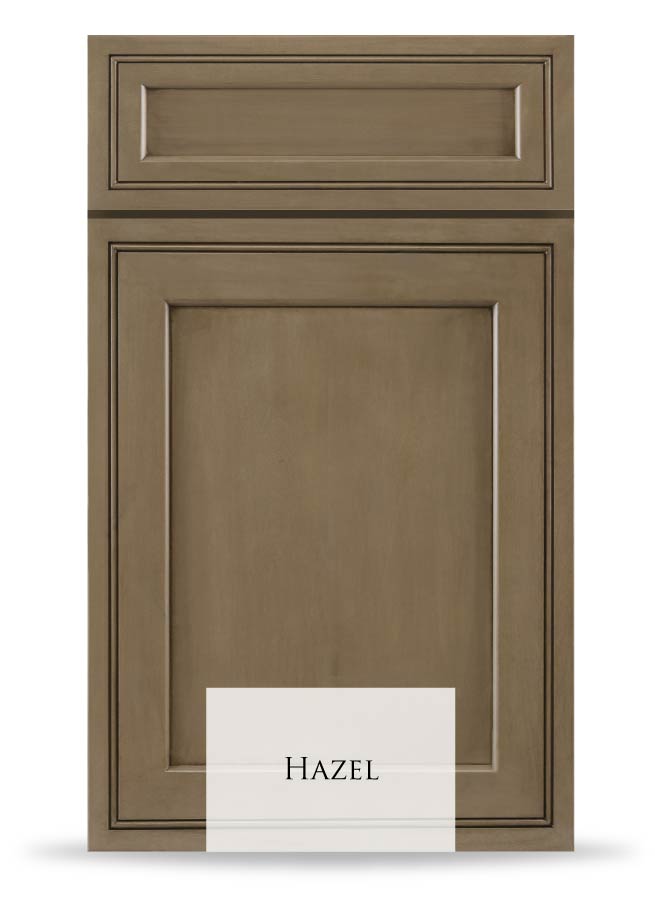
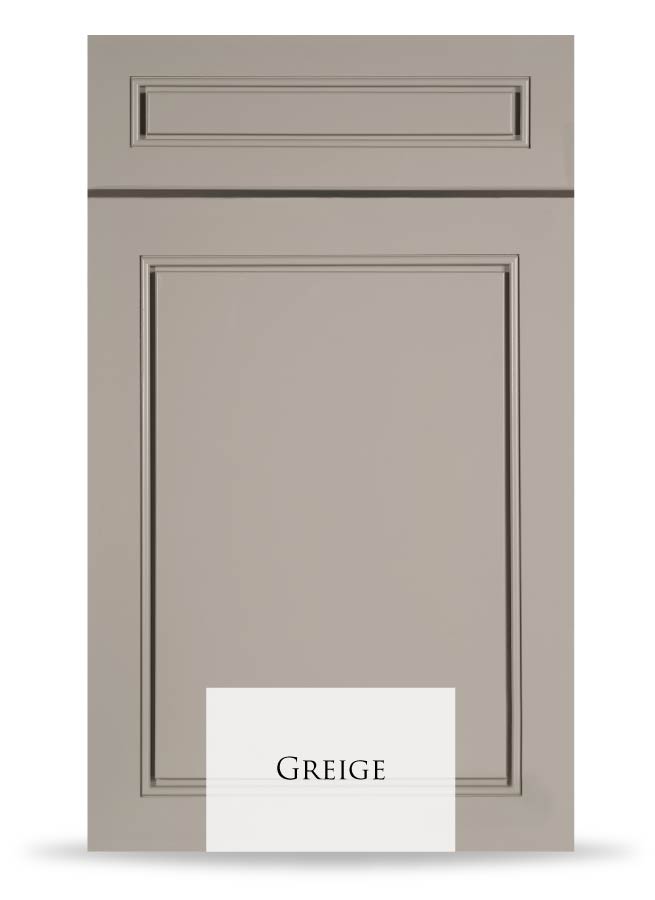
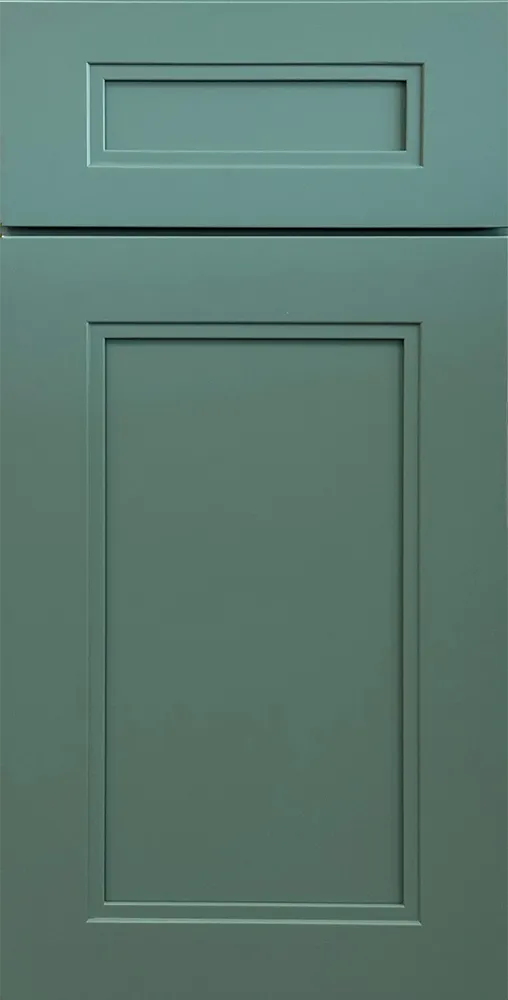
From classic Shaker to elegant Raised Panel and sleek European designs, find the perfect style for your kitchen.

Smoky Grey Cabinet Style
Grey Shaker Cabinet Style
Pure Grey Cabinet Style
White Shaker Cabinet Style
Pure White Cabinet Style
Ivory Glaze Cabinet Style
Dark Cherry Cabinet Style
Cabinet Style
Cabinet Style
Cabinet Style
Cabinet Style
Cabinet Style
Cabinet Style
Cabinet Style
Cabinet Style
Cabinet Style
Cabinet Style
White Shaker Cabinet
Dove Cabinet
Sage Cabinet
Pure Cabinet
Pebble Cabinet
Naval Cabinet
Butterscotch Cabinet
Castle Grey Cabinet
Pearl Glazed Cabinet
Hazel Cabinet
Greige Cabinet
Cabinet Style
Cabinet Style
Cabinet Style
Cabinet Style
Manhattan White Shaker
SoHo Gray Shaker
Cortado Birch Natural Slim Shaker
Mastic Off White Slim Shaker
Sandy Shore Oak Natural Slim Shaker
Installation Guide

Kitchen Cabinet Installation

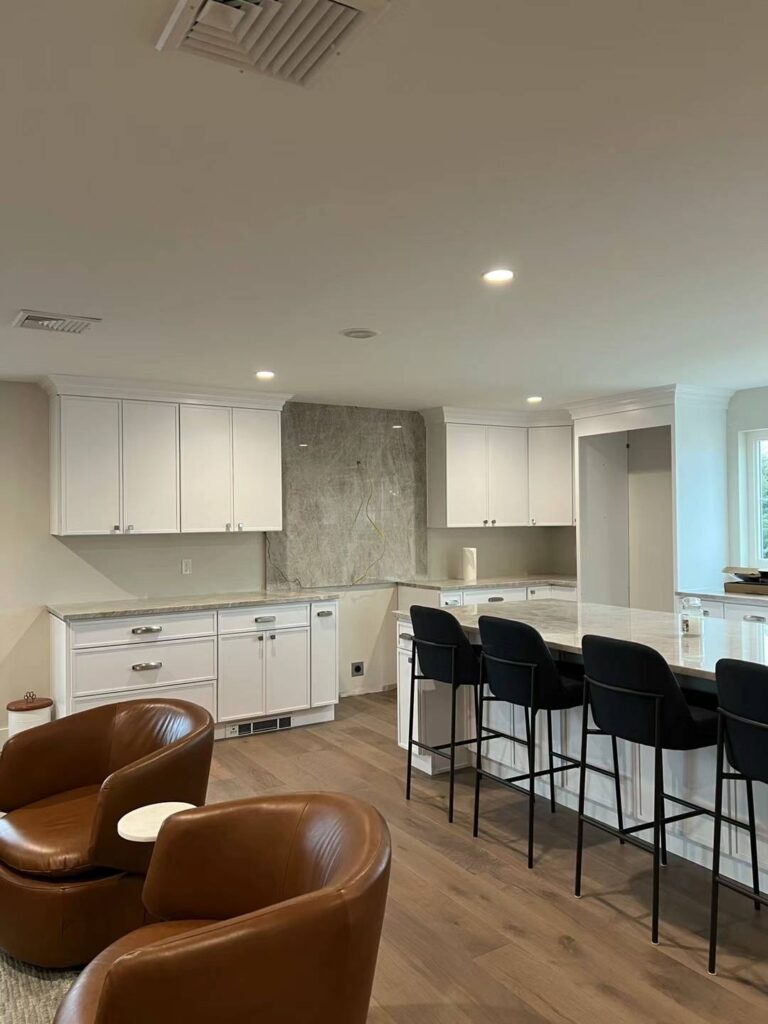
Professional installation guidance for RTA and pre-assembled kitchen cabinets.

1

Pre-Installation Planning

Proper planning ensures a smooth installation process and professional results.

  • Verify all cabinets received match your order
  • Inspect for shipping damage immediately
  • Review installation drawings and layout plans
  • Gather tools: level, drill, screws, shims, clamps
  • Ensure plumbing and electrical rough-ins are complete
2

Wall Preparation

Locate studs and establish level reference lines for cabinet placement.

  • Find and mark all wall studs using electronic finder
  • Establish a level line for upper cabinet bottoms (54" typical)
  • Mark a level line for base cabinet tops (34.5" typical)
  • Identify and mark the highest floor point
  • Remove any existing baseboard in cabinet areas
3

Upper Cabinet Installation

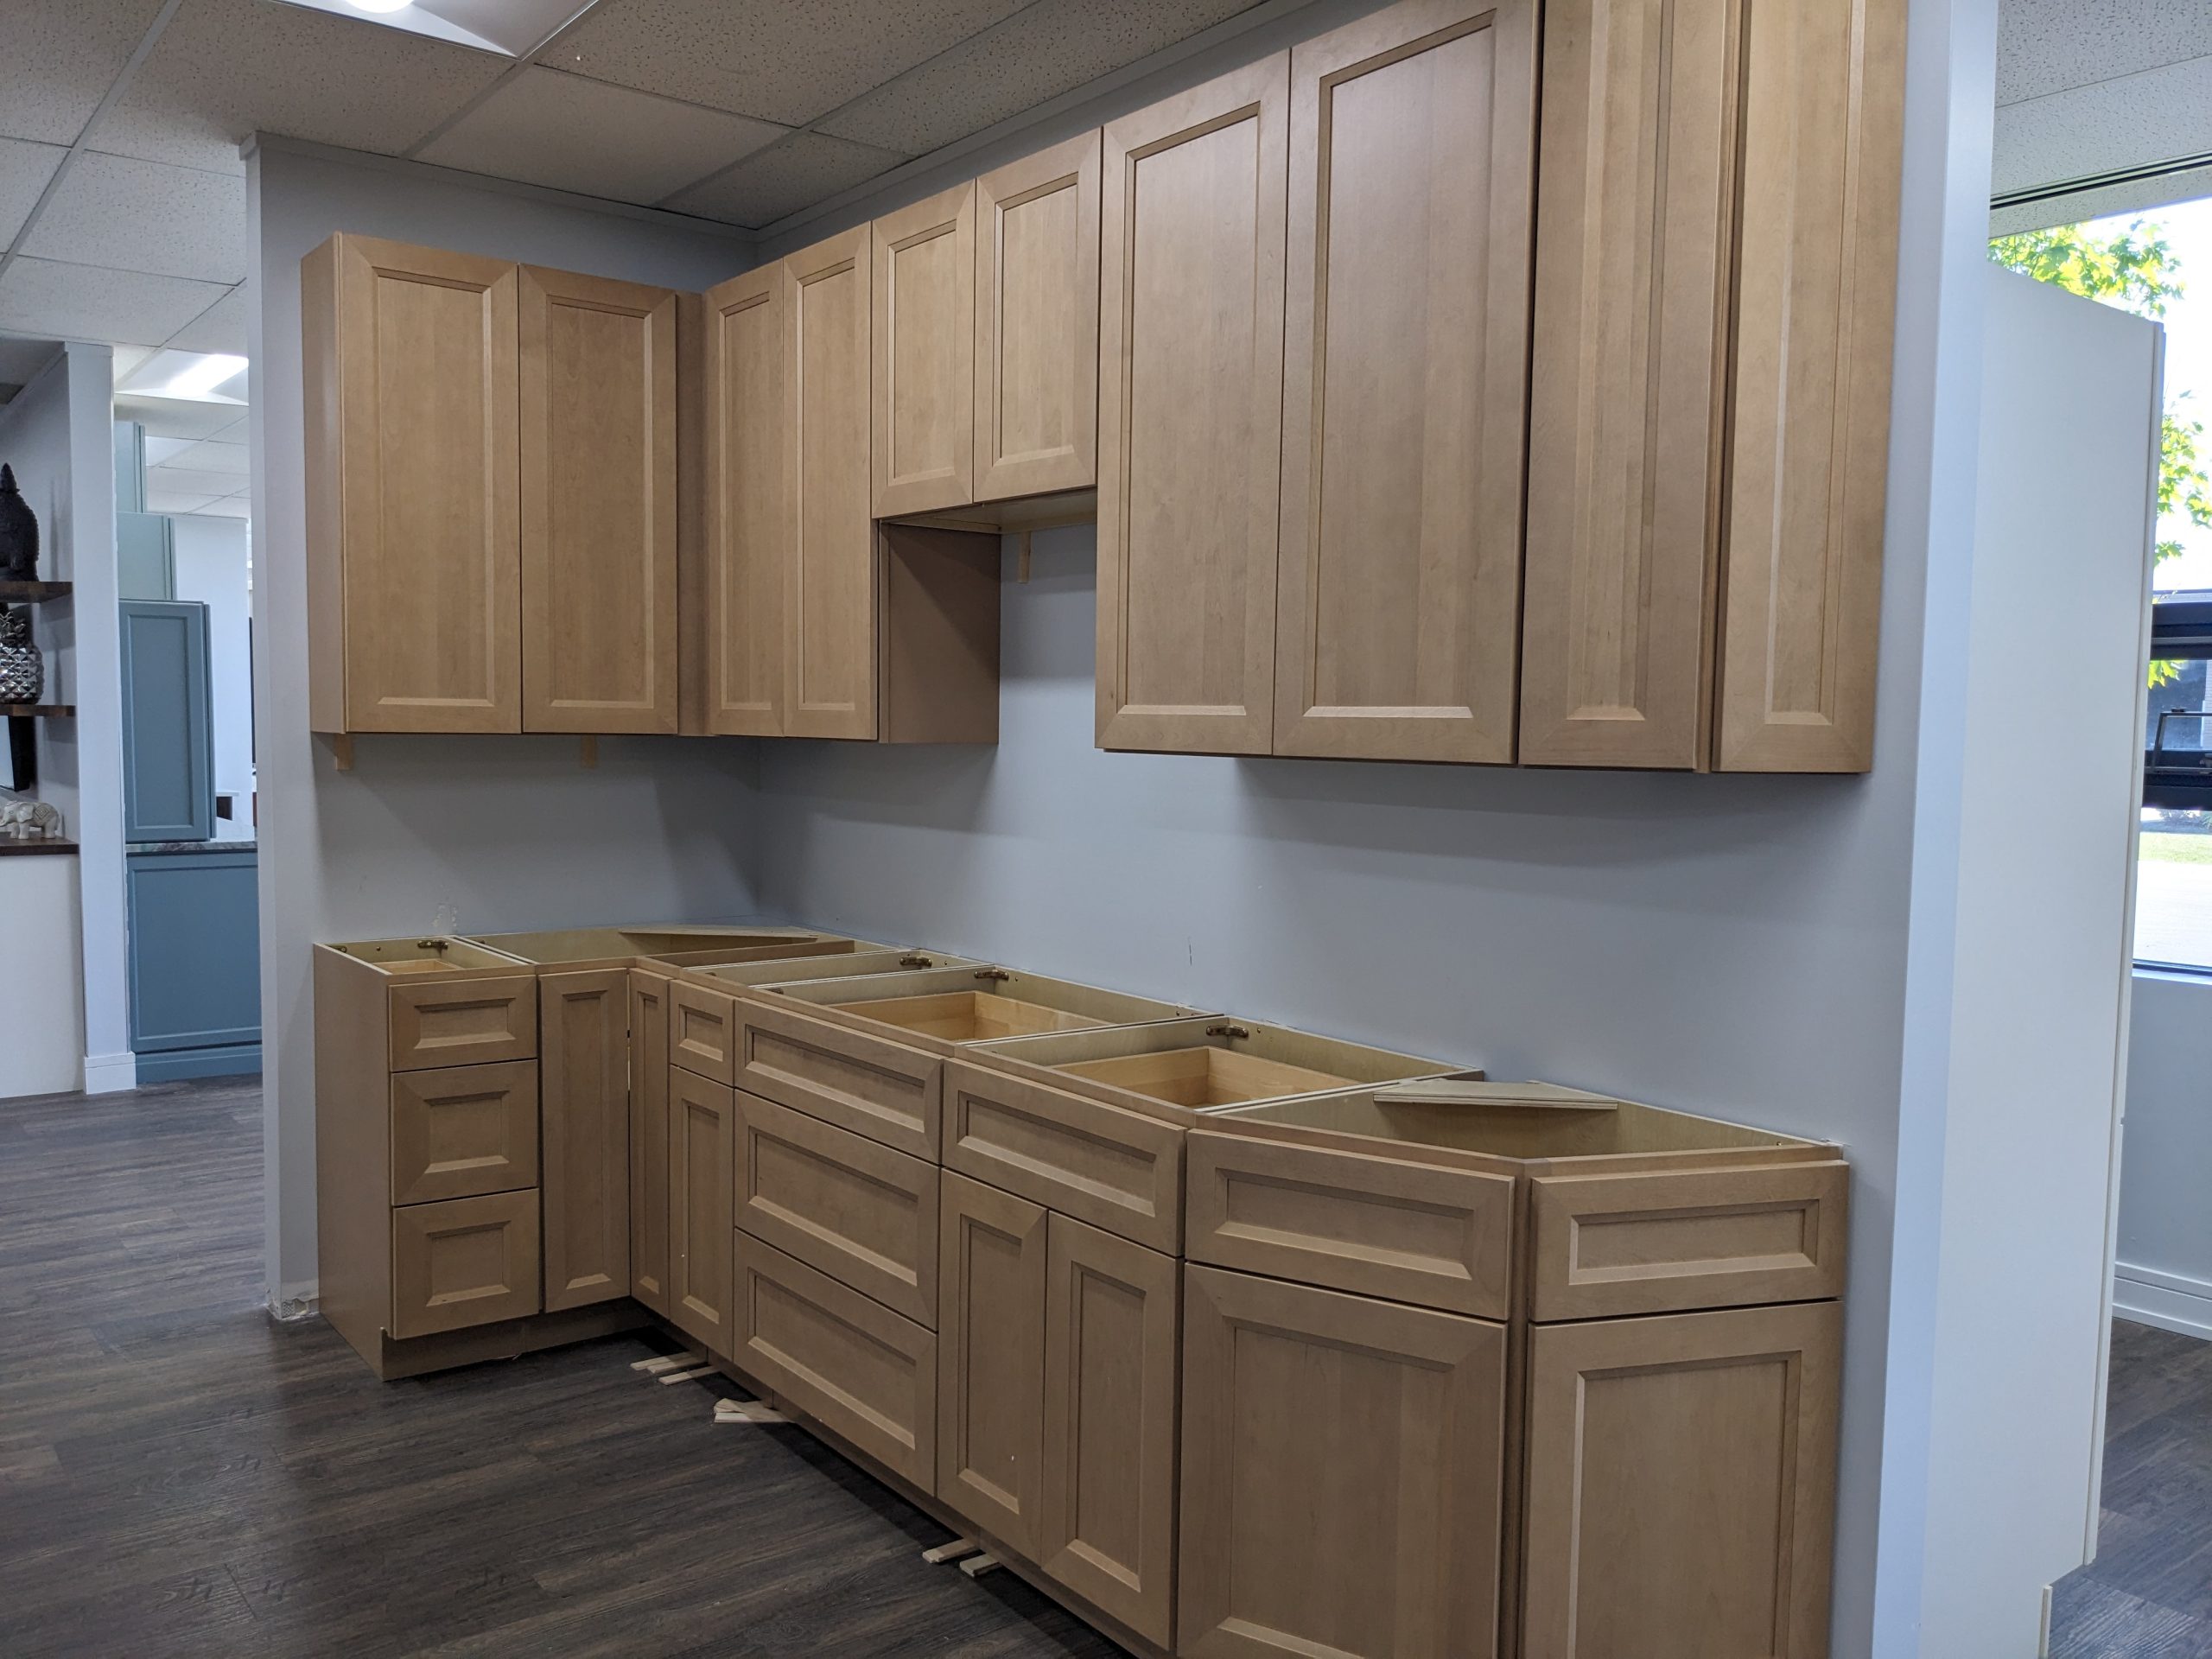
Install upper cabinets first to allow unobstructed access from below.

  • Install temporary ledger board at reference line
  • Start from a corner cabinet or end run
  • Drill pilot holes and attach to studs with 2.5" screws
  • Use cabinet clamps to align faces before joining
  • Shim as needed to maintain level and plumb
  • Connect adjacent cabinets through face frames
4

Base Cabinet Installation

Install base cabinets starting from corner or highest point.

  • Begin at corner and work outward in both directions
  • Shim base cabinets from highest floor point
  • Level cabinets front-to-back and side-to-side
  • Secure to wall studs through the back rail
  • Connect adjacent cabinets before final securing
  • Cut holes for plumbing in sink base as needed
5

Finishing Touches

Complete the installation with doors, hardware, and trim.

  • Adjust hinges for proper door alignment
  • Install door and drawer pulls using templates
  • Add filler strips where needed at walls
  • Install crown molding, light rails, and trim
  • Add toe kick panels to cover base gaps
  • Clean cabinet interiors and exteriors thoroughly

Ready to Transform Your Kitchen?

Contact us for wholesale pricing and free kitchen design consultation.